How to Build Strong, Pain-Free Wrists and Elbows for Training
Wrist and elbow pain are common in lifting and gymnastics. Learn why they happen, how to modify movements, and how to strengthen the joints for long-term durability.
By
December 6, 2025
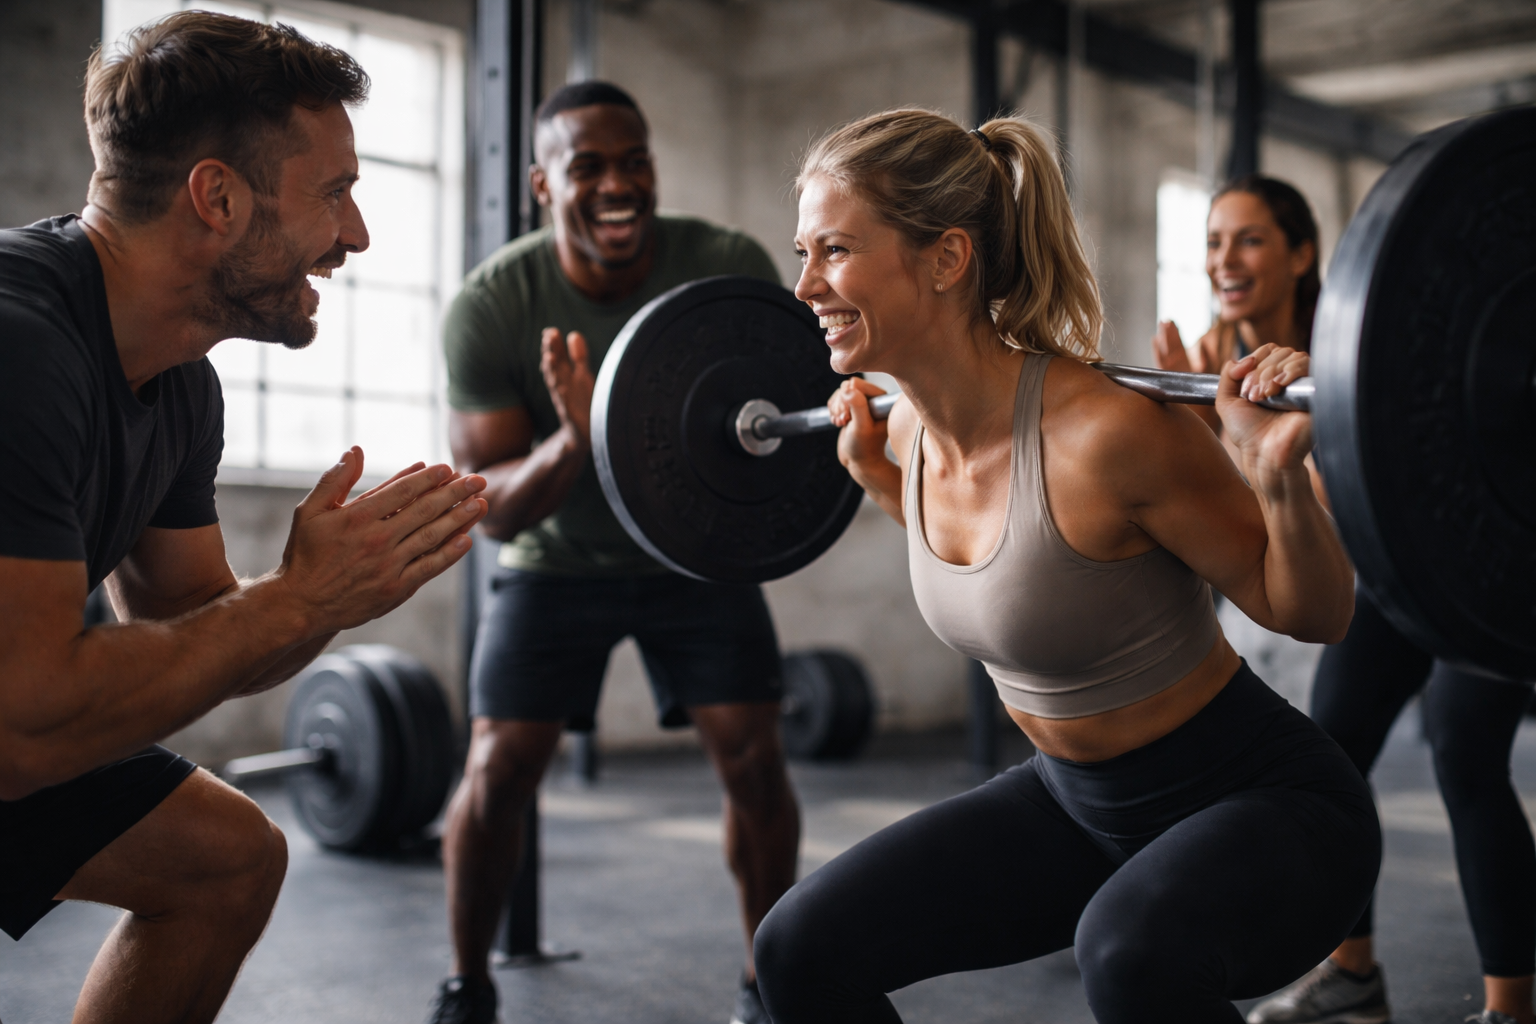
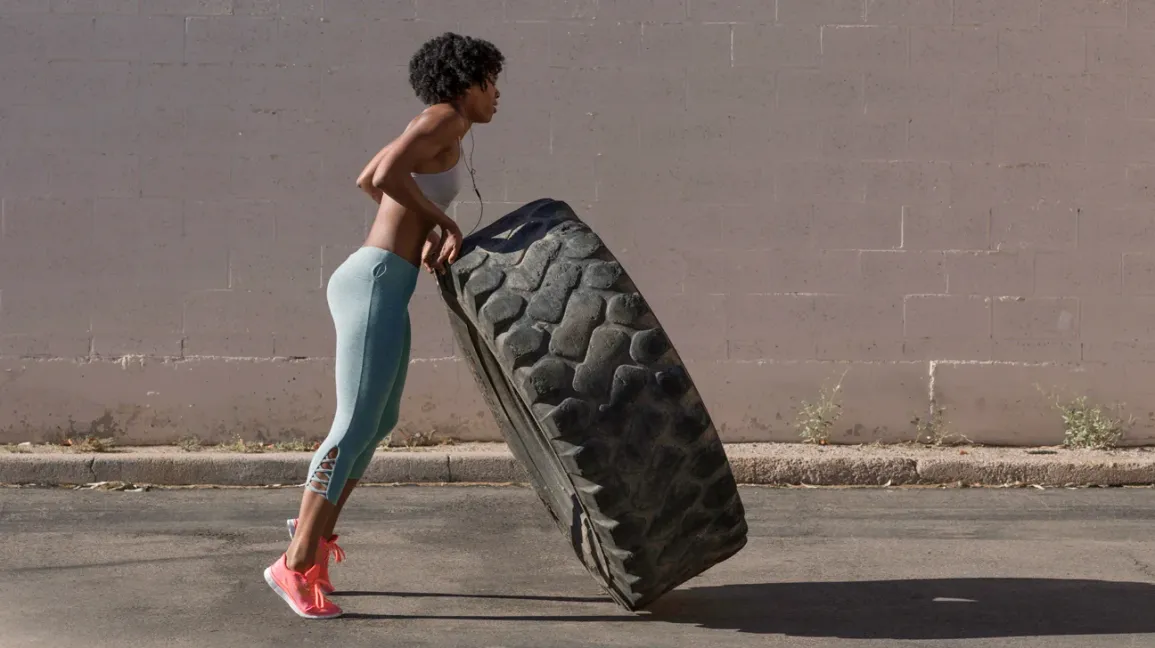
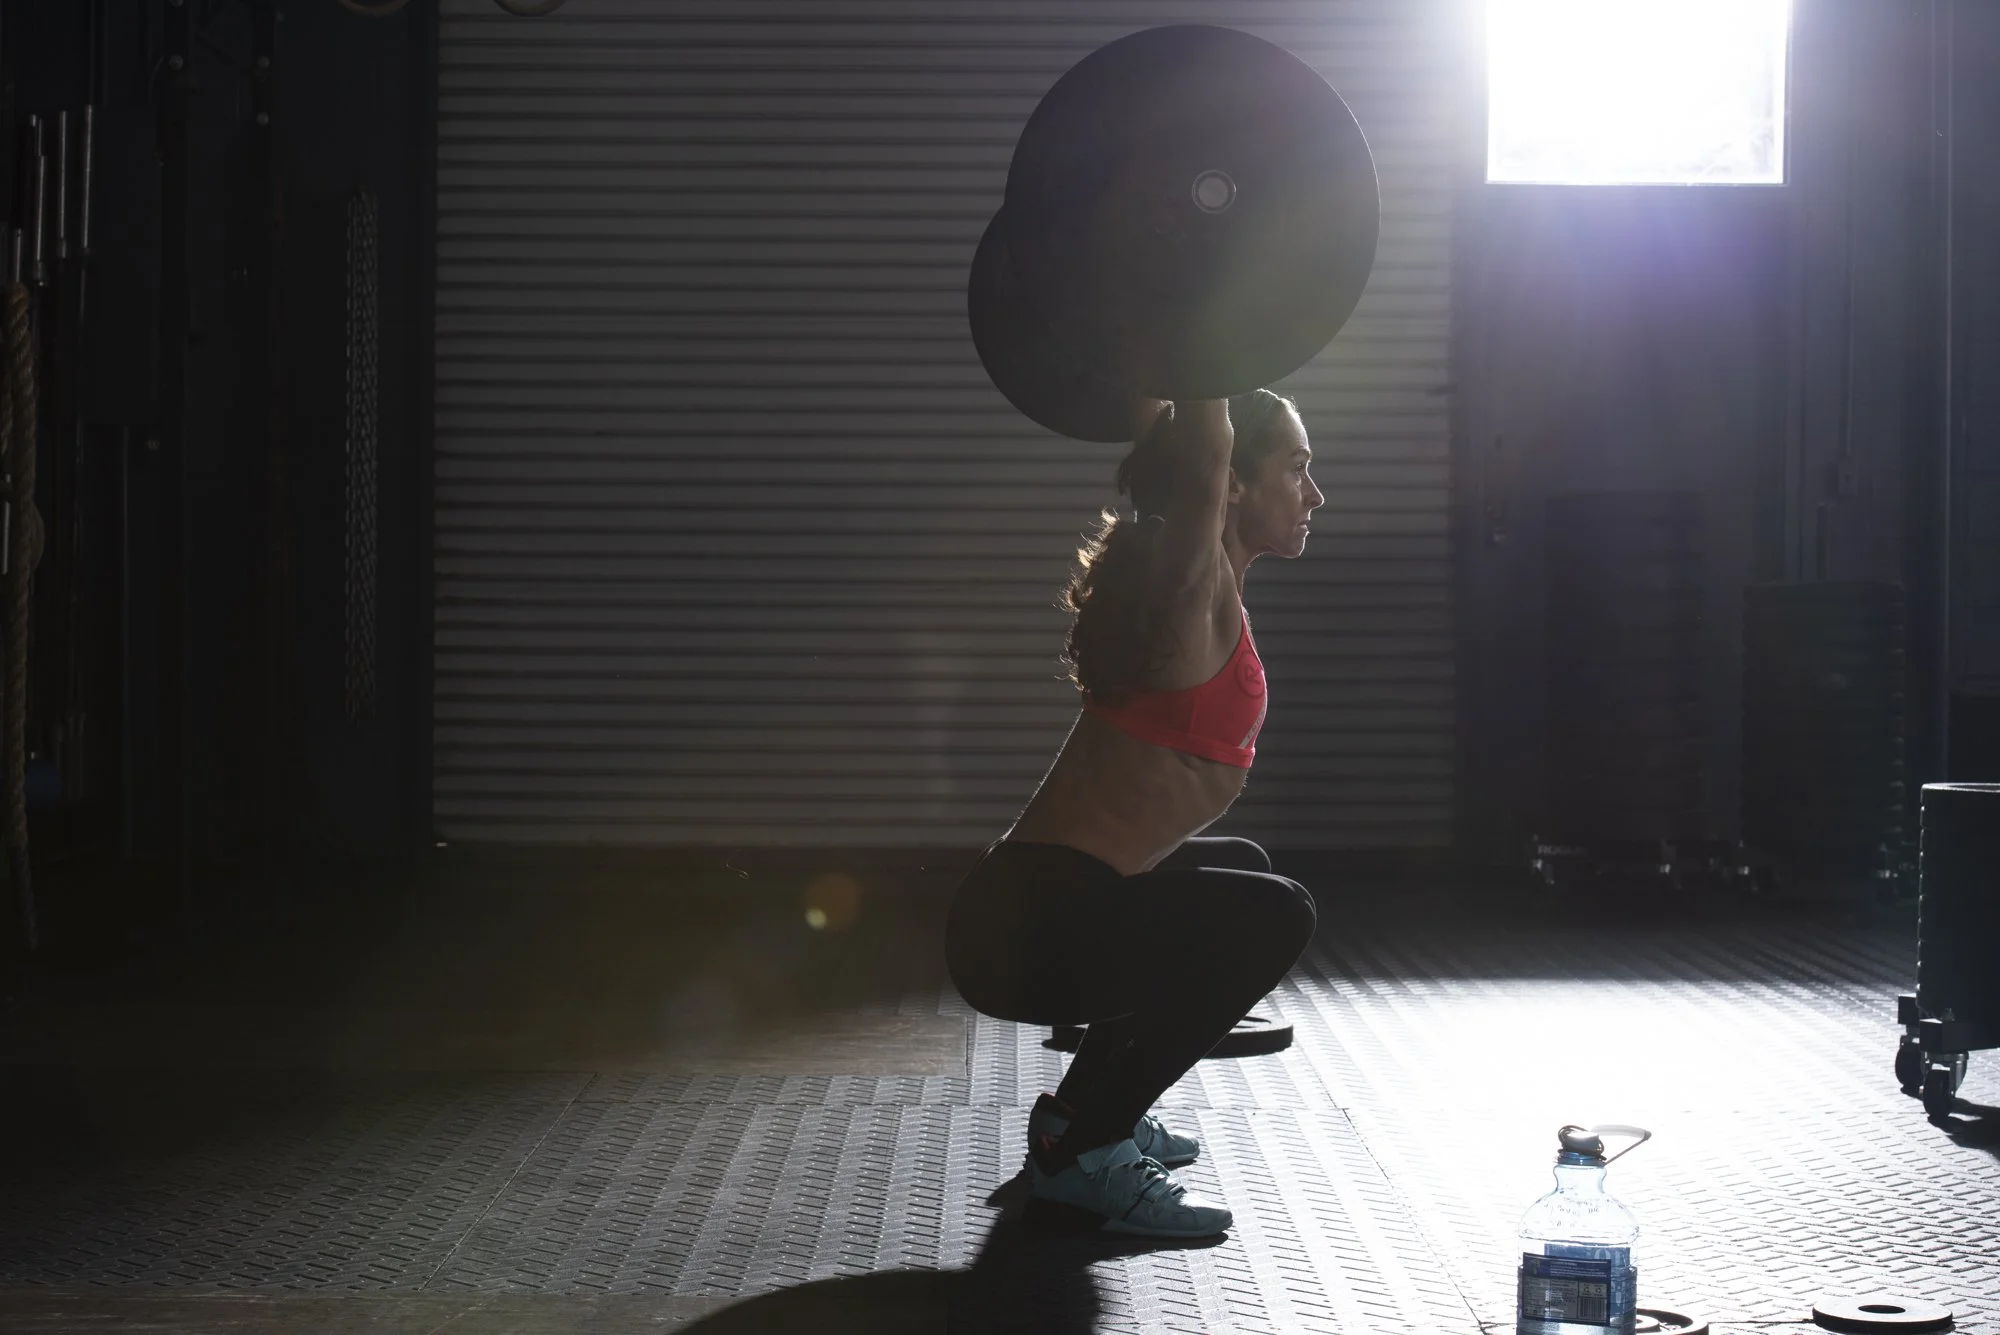
In functional fitness, these joints take a beating: front rack positions, handstands, dips, pull-ups, cleans, and heavy pressing.
Most wrist or elbow pain comes from load tolerance issues, mobility limitations, or technique—not structural injury.
With the right adjustments, you can keep training while building long-term durability.
Wrist and elbow joints rely on small stabilizers, forearm musculature, and clean mechanics. When these areas fatigue or compensate, pain follows.
Common stressors include:
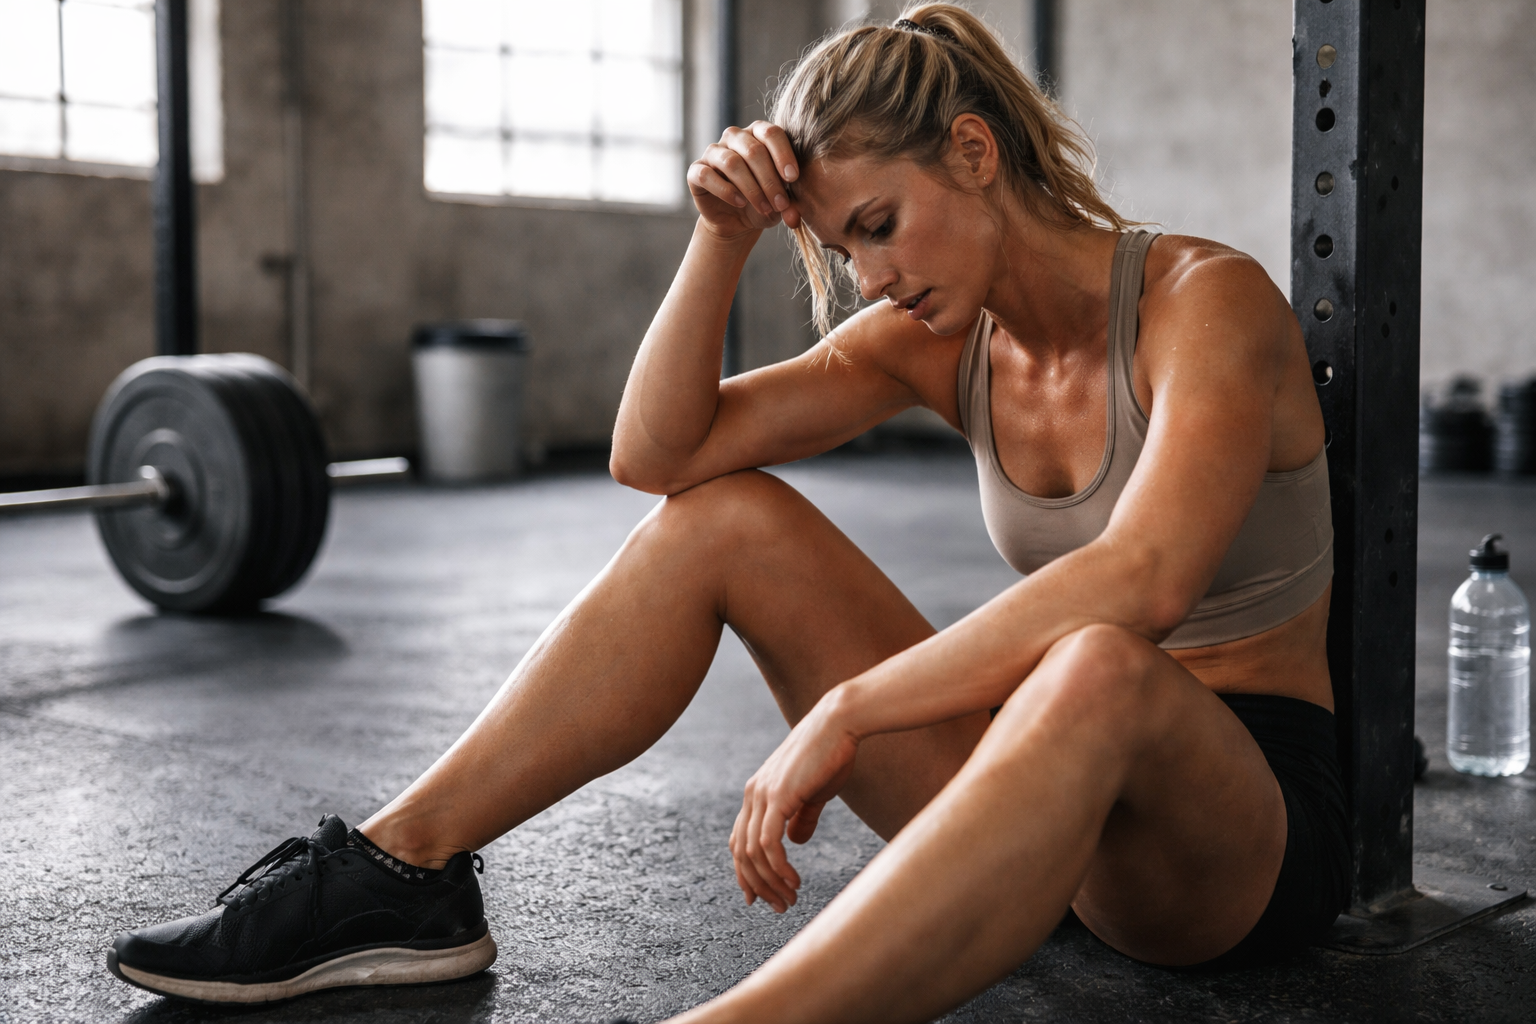
Pain often starts as tenderness, stiffness, or irritation during gripping or weight-bearing… and worsens when ignored.
Wrist pain during front rack: usually mobility or bar position
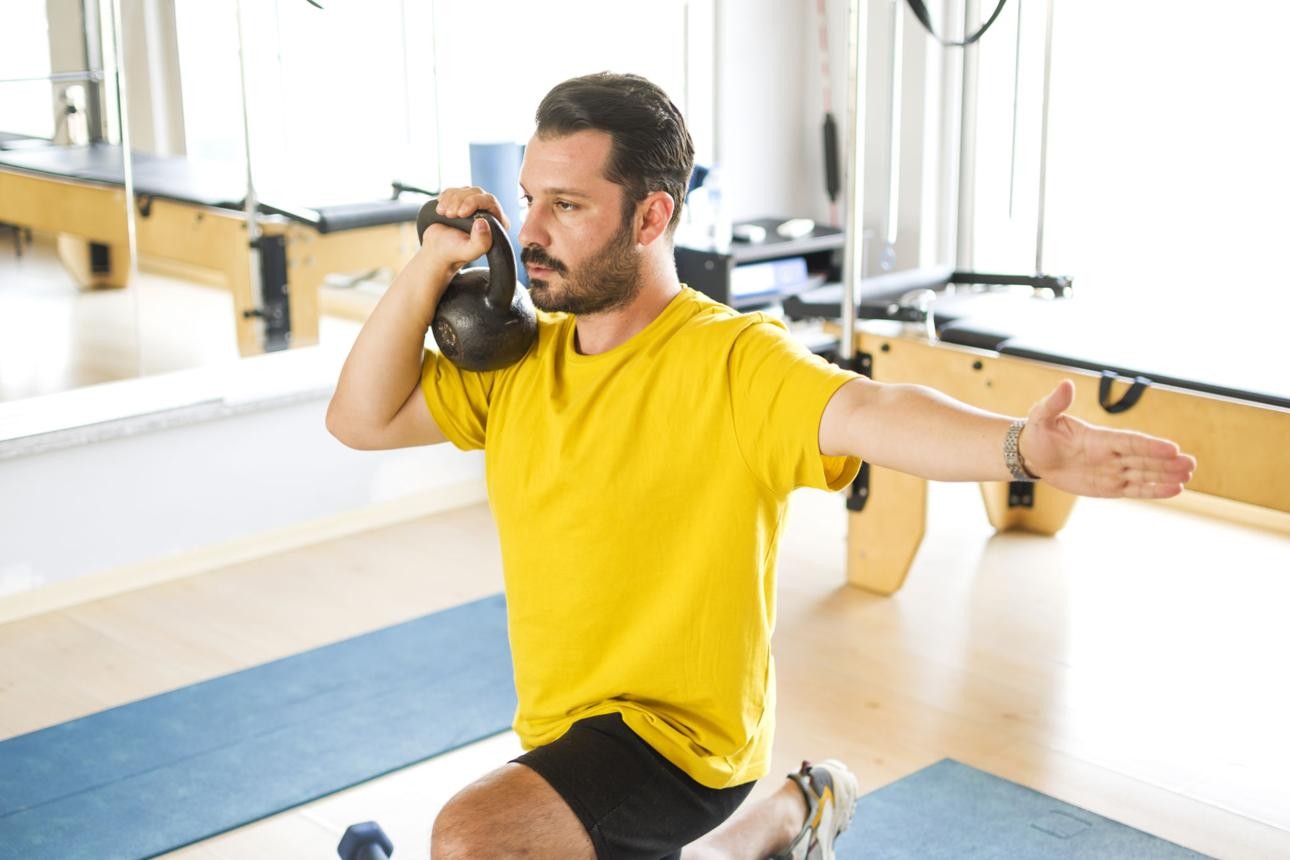
Pain on the inside of elbow (golfer’s elbow): overuse of flexors from pull-ups, toes-to-bar, and grip fatigue
Pain on the outside of elbow (tennis elbow): overuse of extensors from snatches, cleans, and kettlebell work
Sharp pain during weight-bearing: modify immediately
Understanding the source guides the solution.
Poor wrist extension is the root of most barbell and handstand discomfort.
Target mobility above AND below the joint:
Focus on:
A better front rack means less strain on the wrists—and better bar path.
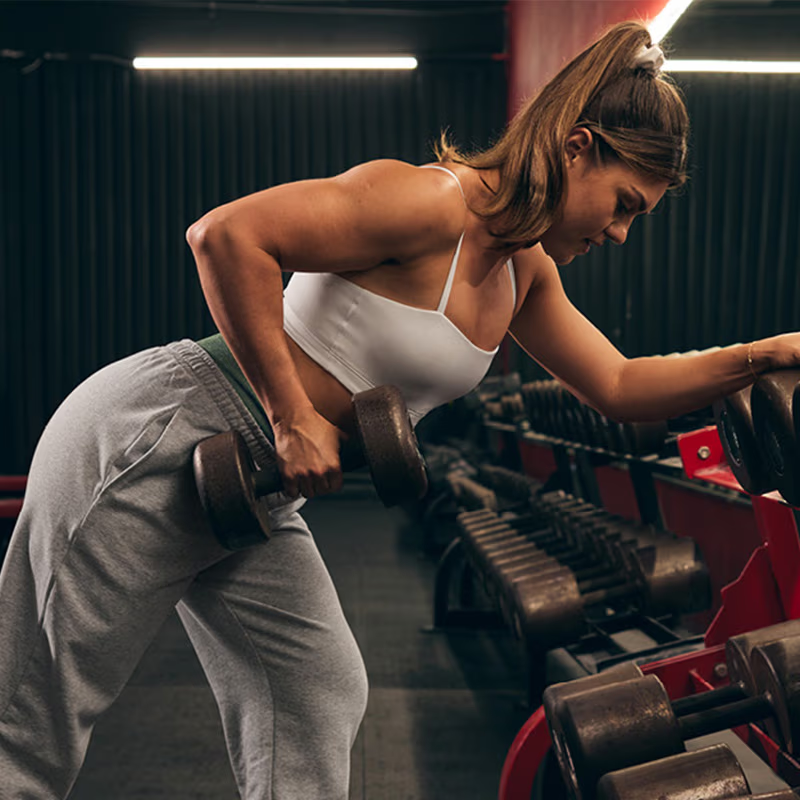
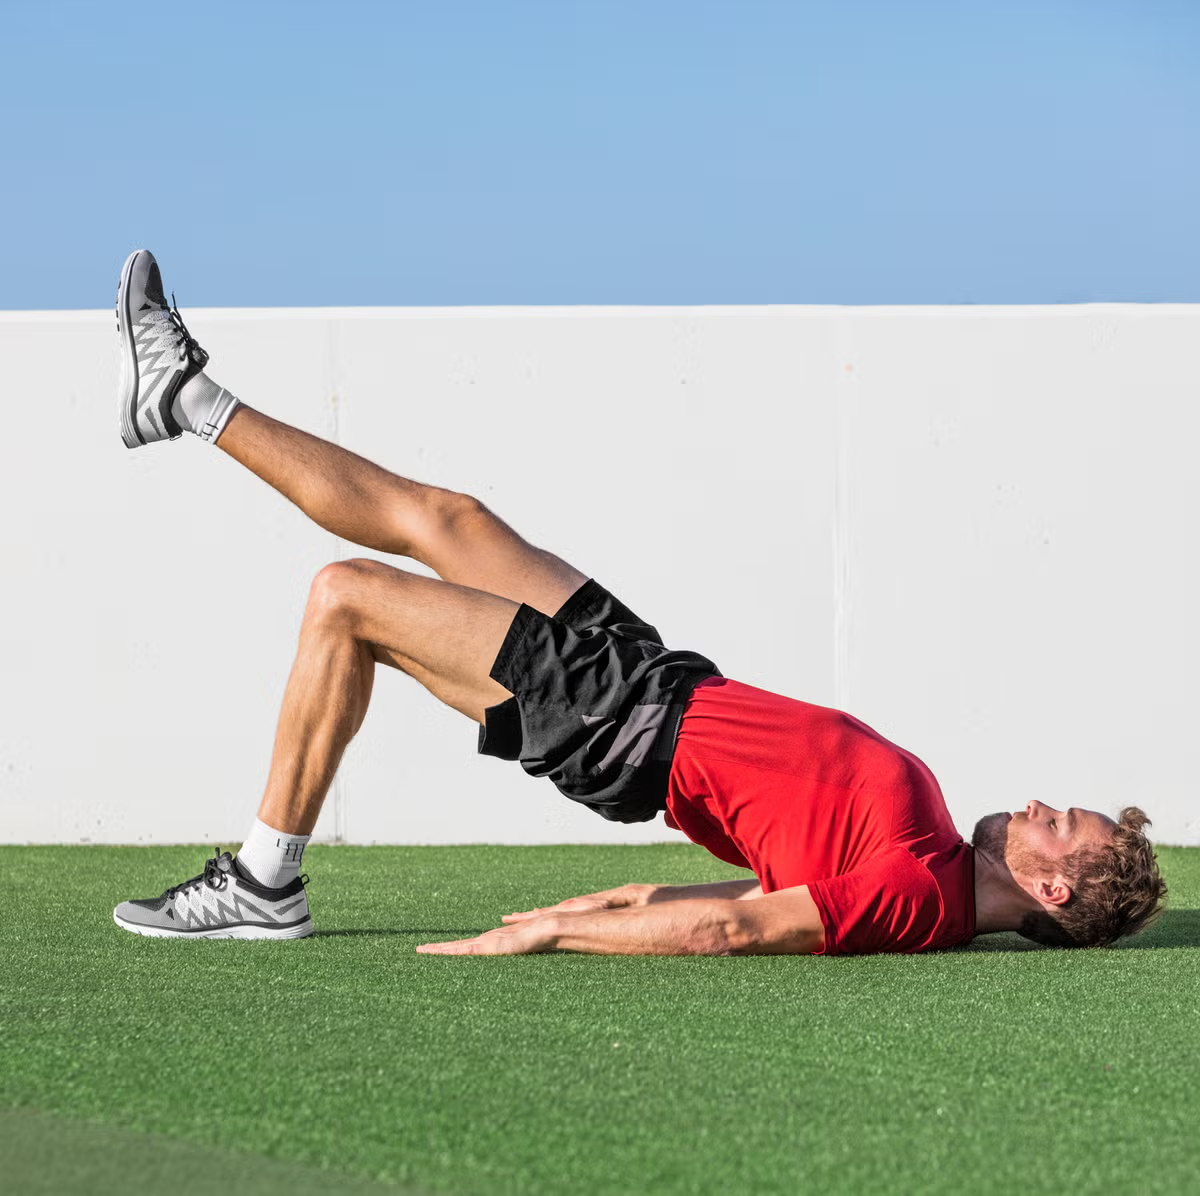
Your wrists and elbows depend on the strength of the tissues surrounding them.
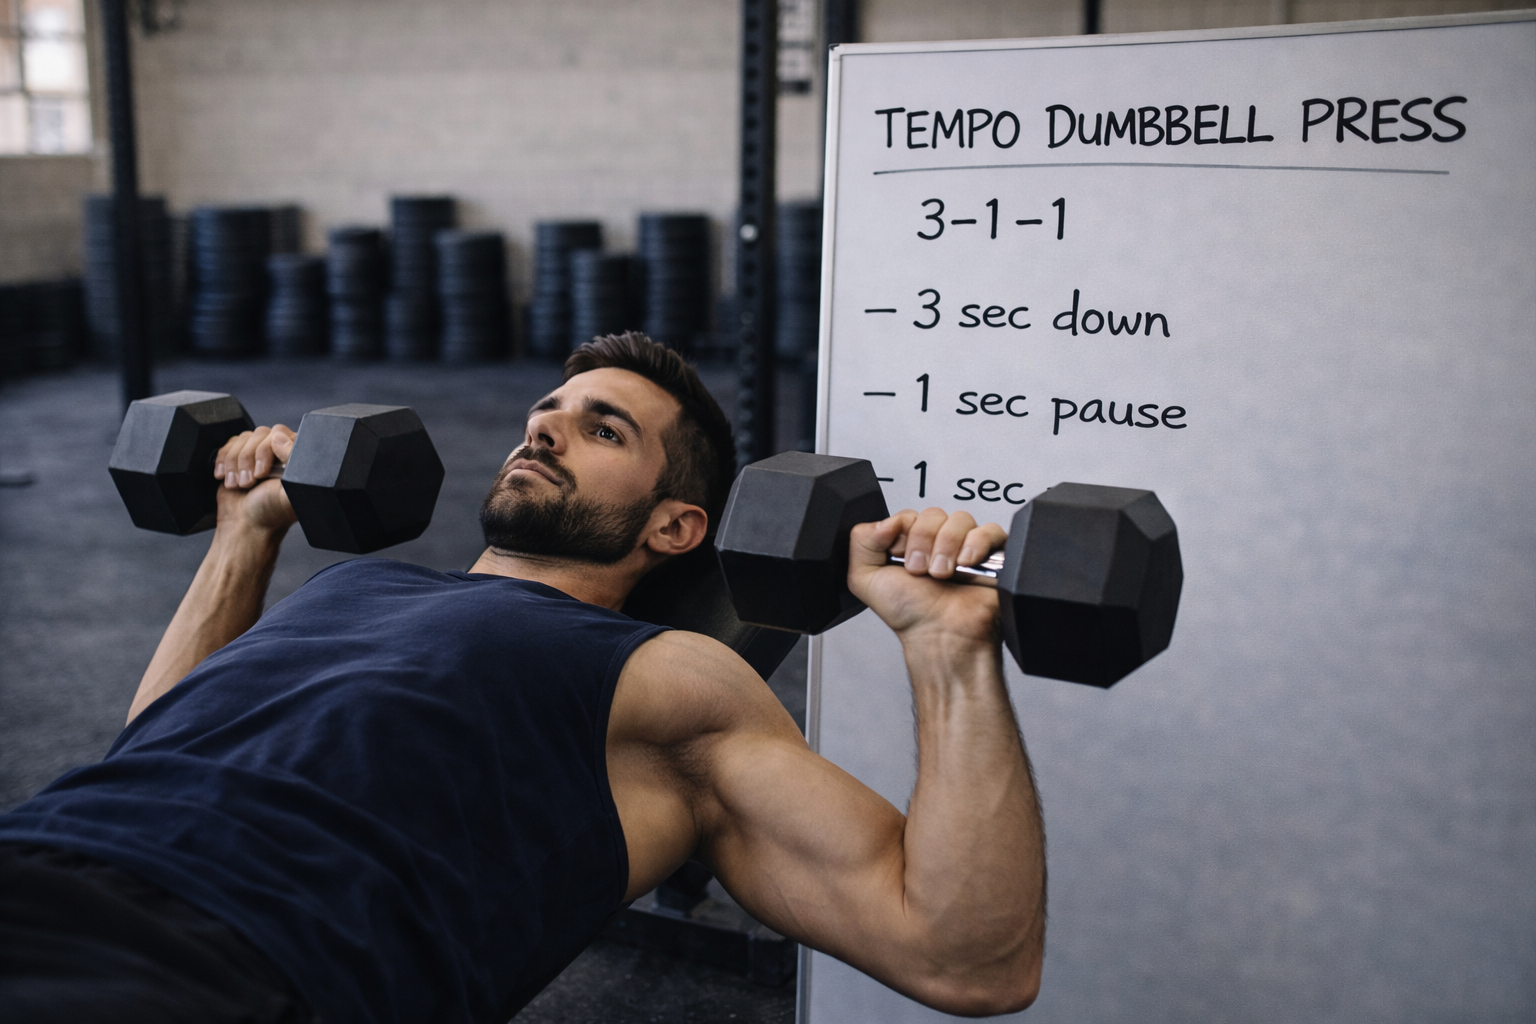
Strengthen flexors, extensors, and gripping muscles.
Key movements:
Keep reps controlled and pain-free. Tendons respond best to slow, progressive loading.
Training should continue—but with smart swaps that protect irritated tissues:
These adjustments maintain strength while symptoms calm down.
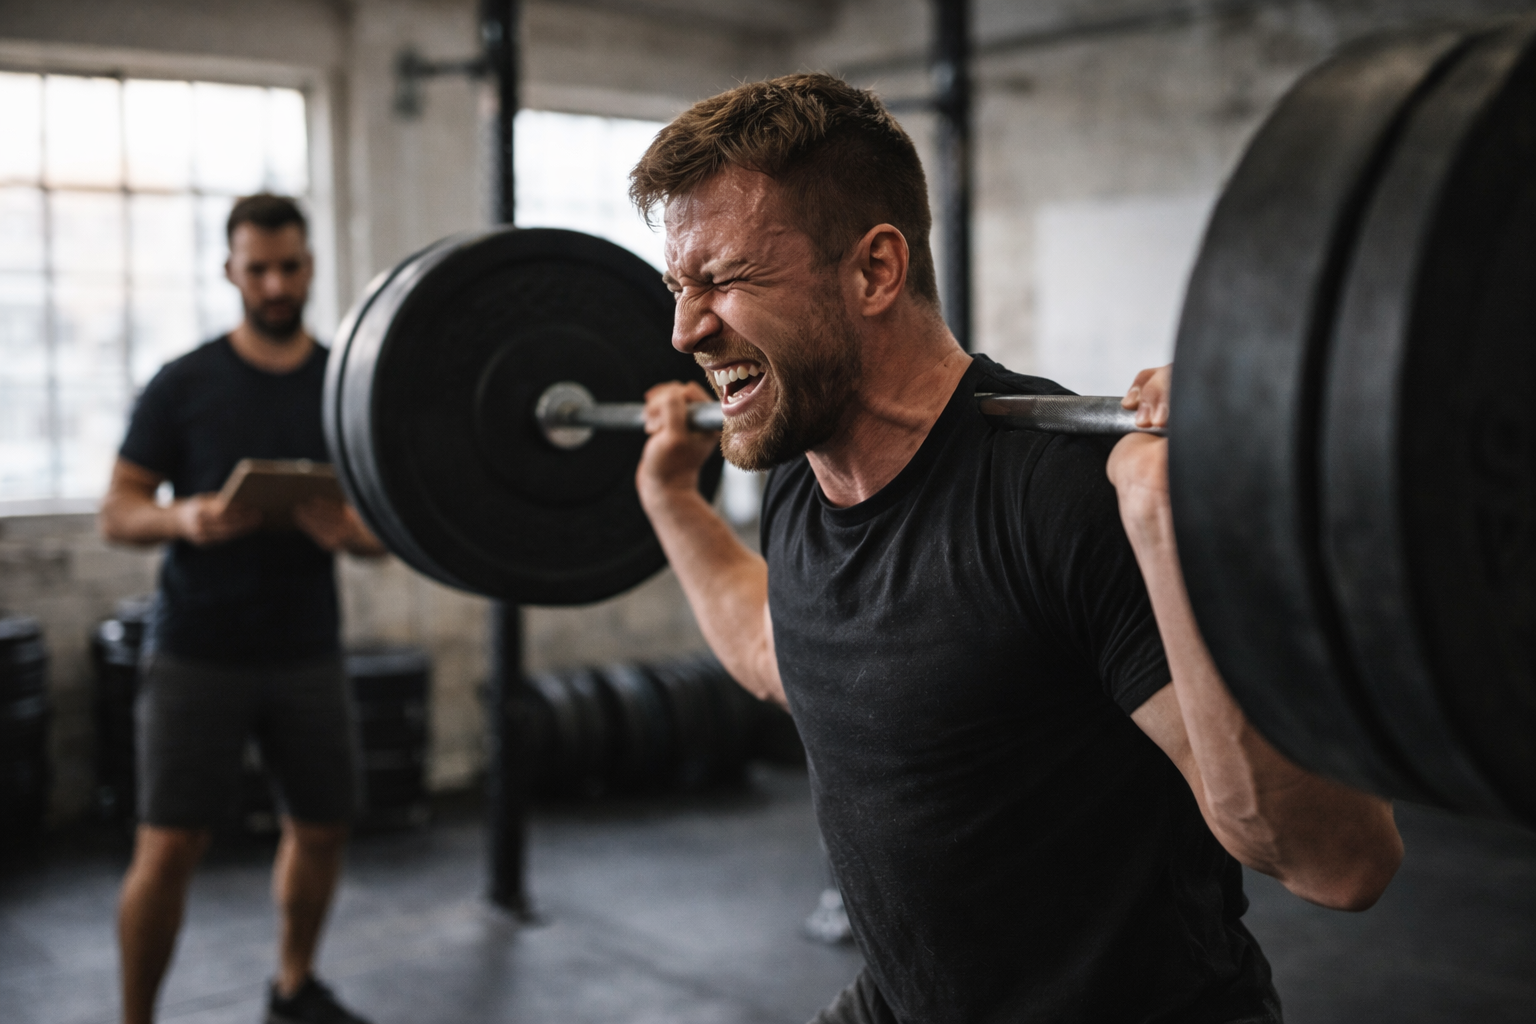
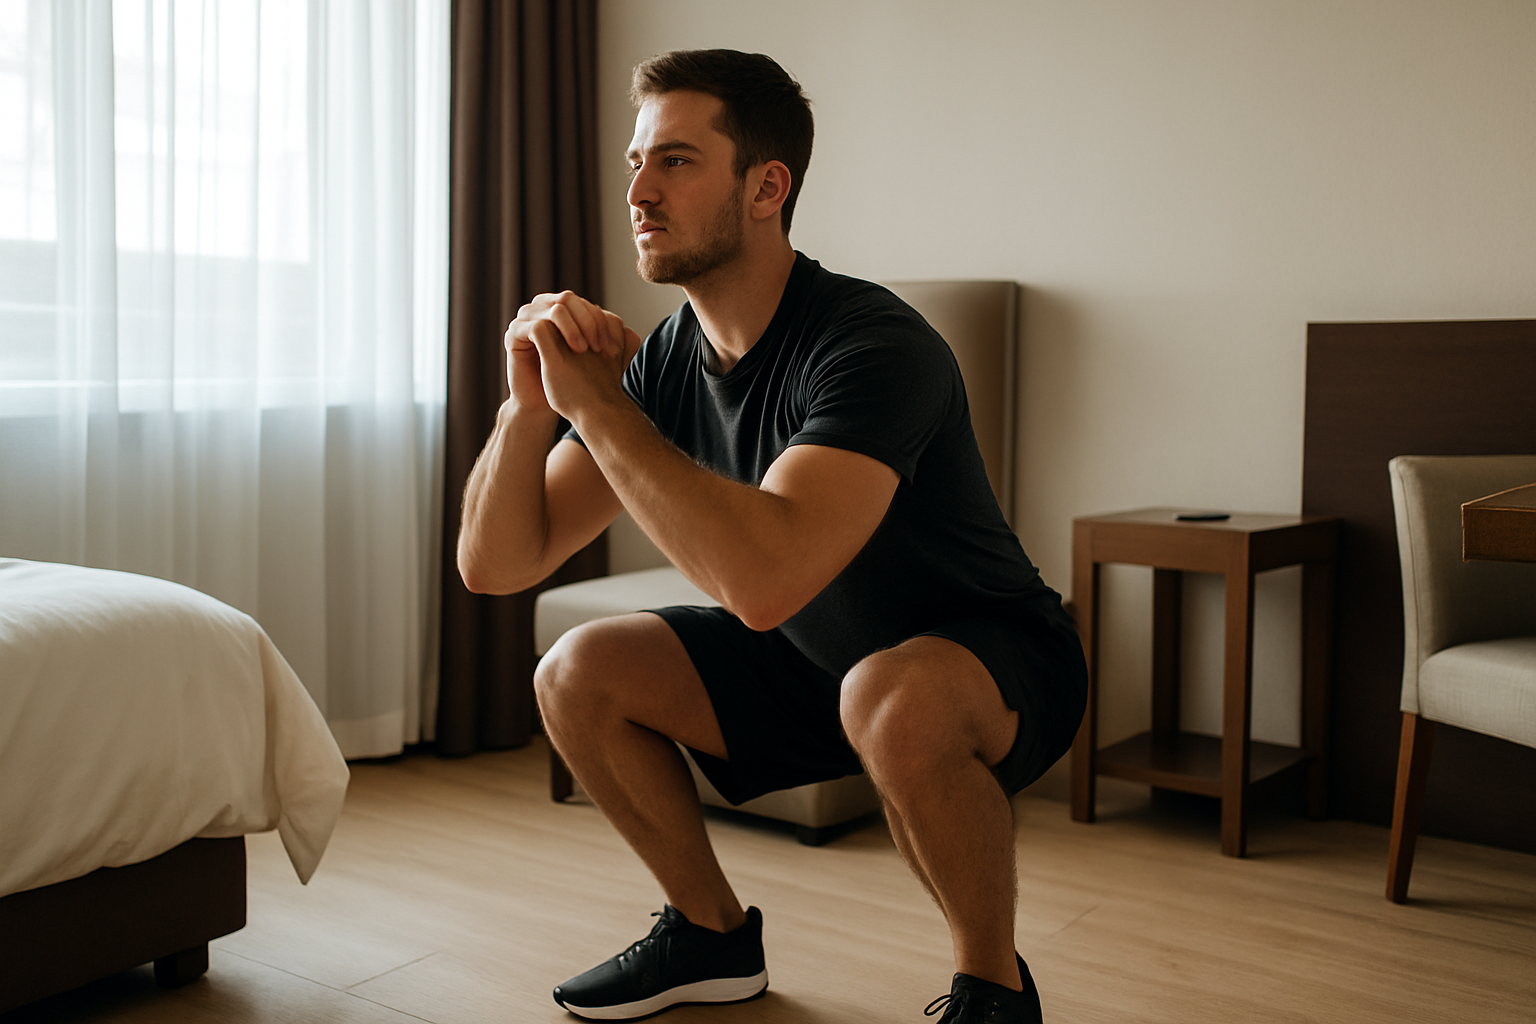
Technique is often the hidden culprit:
Clean movement means lower irritation and higher performance.
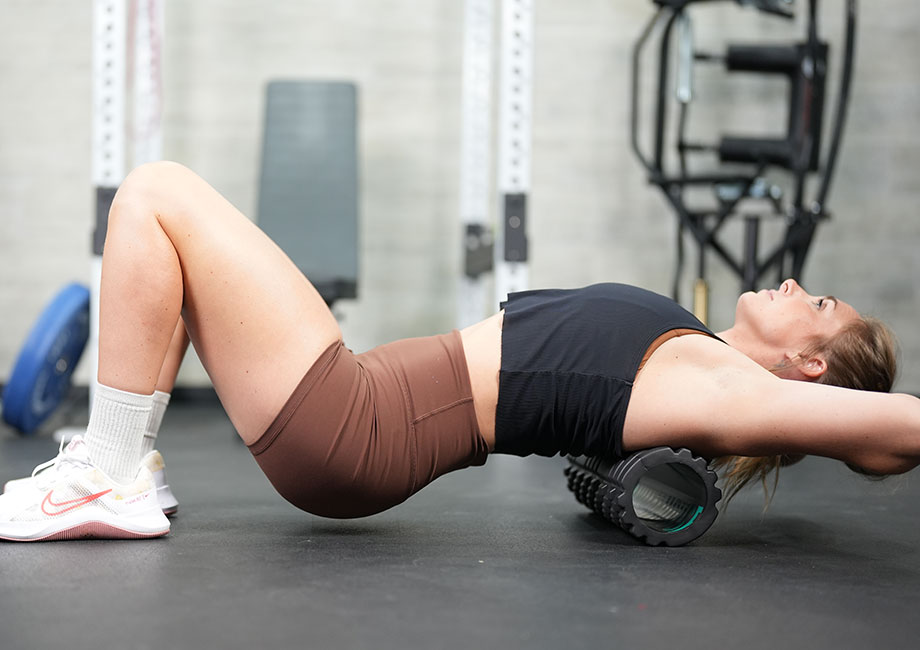
Unlike acute injuries, most wrist and elbow issues improve with warmth and circulation.
Try:
Avoid icing unless swelling is present. Tendons respond better to movement than immobilization.
Return to heavier or high-volume work slowly:
Wrist and elbow pain rarely require stopping training.
They require improving mobility, balancing strength, and cleaning up technique.
When you build resilient forearms, improve your front rack, and progress gymnastics wisely, your wrists and elbows become assets—not limitations.
Train the small muscles now, so the big lifts stay pain-free later.