The Smart Way to Train Through Shoulder Pain

Shoulder pain doesn’t have to stop your training. Learn the causes, prevention strategies, and safe ways to stay active while rebuilding strength and stability.
By
William Baier, MS, CSCS, USAW, CFL2
November 15, 2025
The Smart Way to Train Through Shoulder Pain

William Baier, MS, CSCS, USAW, CFL2

   •    

November 15, 2025

The Smart Way to Train Through Shoulder Pain

Shoulder pain doesn’t always mean stop—it means pay attention.

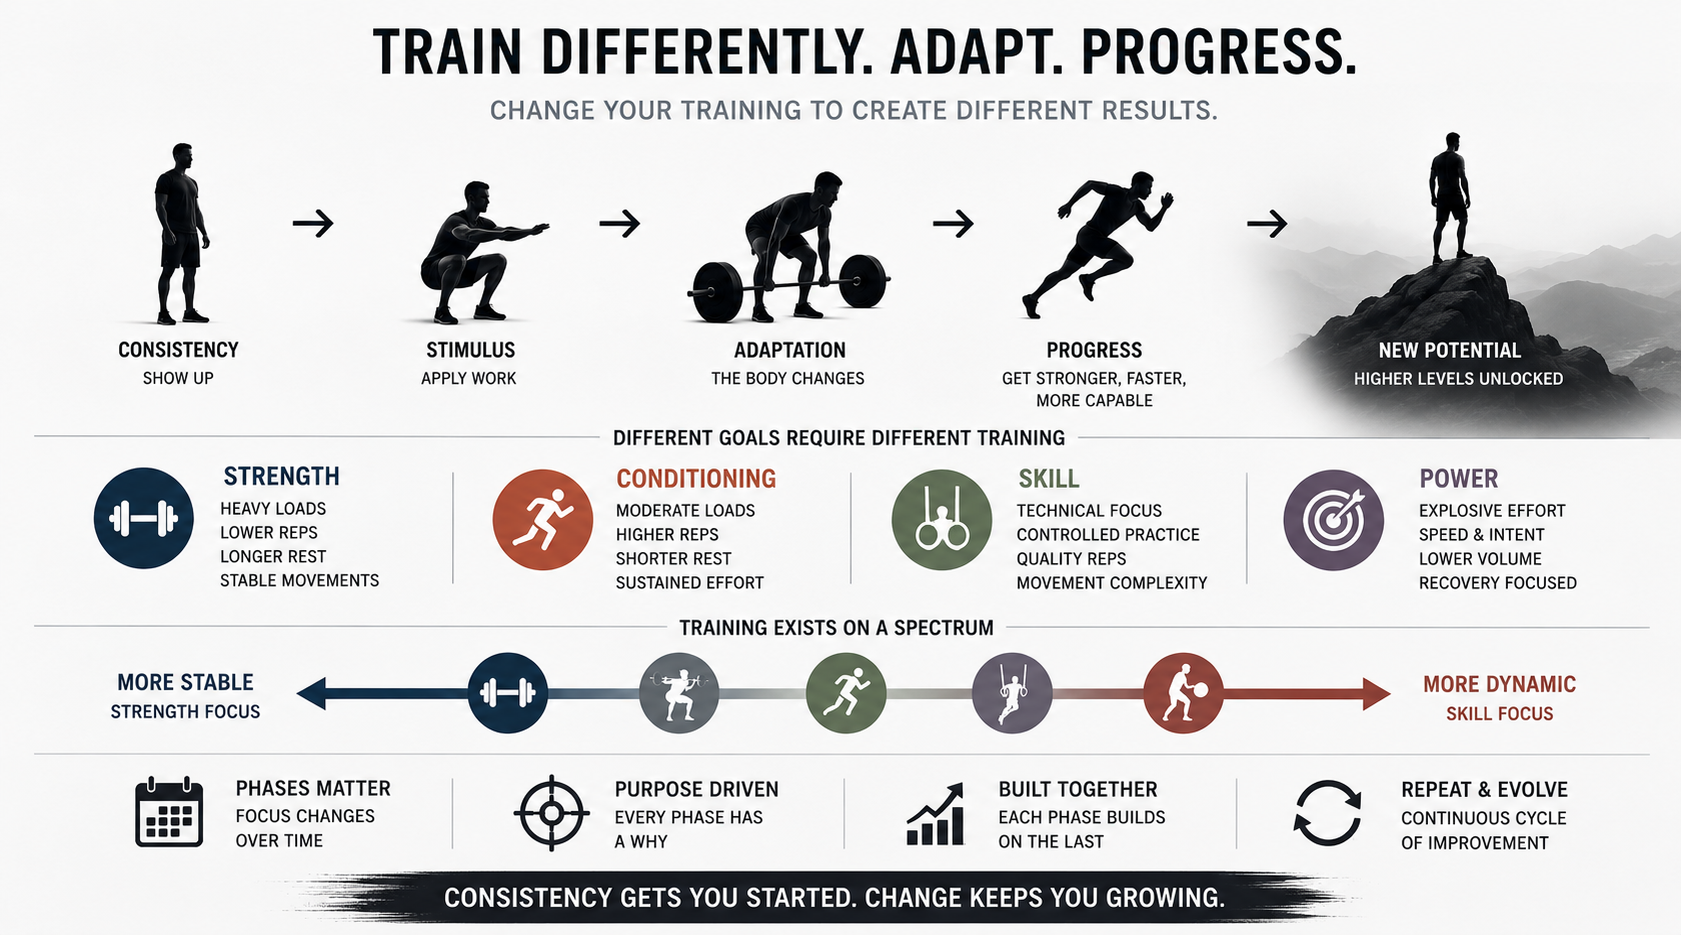
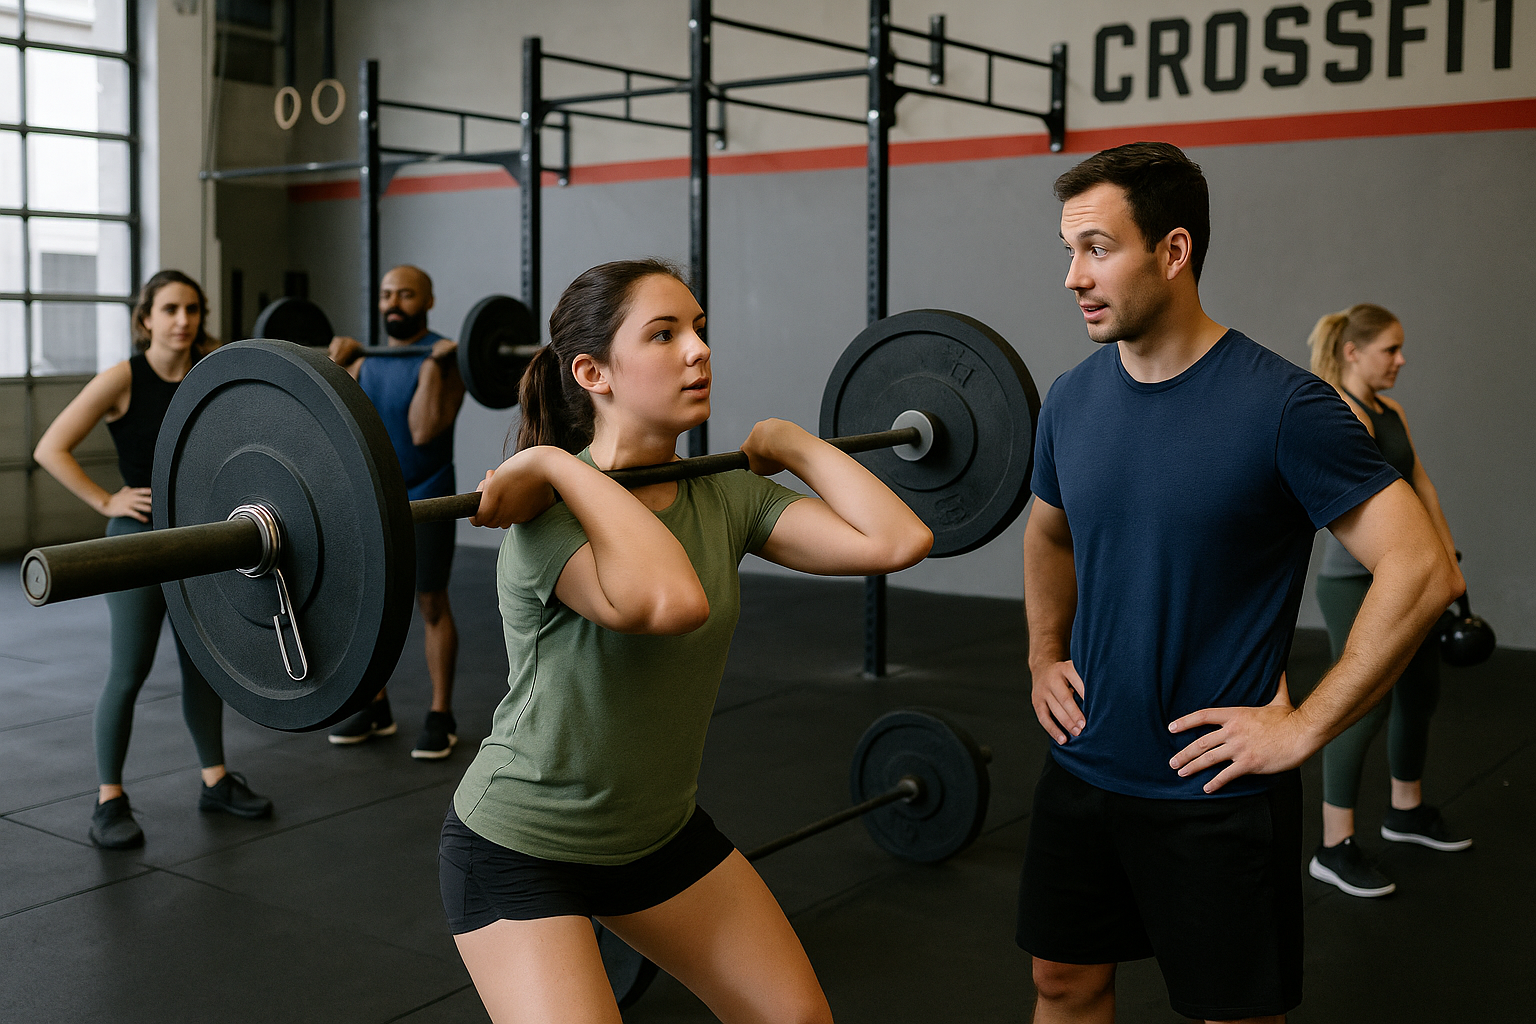
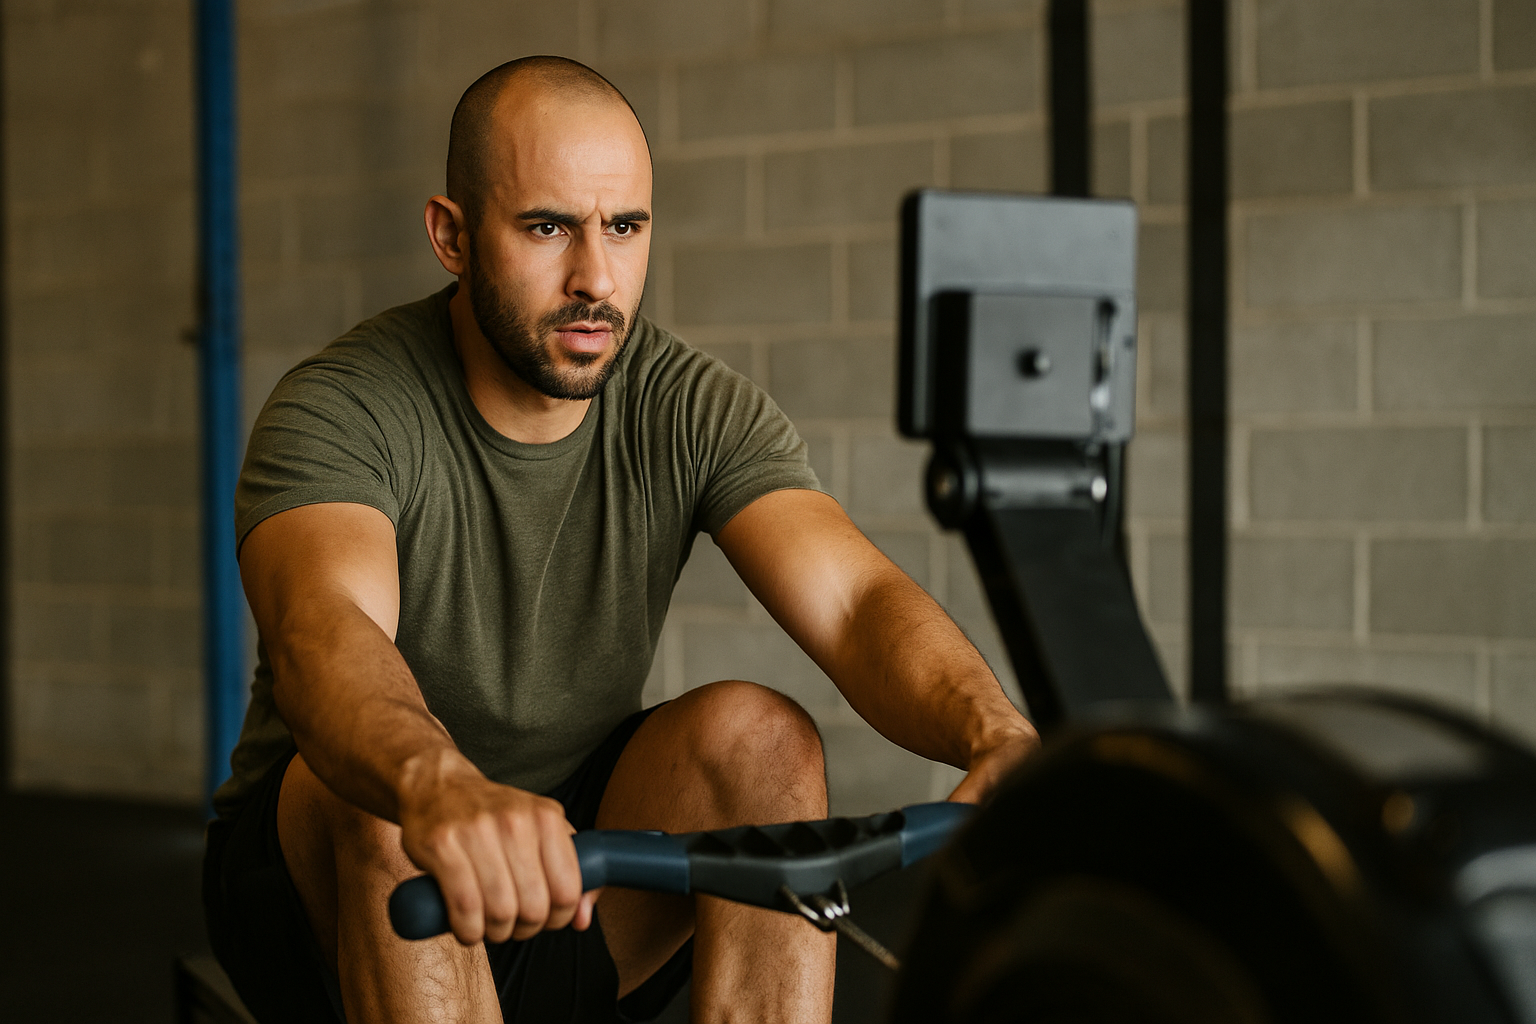
In functional fitness and strength training, the shoulders take on nearly everything: pressing, pulling, hanging, and stabilizing under load.
That versatility makes them strong—but also vulnerable when volume, technique, or recovery slip.

The good news? Most shoulder pain isn’t a permanent setback.
With the right strategy, you can stay active, rebuild strength, and prevent it from returning.

Why Shoulder Pain Happens

The shoulder is your body’s most mobile joint—and the least stable. It relies on small stabilizing muscles, coordinated movement, and strong posture to function well.

When that balance breaks down, irritation and impingement follow.

Common causes include:

  • Excessive overhead volume or poor pressing mechanics
  • Weak rotator cuff or scapular stabilizers
  • Limited thoracic mobility
  • Overuse without recovery (too many pull-ups, dips, or handstands)
  • Imbalance between pushing and pulling

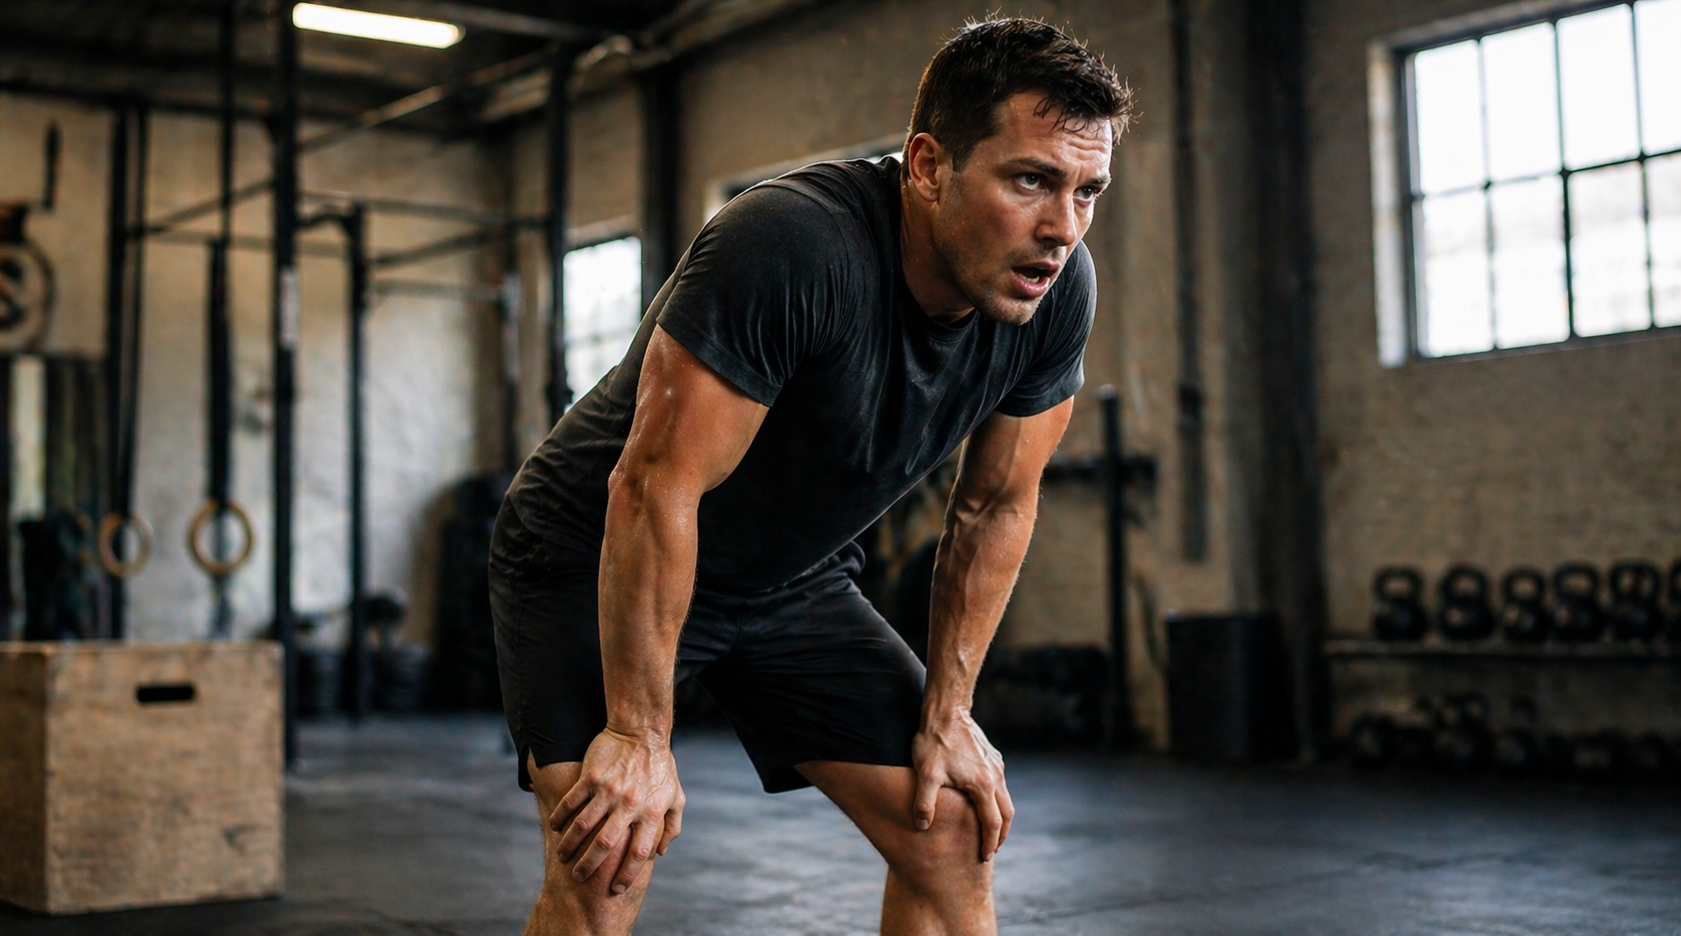
Pain often appears gradually: first during overhead work, then during warm-ups, and finally even at rest.
That’s your signal to adjust, not to quit.

Step 1: Identify What Type of Pain You’re Dealing With

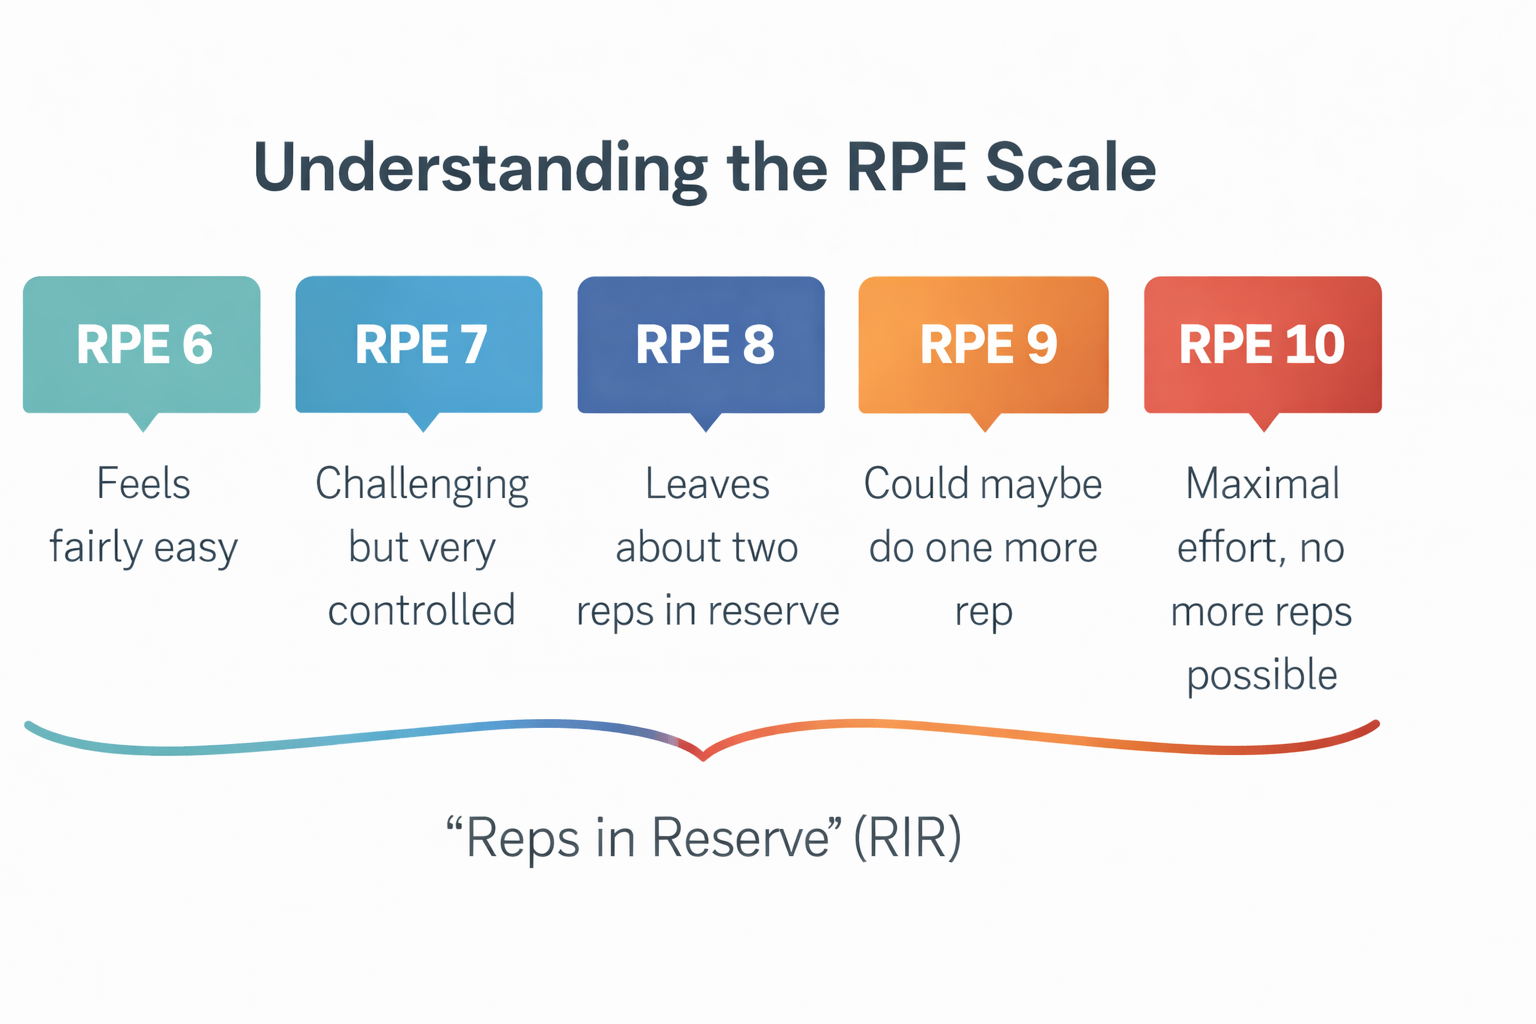
Training pain (tight, dull, or fatigued): often signals poor movement control or tissue overload.
Sharp or radiating pain: could indicate joint or tendon irritation—time to modify and reduce volume.

A general rule: if pain changes how you move or worsens as you warm up, it’s not just soreness.
Address it before it becomes an injury.

Step 2: Adjust, Don’t Abandon

Completely stopping training can cause deconditioning and make recovery slower.
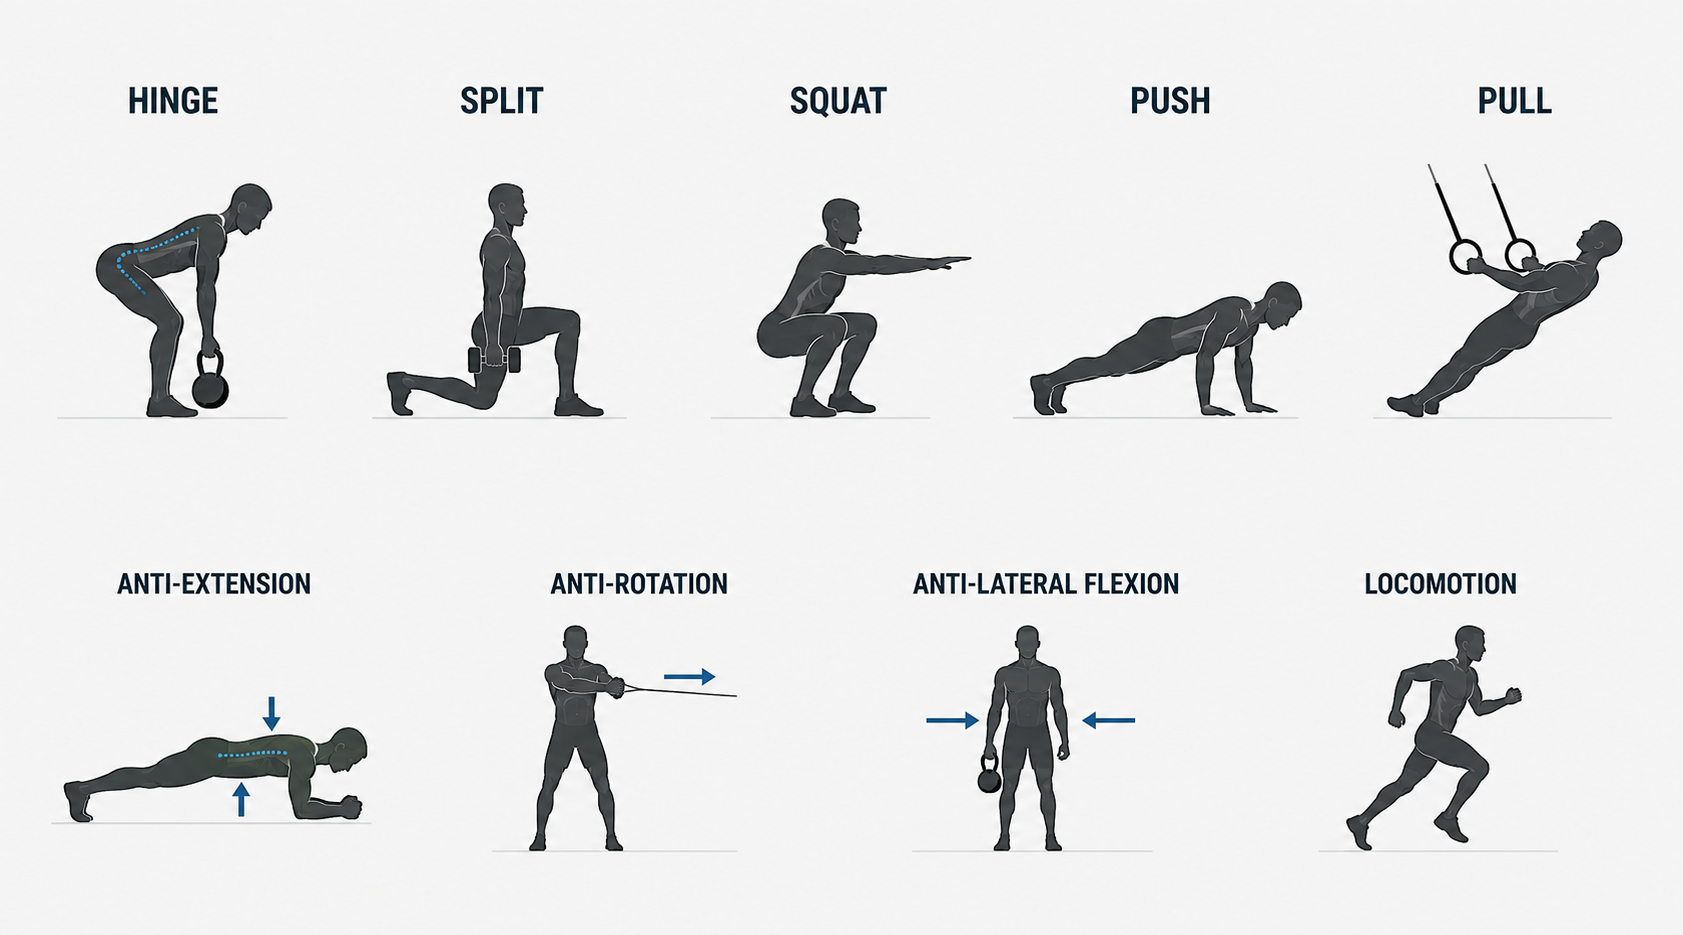
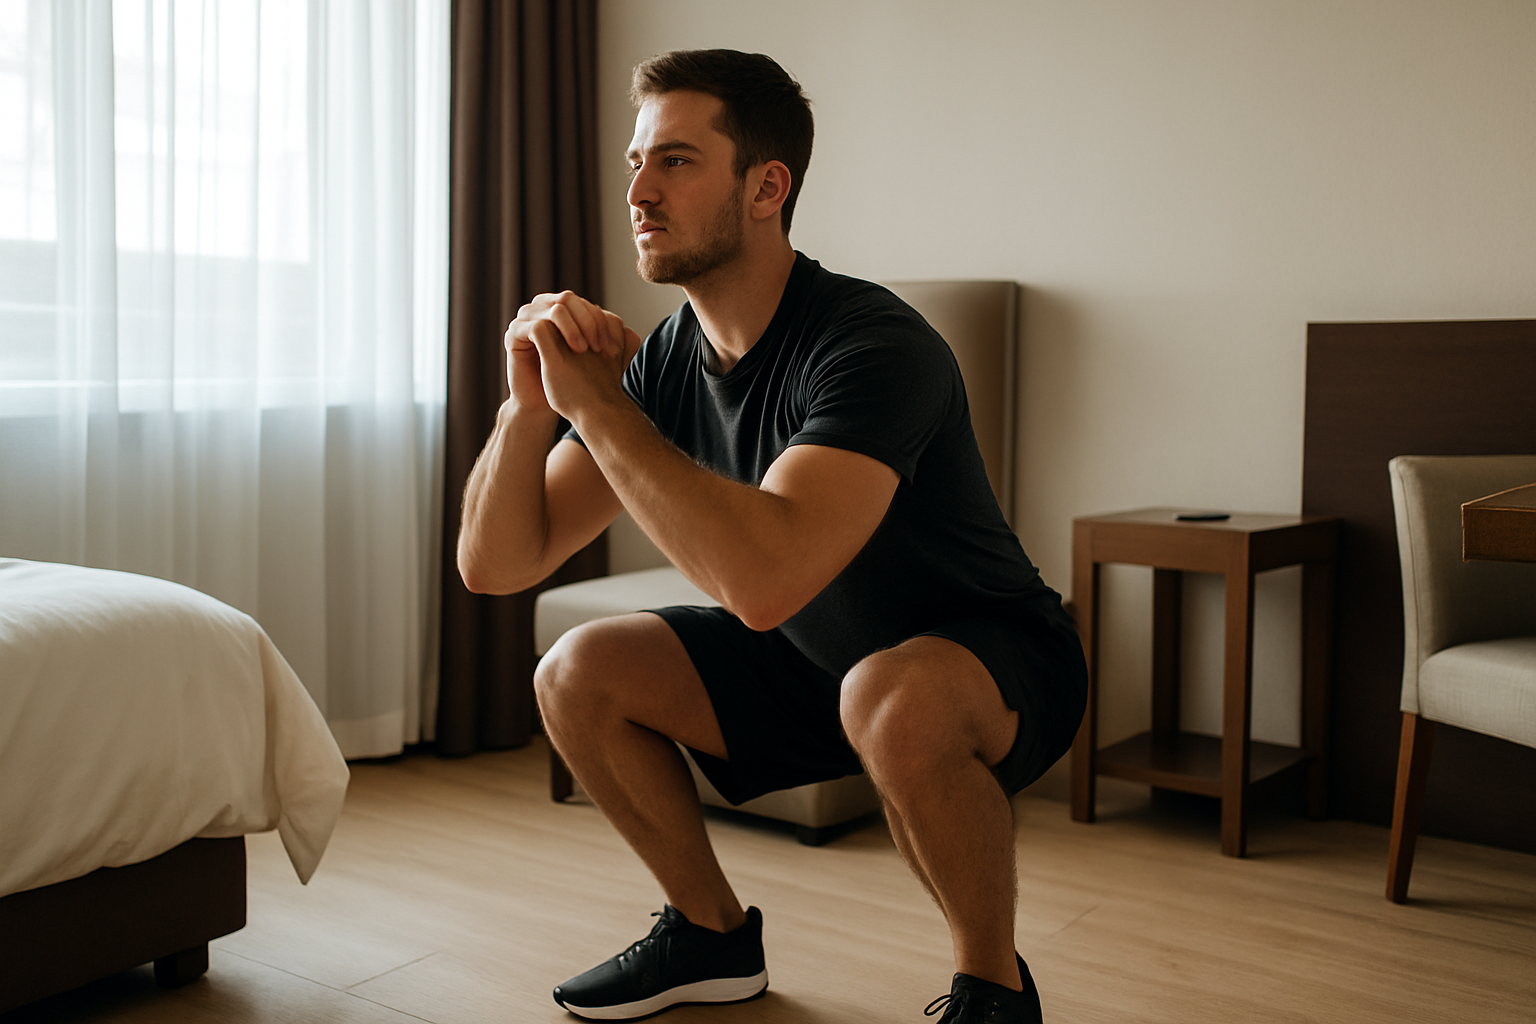
The key is to modify intelligently—train what’s pain-free and supports healing.

Try these swaps:

MovementModificationKipping pull-upsStrict or banded pull-upsPush press or jerkDumbbell presses with neutral gripSnatchesPower cleans or kettlebell swingsHandstand workPlank shoulder taps or pike holds

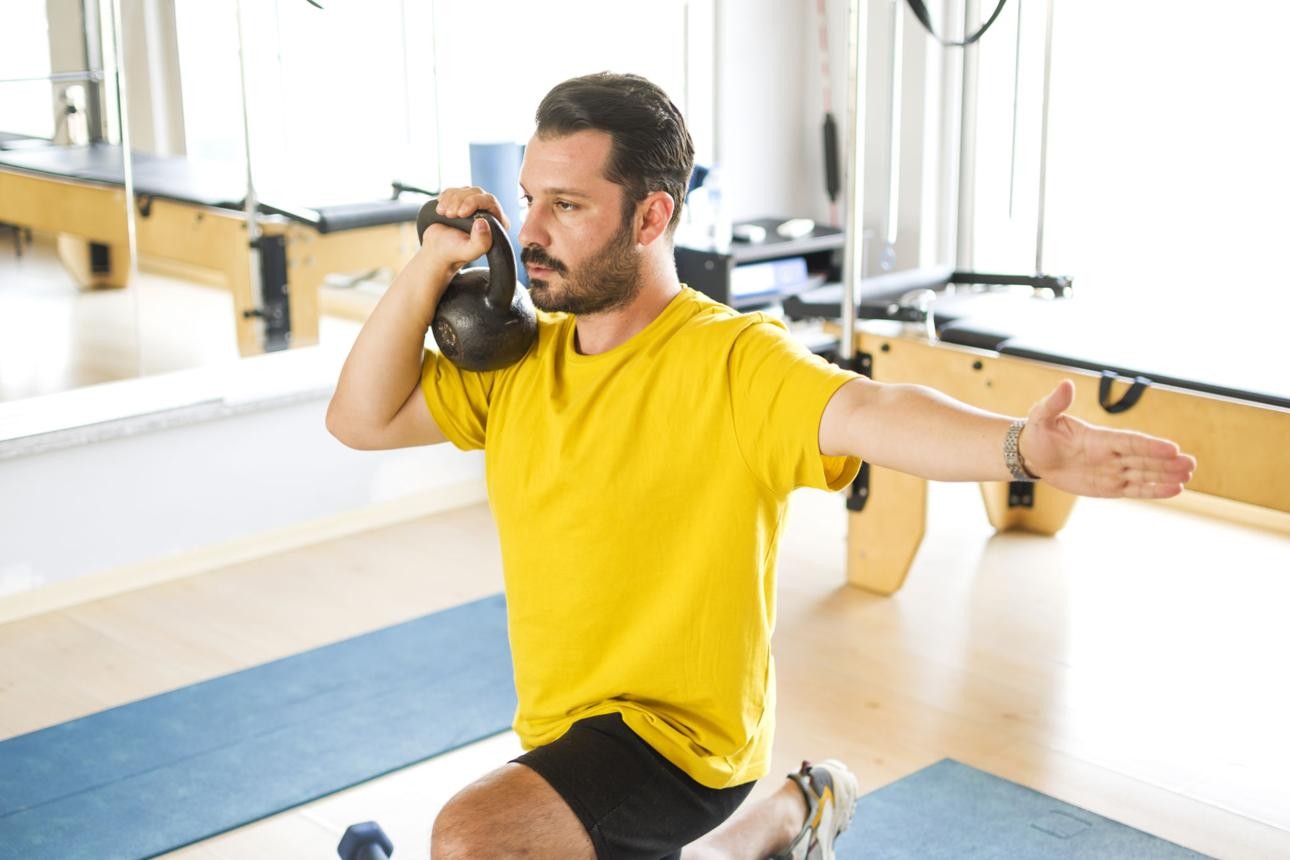
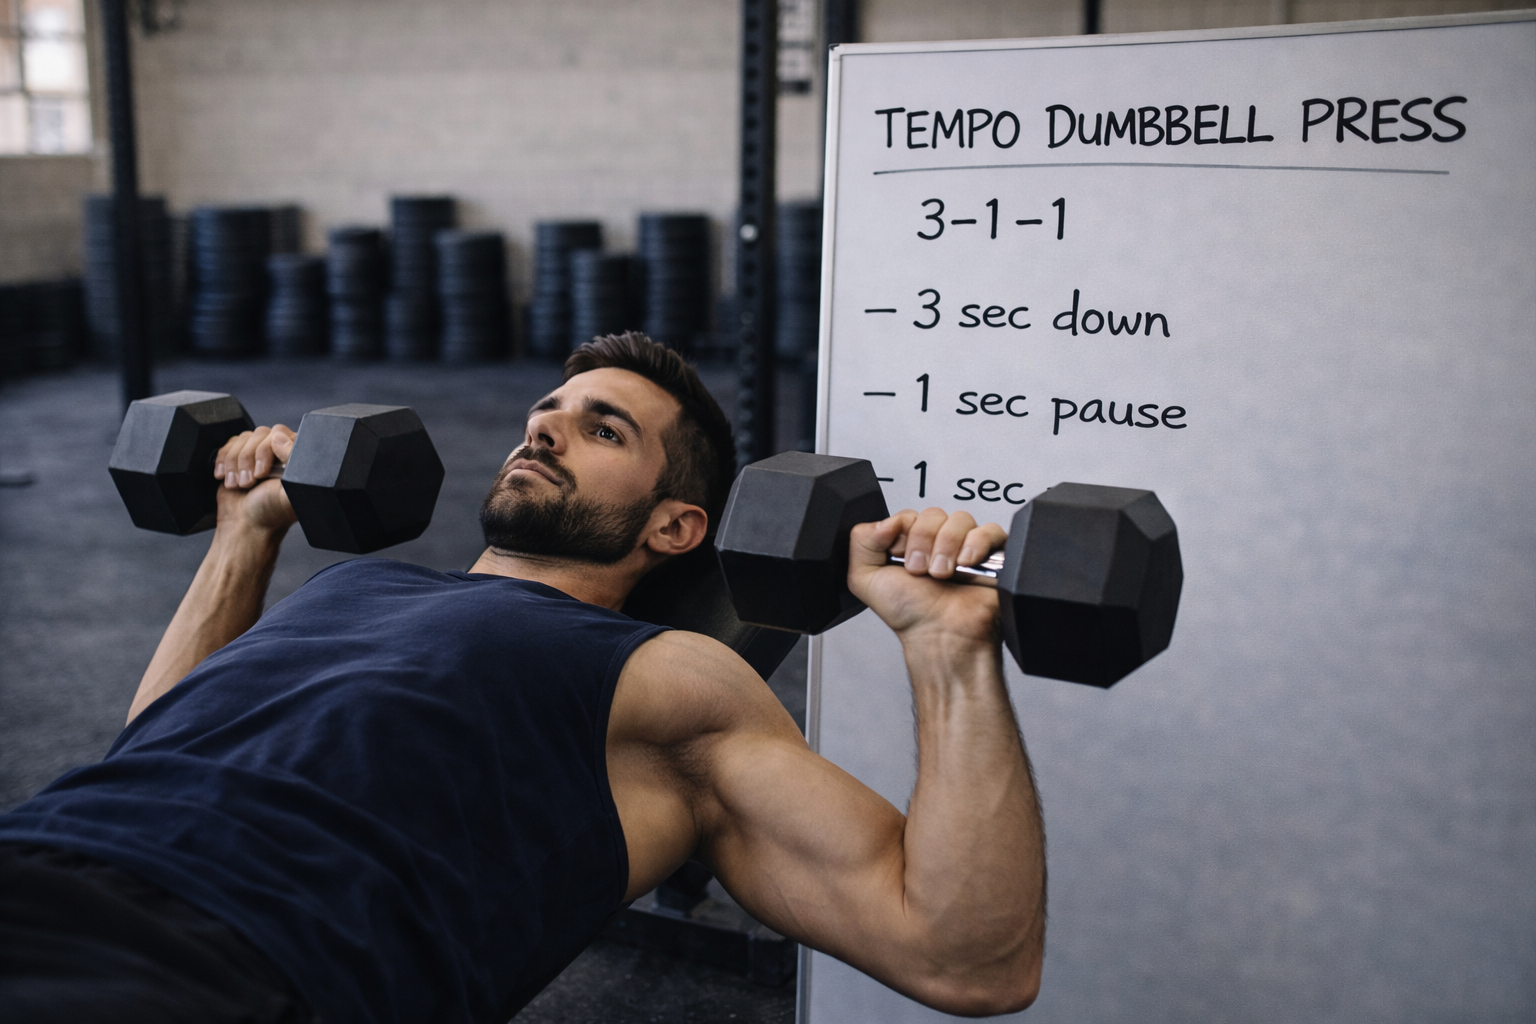
Lower load and controlled tempo strengthen stabilizers without aggravating the joint.
Pain-free motion is productive motion.

Step 3: Strengthen the Rotator Cuff and Scapular Stabilizers

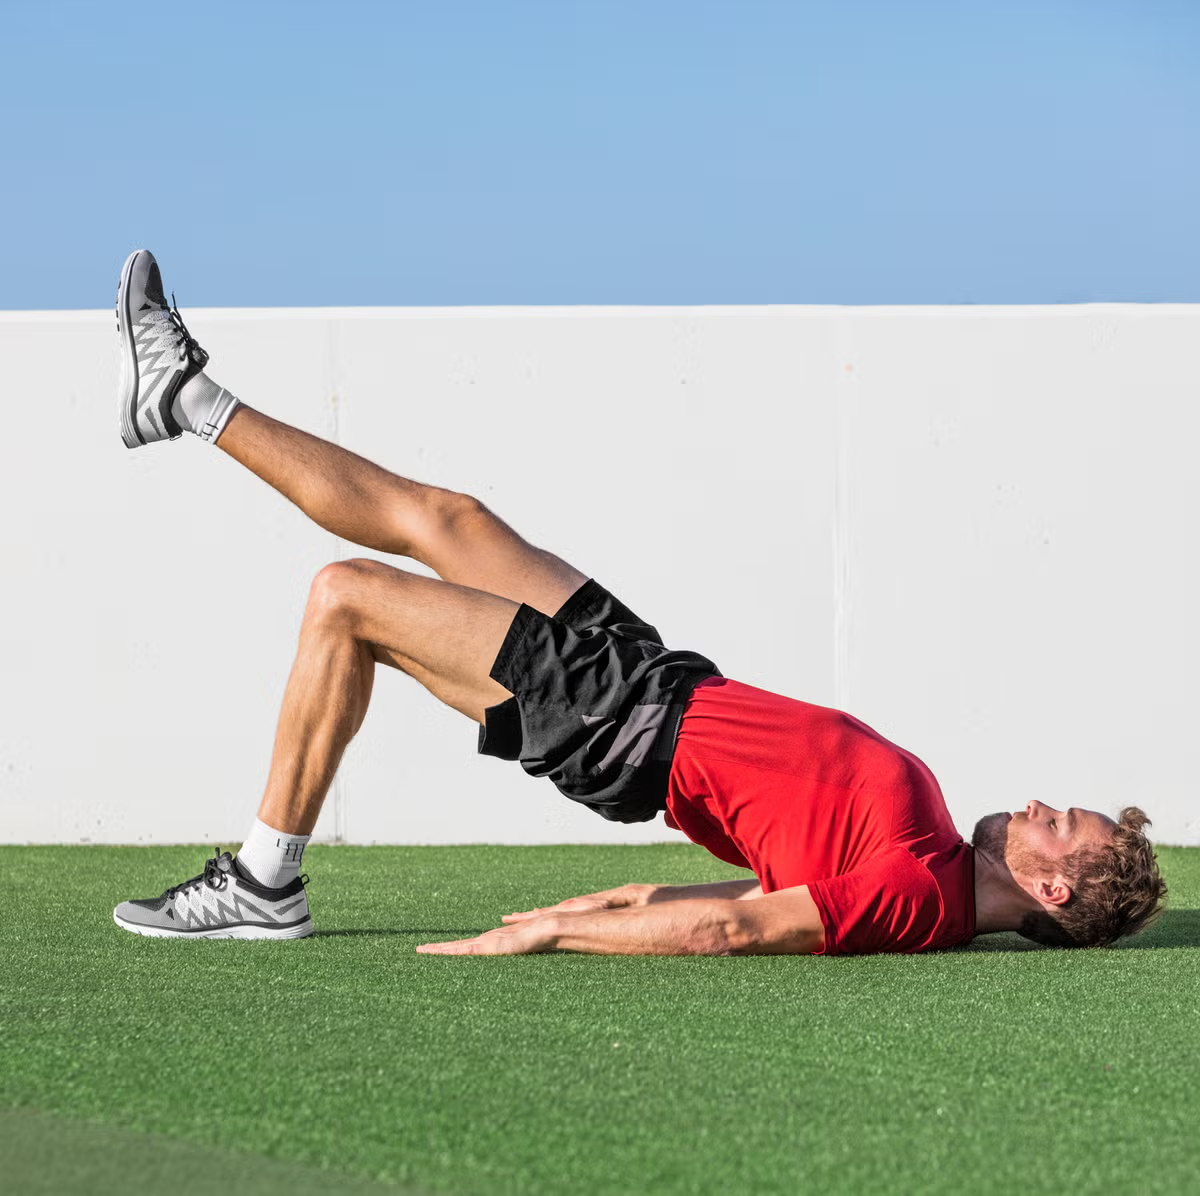
These small muscles are your shoulders’ shock absorbers. Training them consistently builds durability.

Top accessory movements:

  • Band external rotations
  • Scapular push-ups
  • Face pulls
  • Cuban presses
  • Banded Y/T/W raises

2–3 sets of 10–15 reps, 3–4 times per week, can dramatically improve shoulder resilience.

Step 4: Restore Mobility (Without Overstretching)

Tight pecs, lats, and upper traps can restrict motion and pull the shoulder out of alignment.

Use these drills:

  • Foam roll or lacrosse-ball pec release
  • Thoracic spine extensions over a foam roller
  • Banded shoulder flexion stretches

Mobility should create space for movement—not hyperflexibility that destabilizes the joint.

Step 5: Balance Your Programming

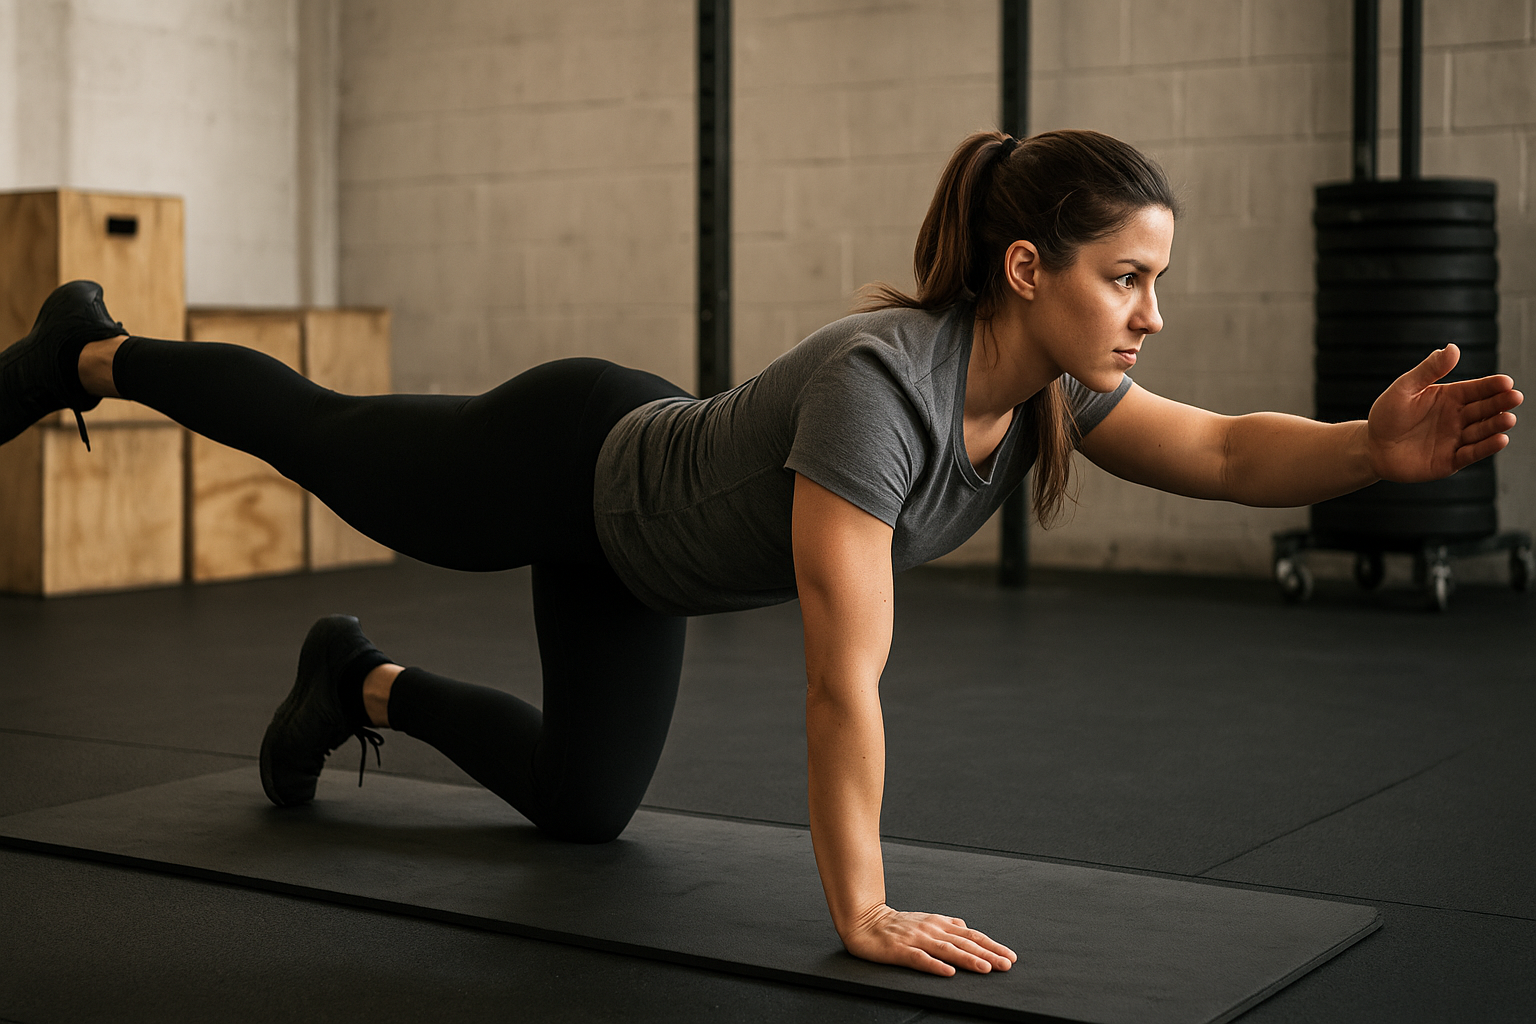
Most athletes push more than they pull.
Over time, this imbalance leads to forward-rounded posture and shoulder pain.

For every pressing session, include equal or greater pulling volume: rows, face pulls, band pull-aparts, or ring rows.
Strong scapular retractors keep the shoulder healthy.

Step 6: Don’t Ignore Recovery

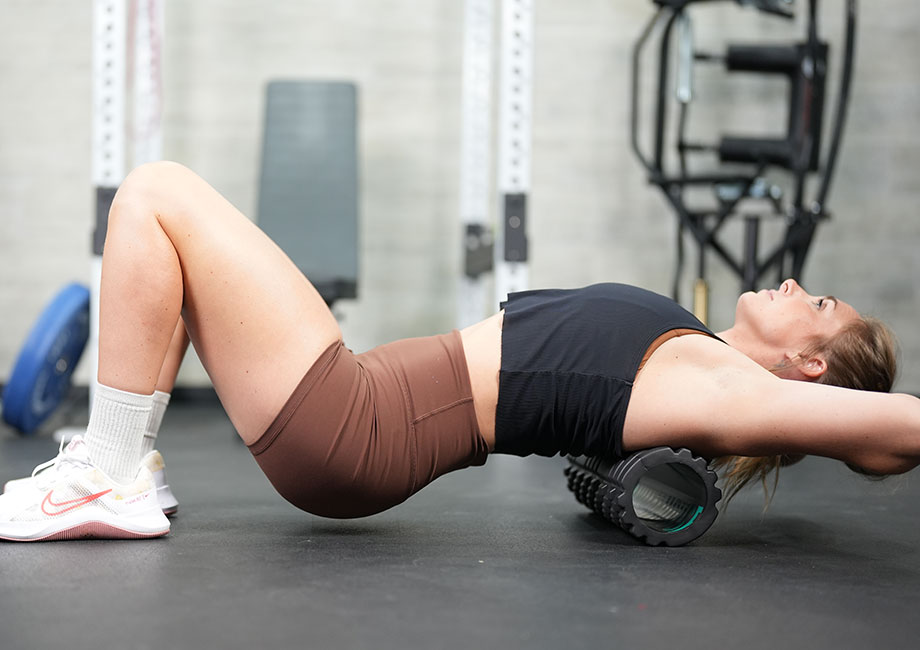
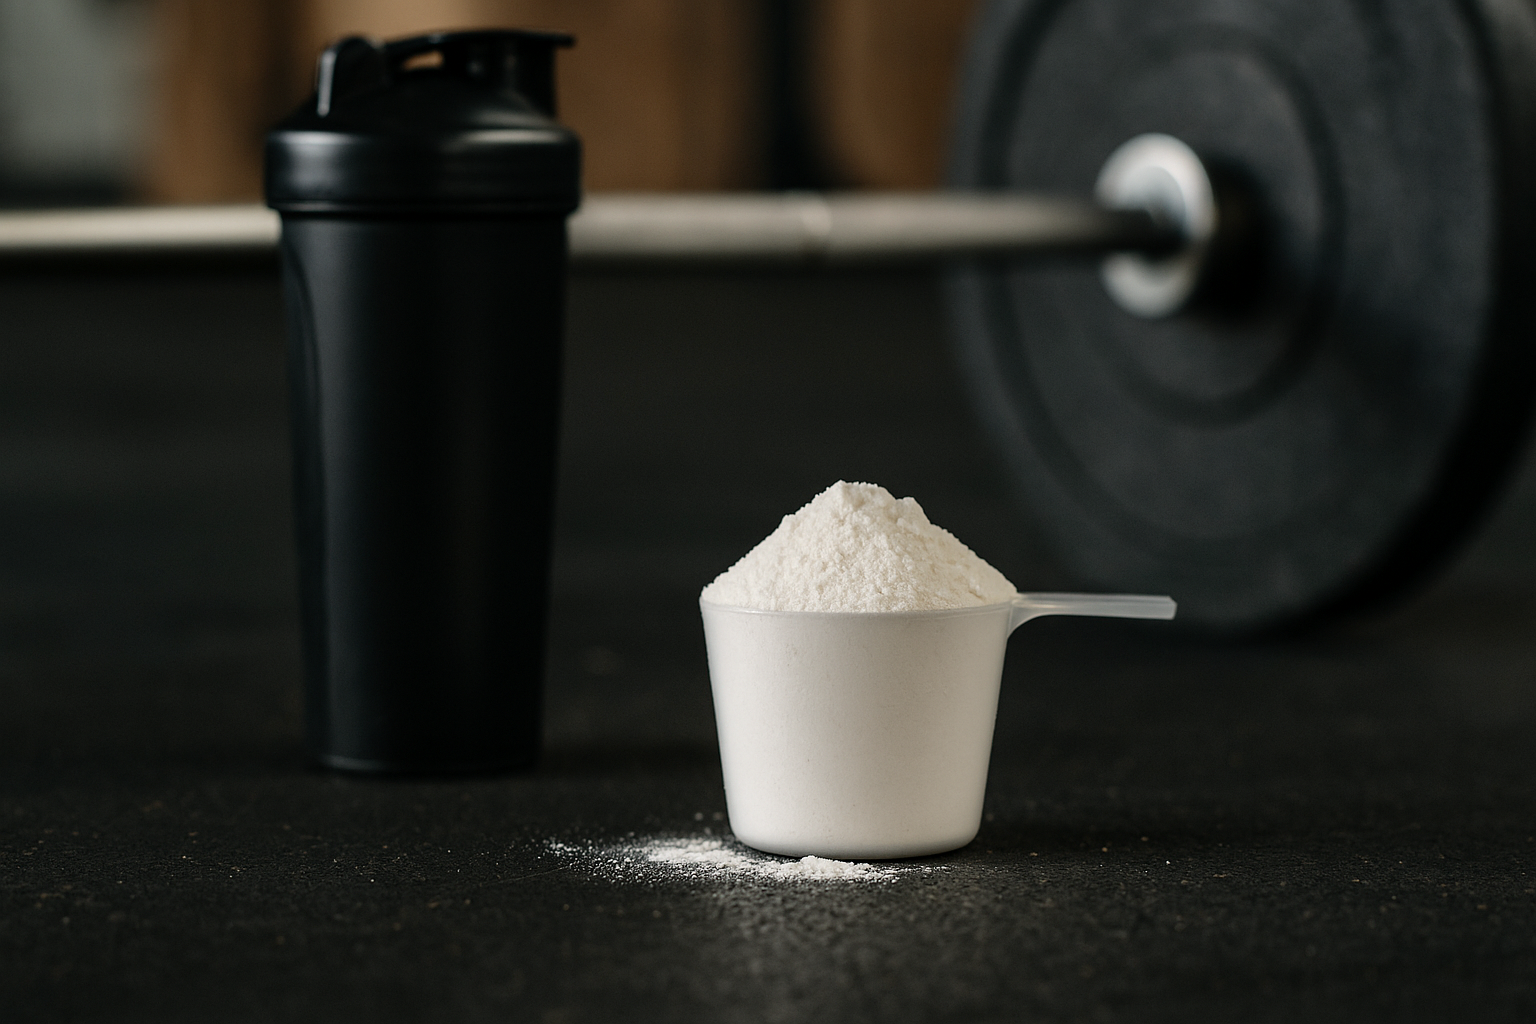
Inflamed tissue needs time, circulation, and nutrients to heal.

  • Prioritize sleep (7–9 hours) and consistent hydration.
  • Use active recovery—light rowing, walking, or mobility.
  • Avoid daily anti-inflammatories; they mask feedback your body needs.

If symptoms persist beyond two to three weeks despite modifications, consult a sports medicine or physical therapy professional.

The Bottom Line

Shoulder pain doesn’t mean you’re broken—it means your training needs refinement.
By addressing mechanics, strength balance, and recovery, you can turn pain into progress.

Train smart, move with purpose, and build the shoulder stability that carries you for years to come.

Continue reading

Outdoor Workouts for Strength and Conditioning

Outdoor Workouts for Strength and Conditioning

Why Train Outdoors? While gyms provide equipment and structure, stepping outside can supercharge your training in ways that go beyond barbells and rowers. Outdoor workouts challenge your body differently, boost mental health, and connect you with your environment—all while building strength and conditioning. Benefits of outdoor training: Varied surfaces and terrain improve stability, balance, and coordination. Environmental exposure (heat, cold, wind) builds resilience and adaptability. Fresh air and sunlight can improve mood, Vitamin D levels, and recovery. Minimal equipment needed—your body weight, a few simple tools, and creativity are enough. Strength Training Outdoors You don’t need a squat rack to build strength. By using natural resistance and bodyweight, you can load your muscles in new ways. Examples: Sandbag carries or sled drags → build raw, functional strength. Weighted backpack squats and lunges → challenge legs and core anywhere. Pull-ups on bars or playground equipment → strengthen upper body and grip. Odd-object lifts (rocks, logs) → develop stability and whole-body tension. Conditioning Work Outdoors Conditioning outside doesn’t just mean running endless miles. Mix sprints, intervals, and carries to build work capacity. Examples: Hill sprints or stair runs → explosive power + cardiovascular endurance. Shuttle runs → change of direction + speed. Farmers carries with kettlebells, dumbbells, or sandbags → grip + aerobic capacity. Circuit training combining running, burpees, and push-ups → whole-body conditioning. Sample Outdoor Strength & Conditioning Workouts Workout 1: Hill Sprint Power Warm-up: 5–10 min jog + dynamic mobility 6×20–30 second hill sprints, walk down to recover Finisher: 3 rounds – 20 push-ups, 20 air squats, 1 min plank Workout 2: Sandbag Strongman 4 rounds: 40m sandbag carry 10 sandbag cleans 10 burpees 400m run Workout 3: Park Circuit 5 rounds for time: 10 pull-ups (playground bar) 20 step-ups (bench or box) 30 sit-ups 200m sprint Tips for Outdoor Training Hydrate well—heat and sun increase fluid needs. Wear stable shoes for uneven ground. Adapt intensity to terrain and conditions. Scale movements just like in the gym—mechanics, then consistency, then intensity. The Bottom Line Outdoor workouts are a powerful way to challenge your fitness, build resilience, and keep training fresh. Whether you’re carrying a sandbag across a field, sprinting hills, or pulling yourself up on a playground bar, you’re building strength and conditioning that transfers directly to life.