William Baier, MS, CSCS, USAW, CFL2
•
November 29, 2025
How to Build Strong, Pain-Free Knees for Training and Daily Life
Healthy knees don’t come from avoiding stress — they come from managing it well.
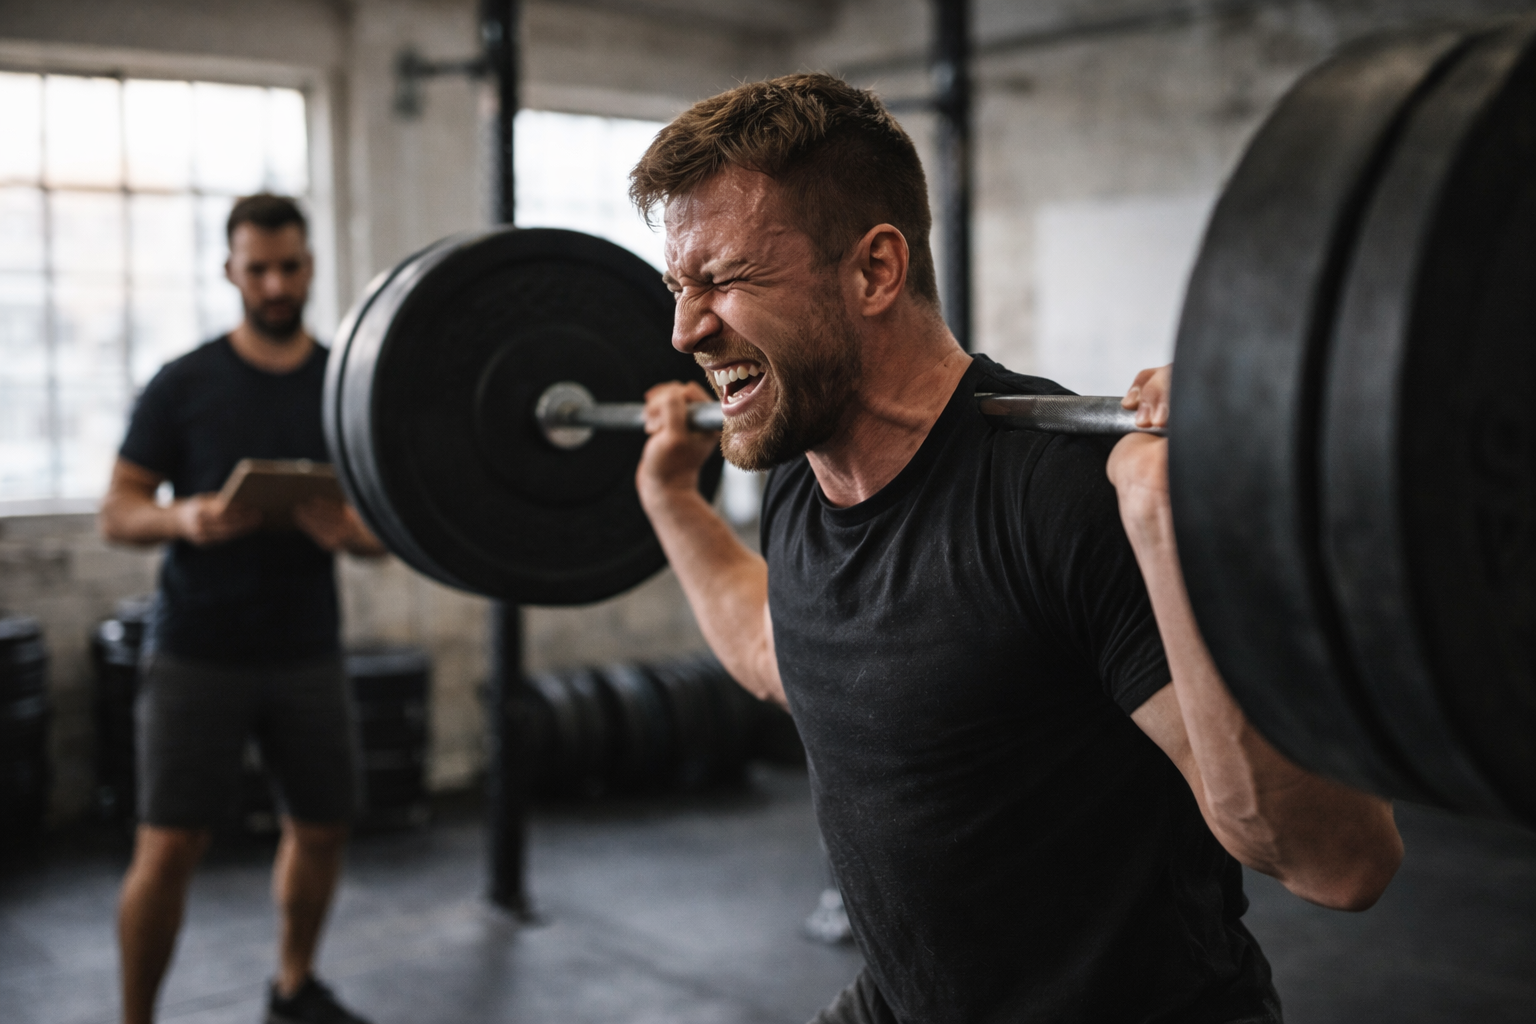
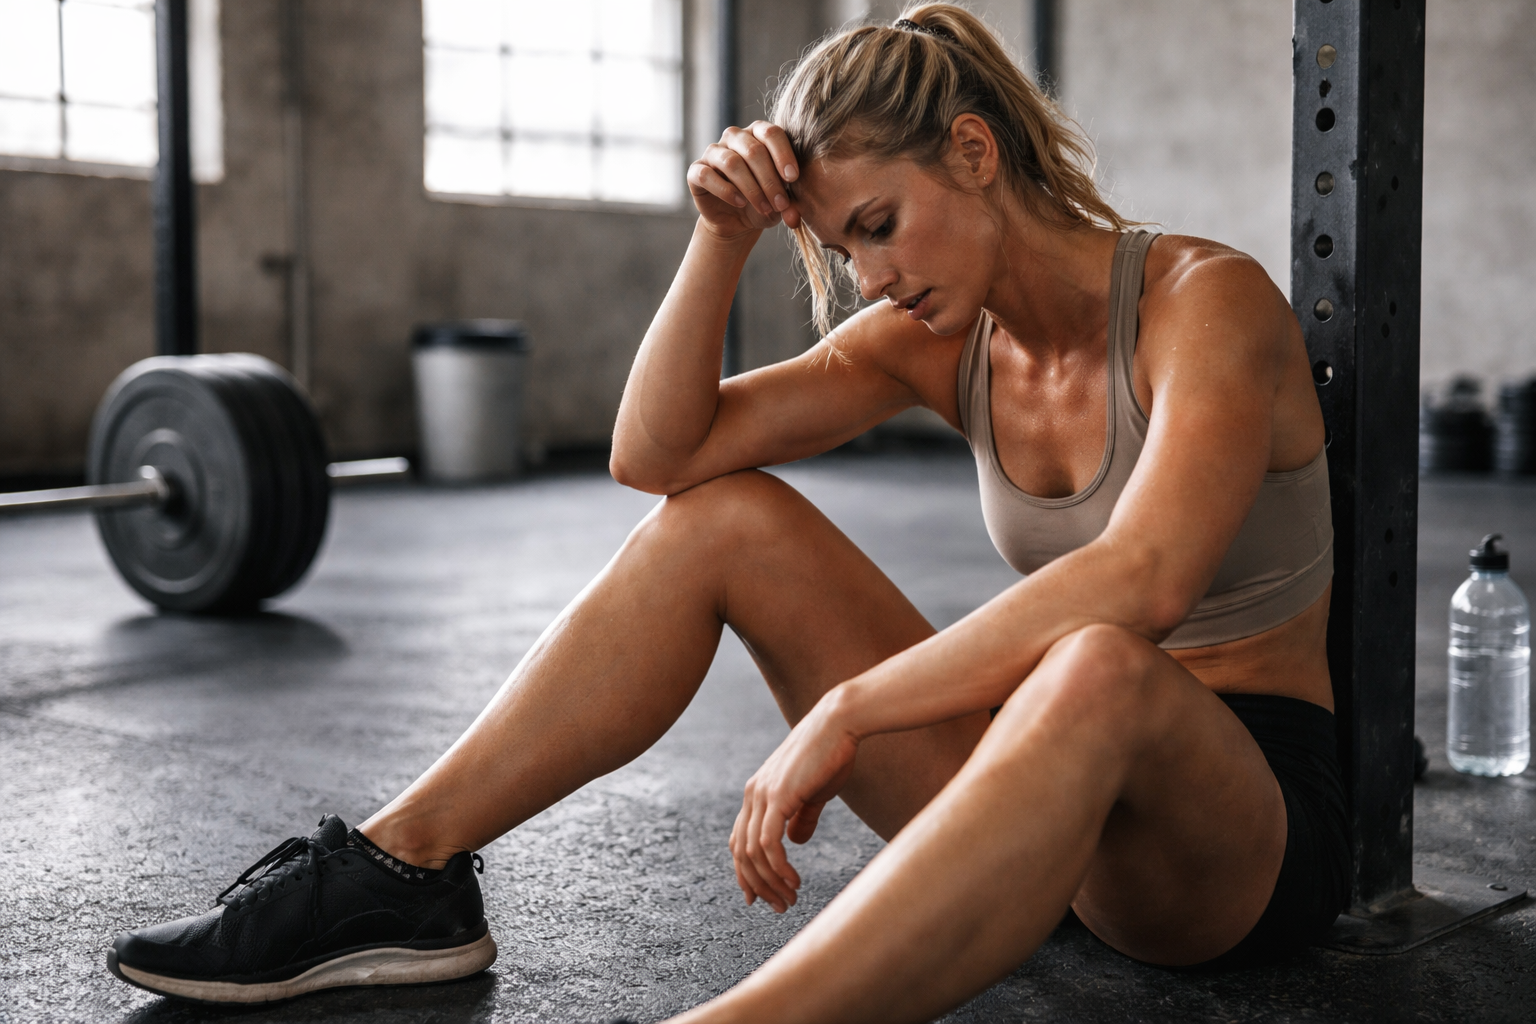
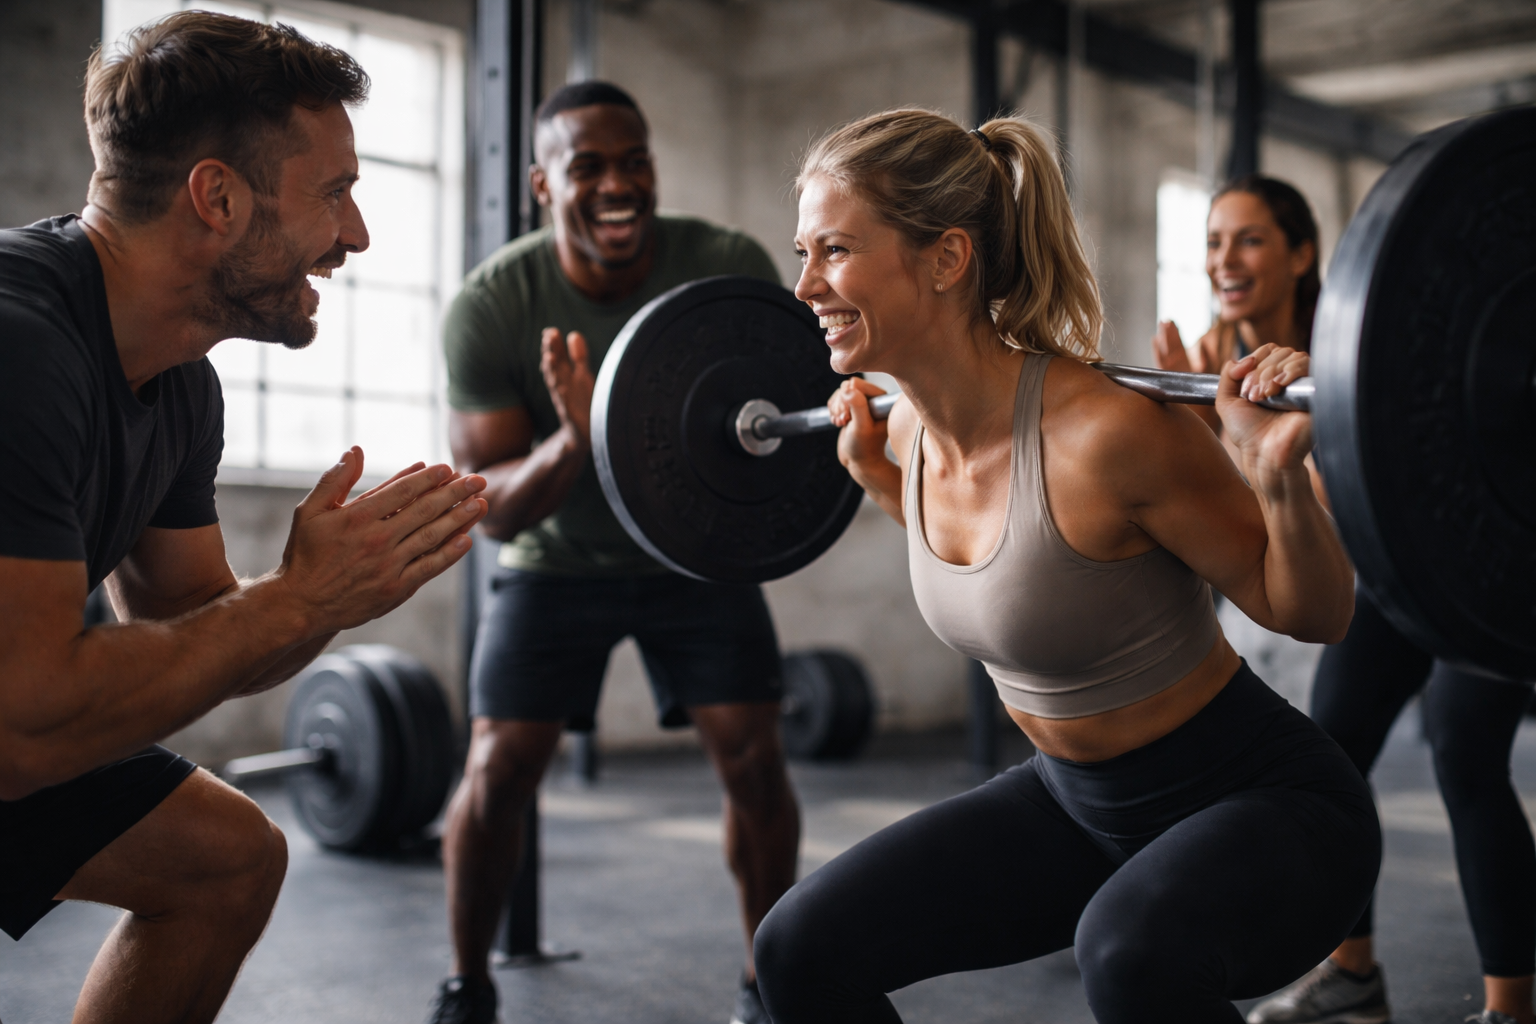
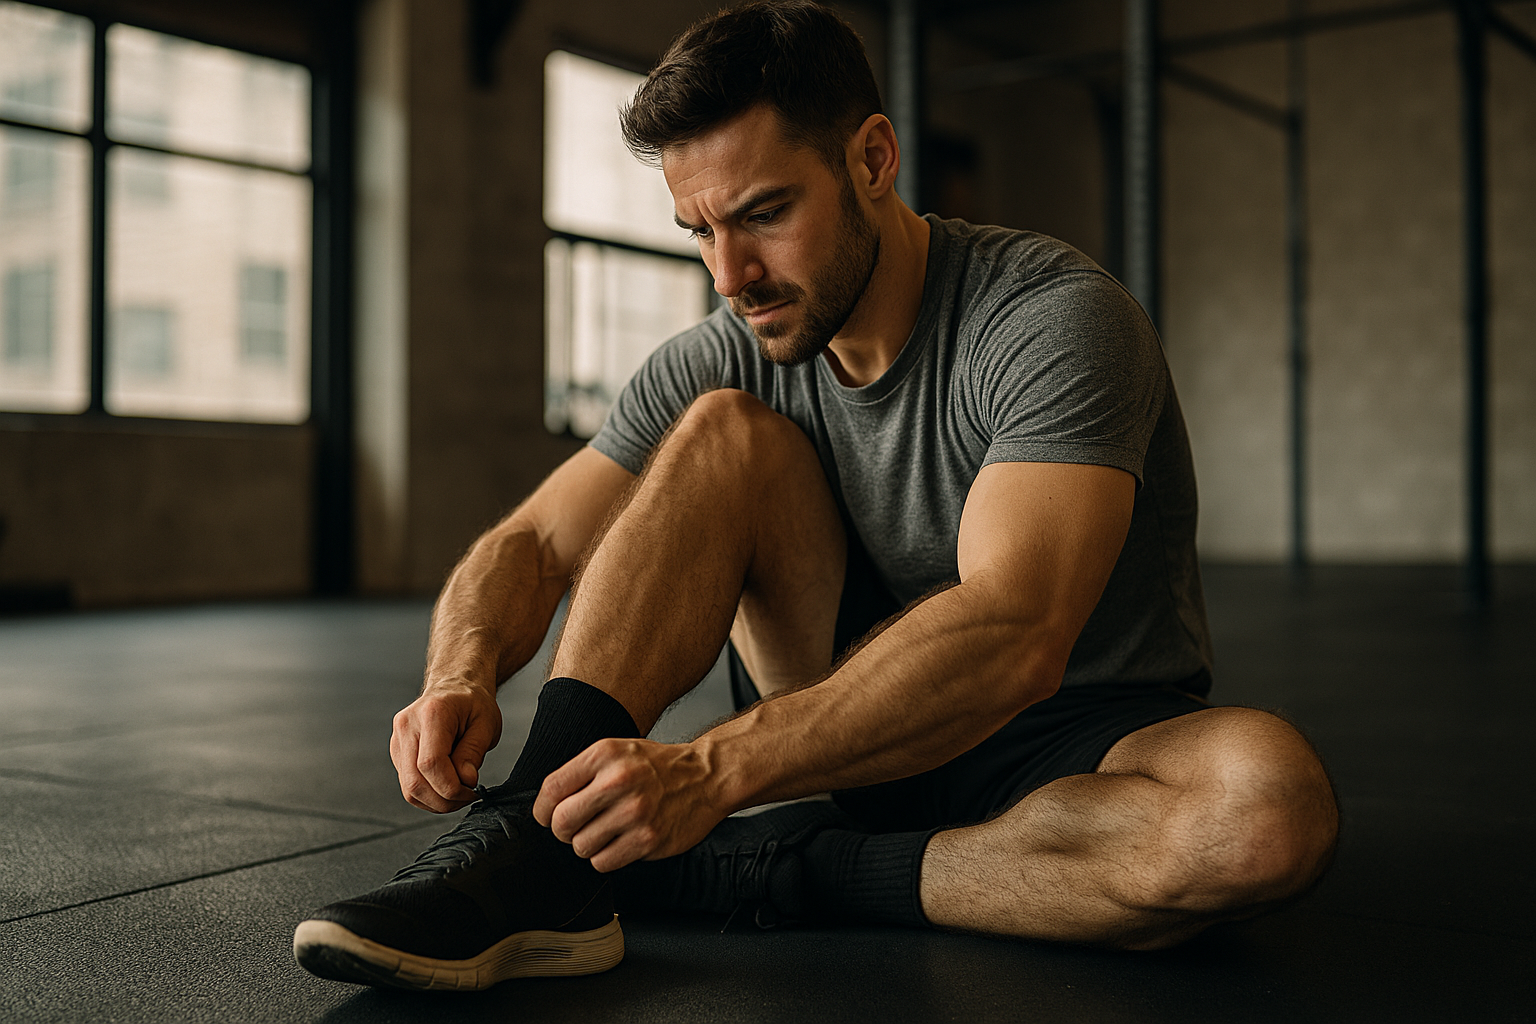
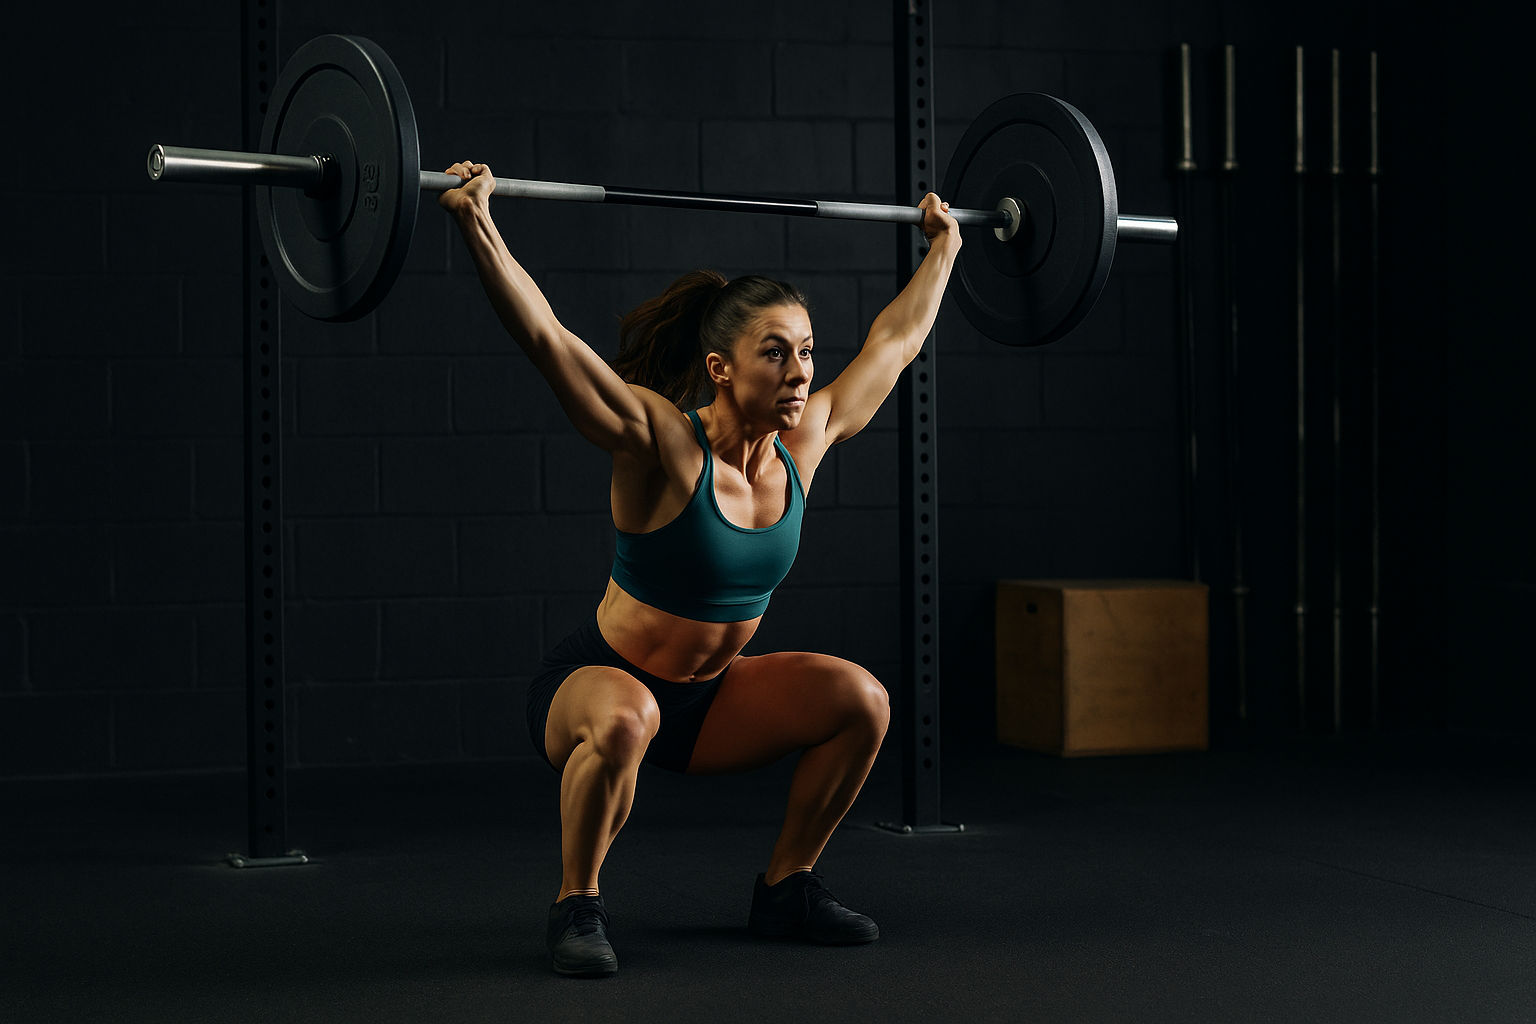
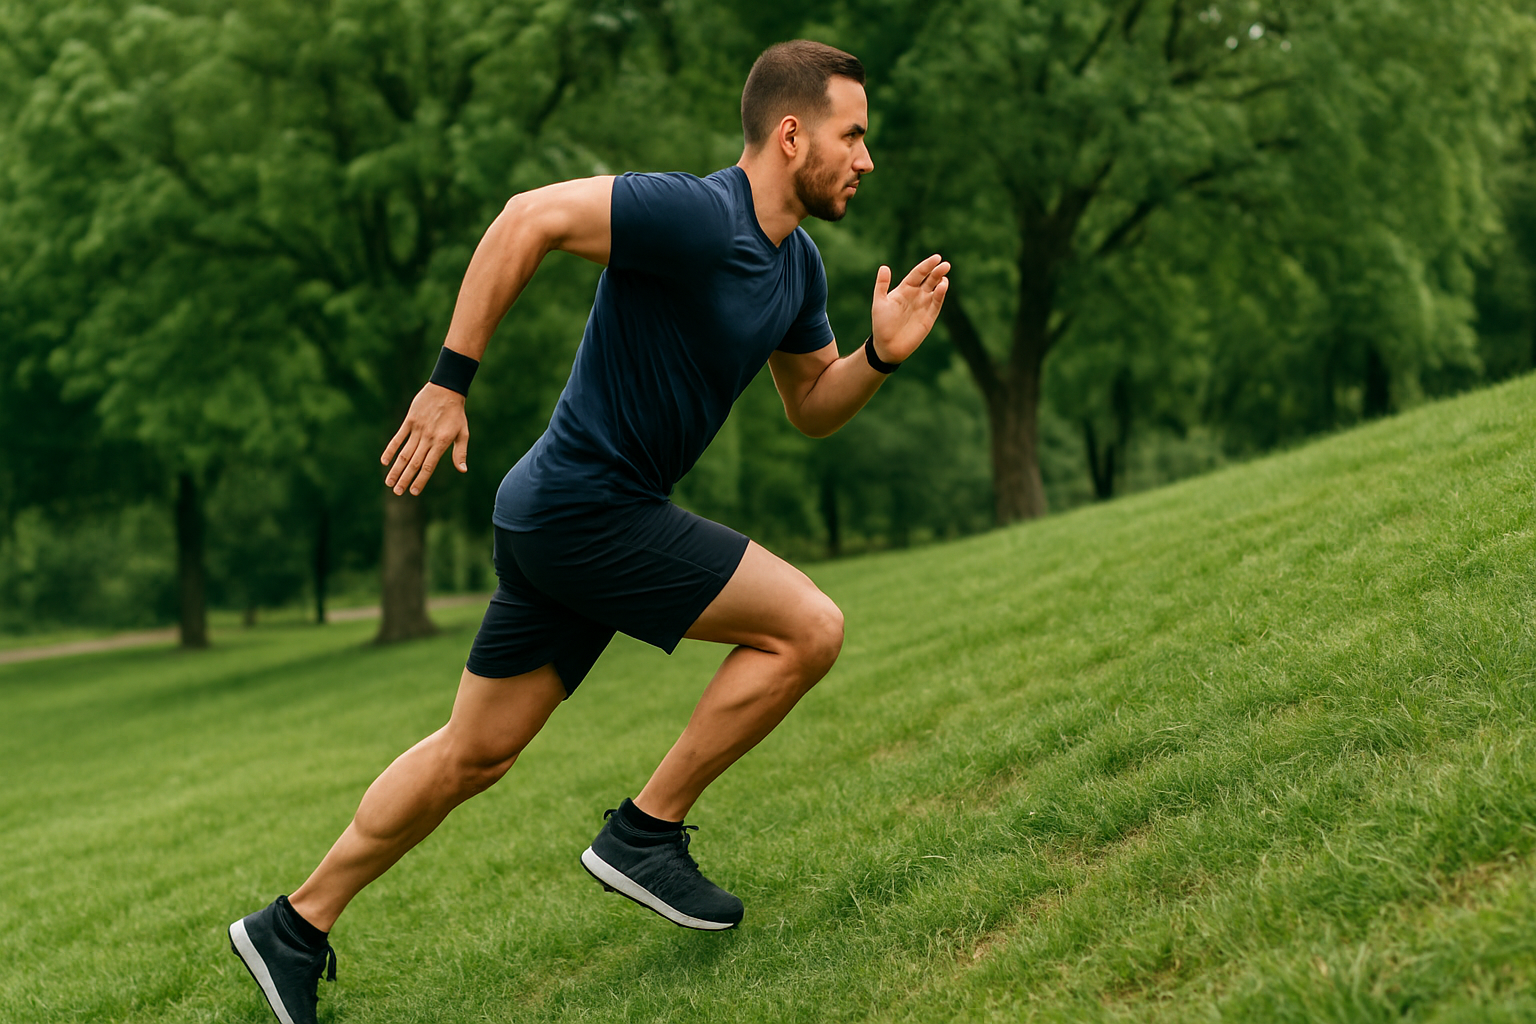
Knee pain is one of the most frequent issues athletes experience in squatting, running, jumping, and conditioning work.
But “knee pain” isn’t a diagnosis — it’s a signal.
And most of the time, the solution is strengthening and retraining movement patterns, not avoiding them.
You can build durable, powerful knees with the right approach.
Why Knee Pain Happens
The knee is a hinge joint caught between two major power centers: the hips and the ankles.
When either of those areas lack strength or mobility, the knee absorbs more load than it should.
Common contributors include:
- Weak glutes and hamstrings
- Tight hips or calves limiting movement mechanics
- Knees collapsing inward during squats or jumps
- Running volume increasing faster than tissue tolerance
- High-rep jumping without proper landing mechanics
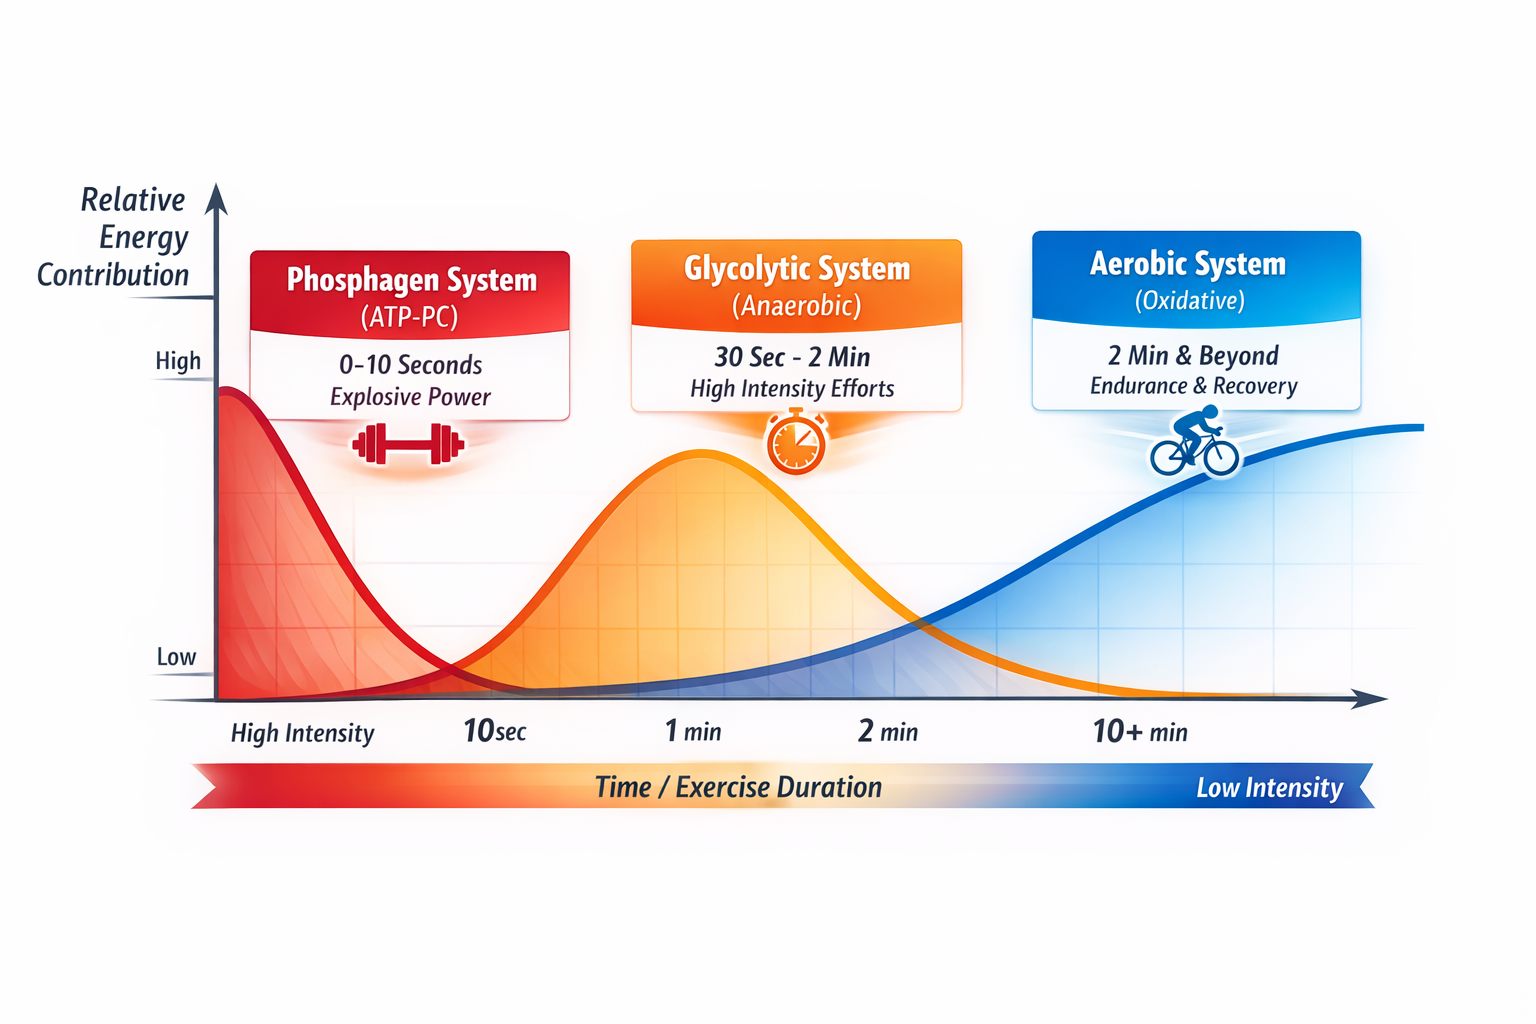
Most knee pain in training is mechanical overload — not injury — and improves with strength and control.
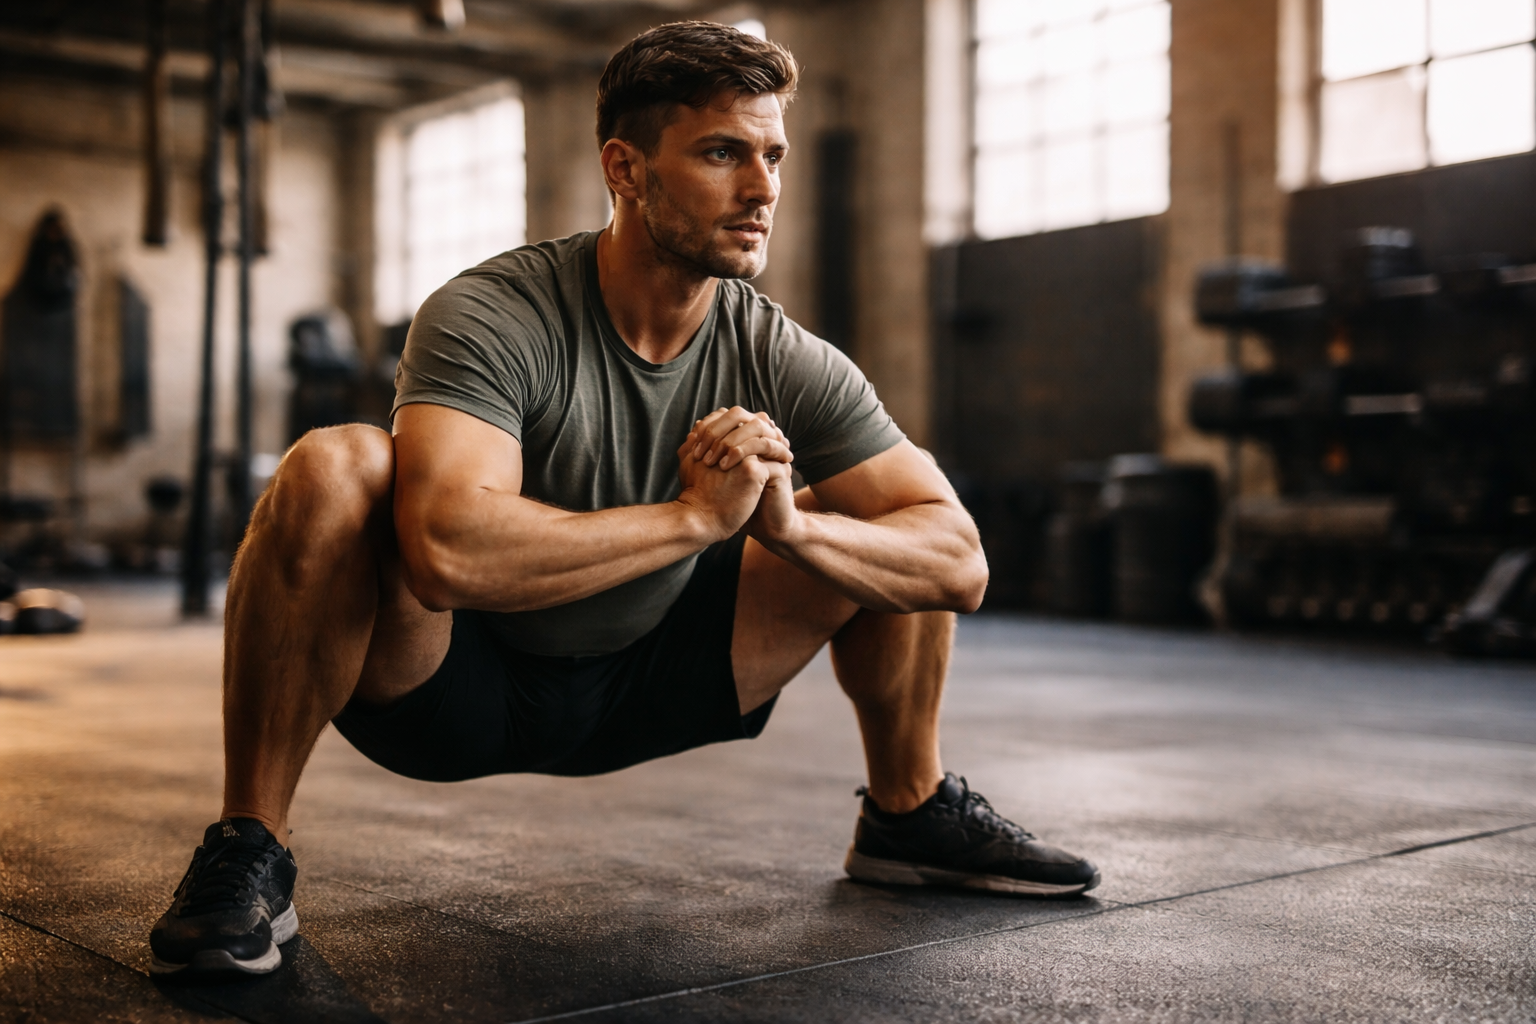
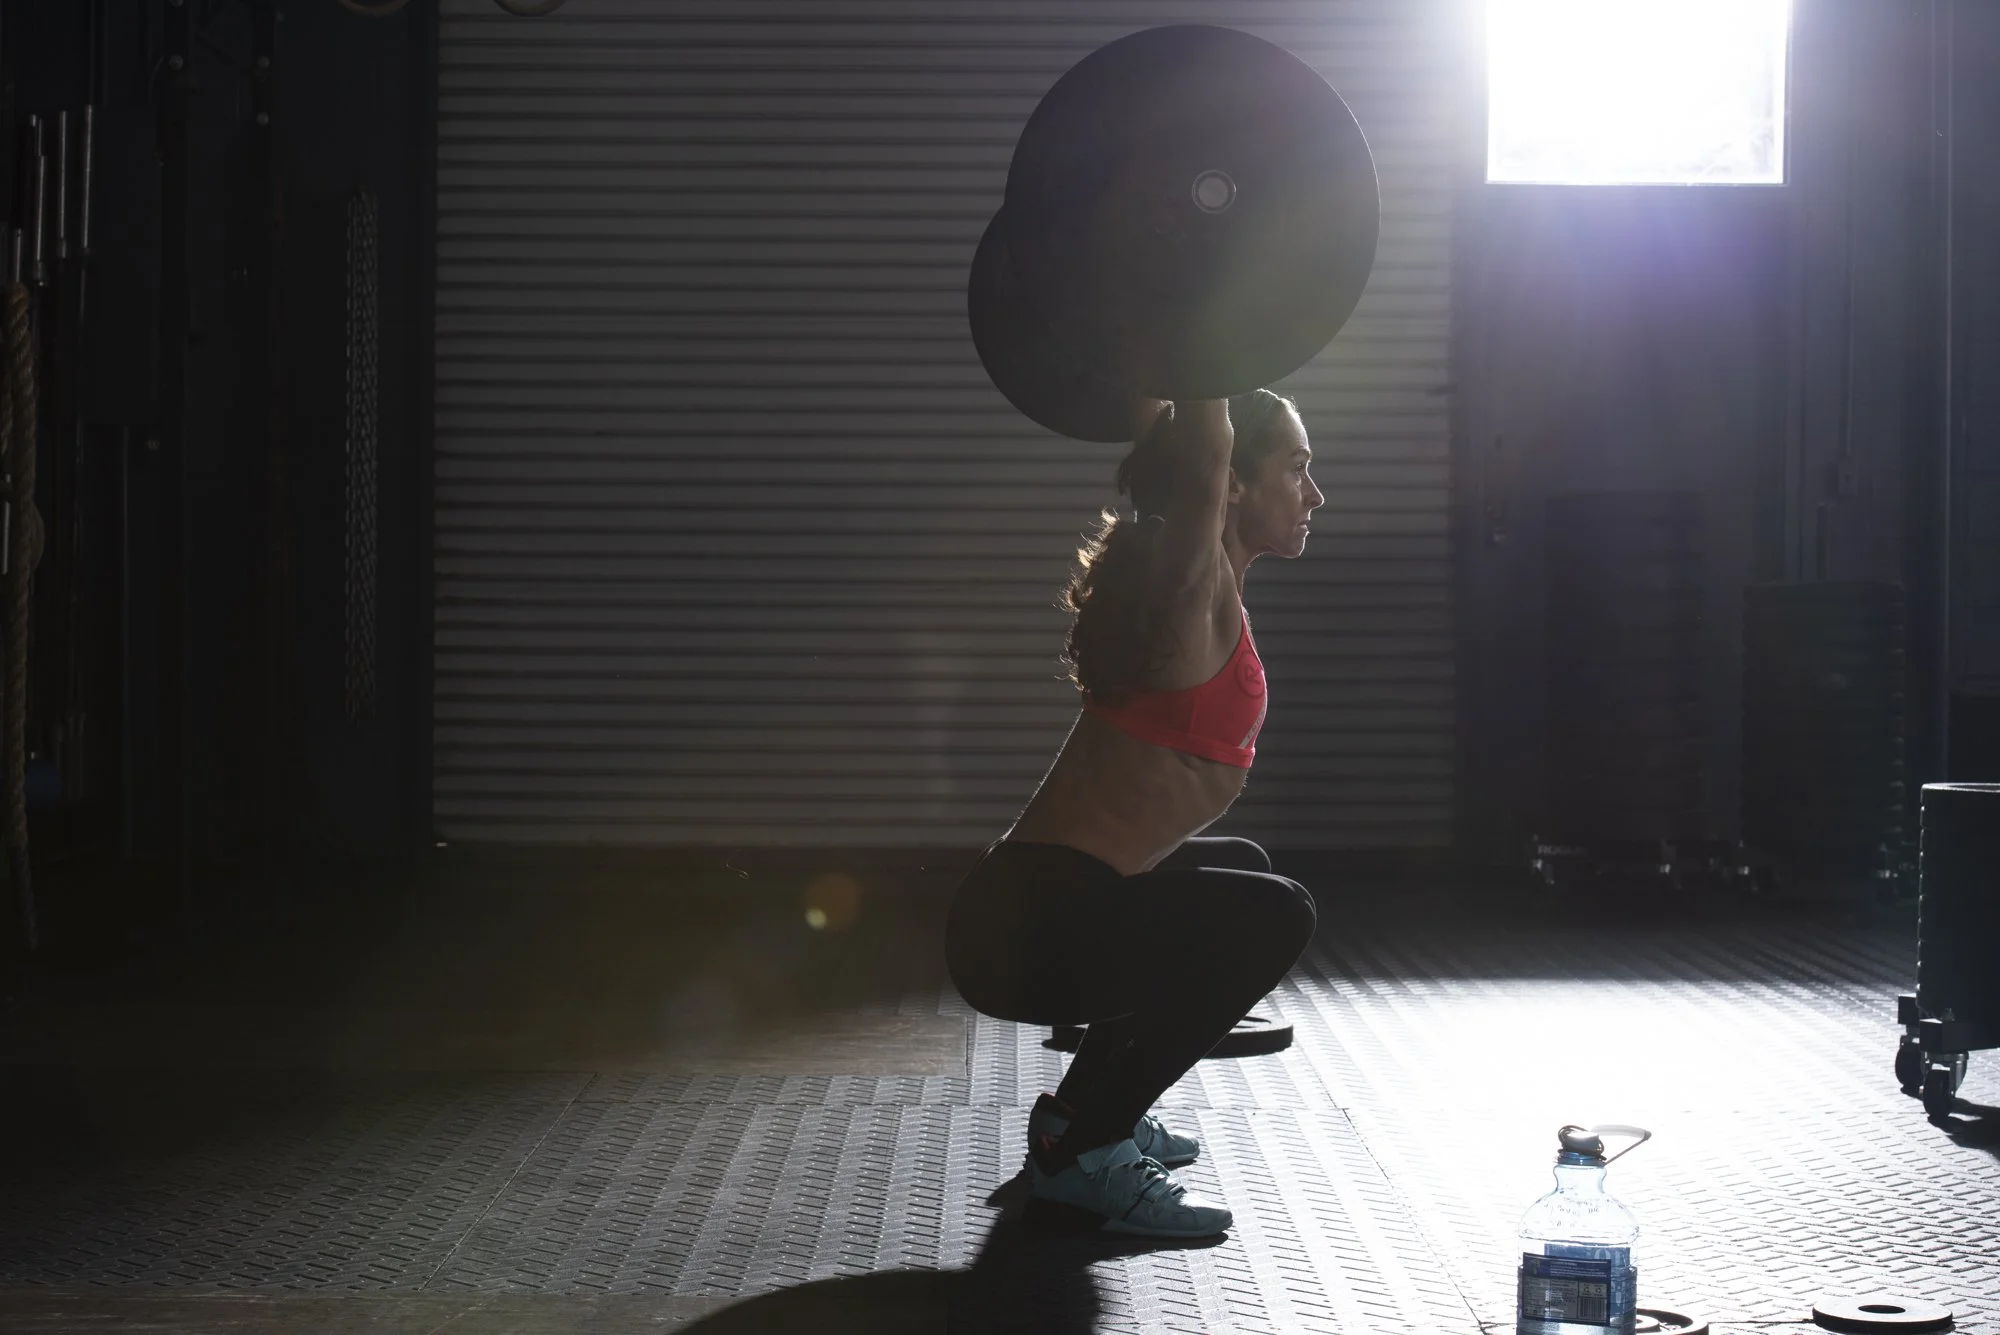
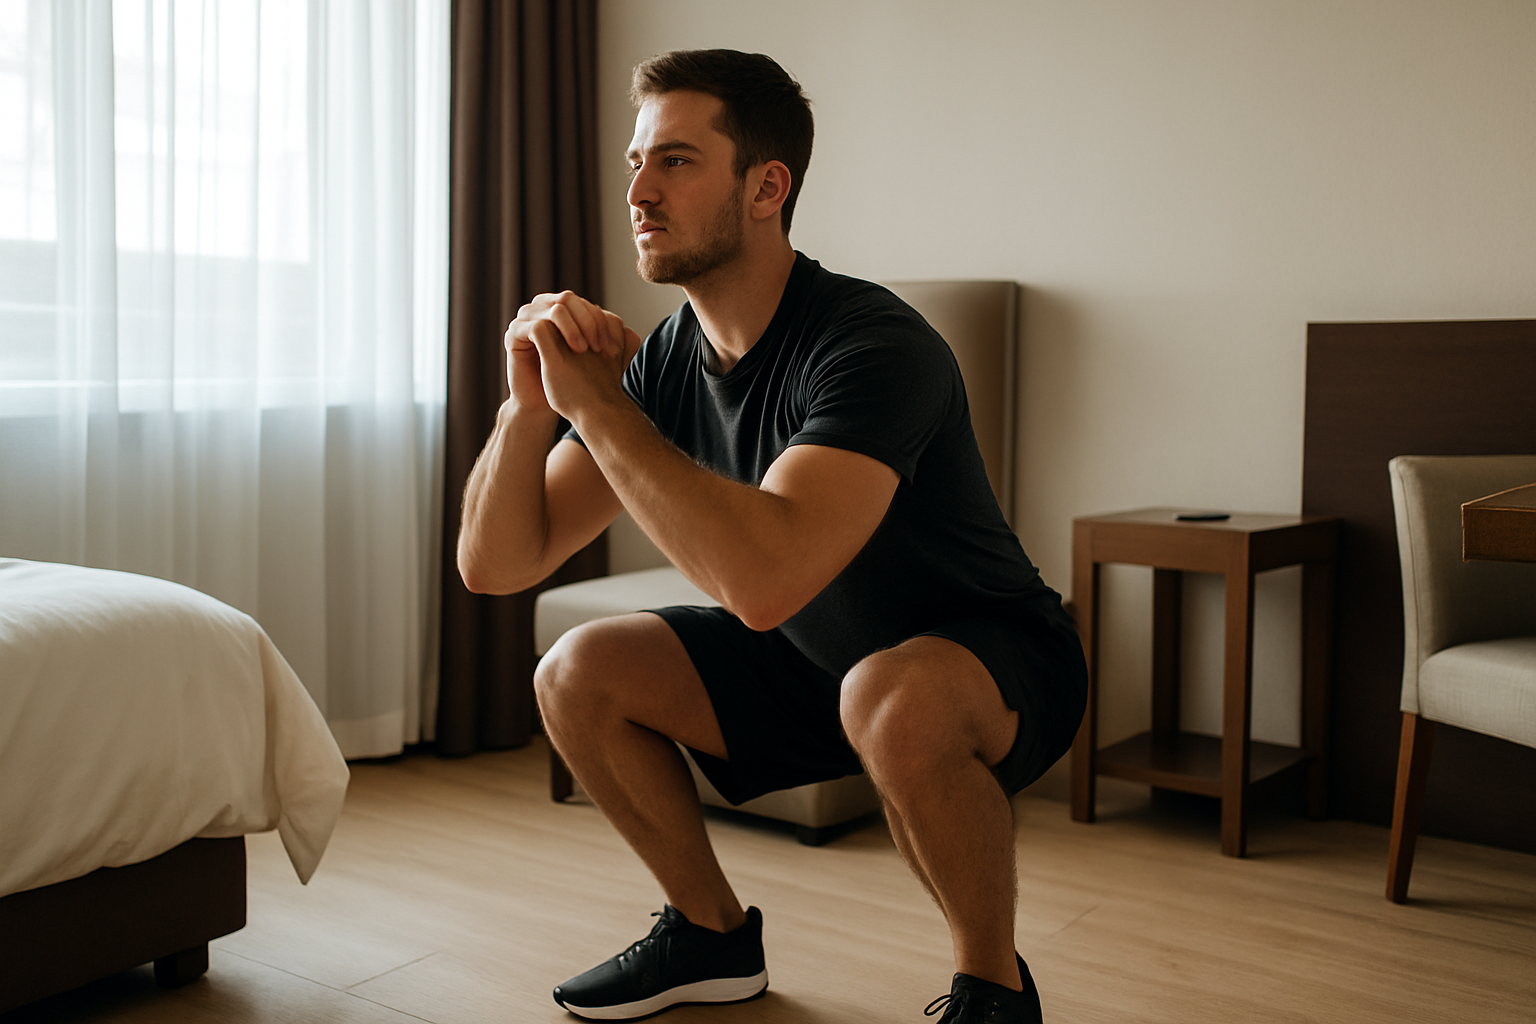
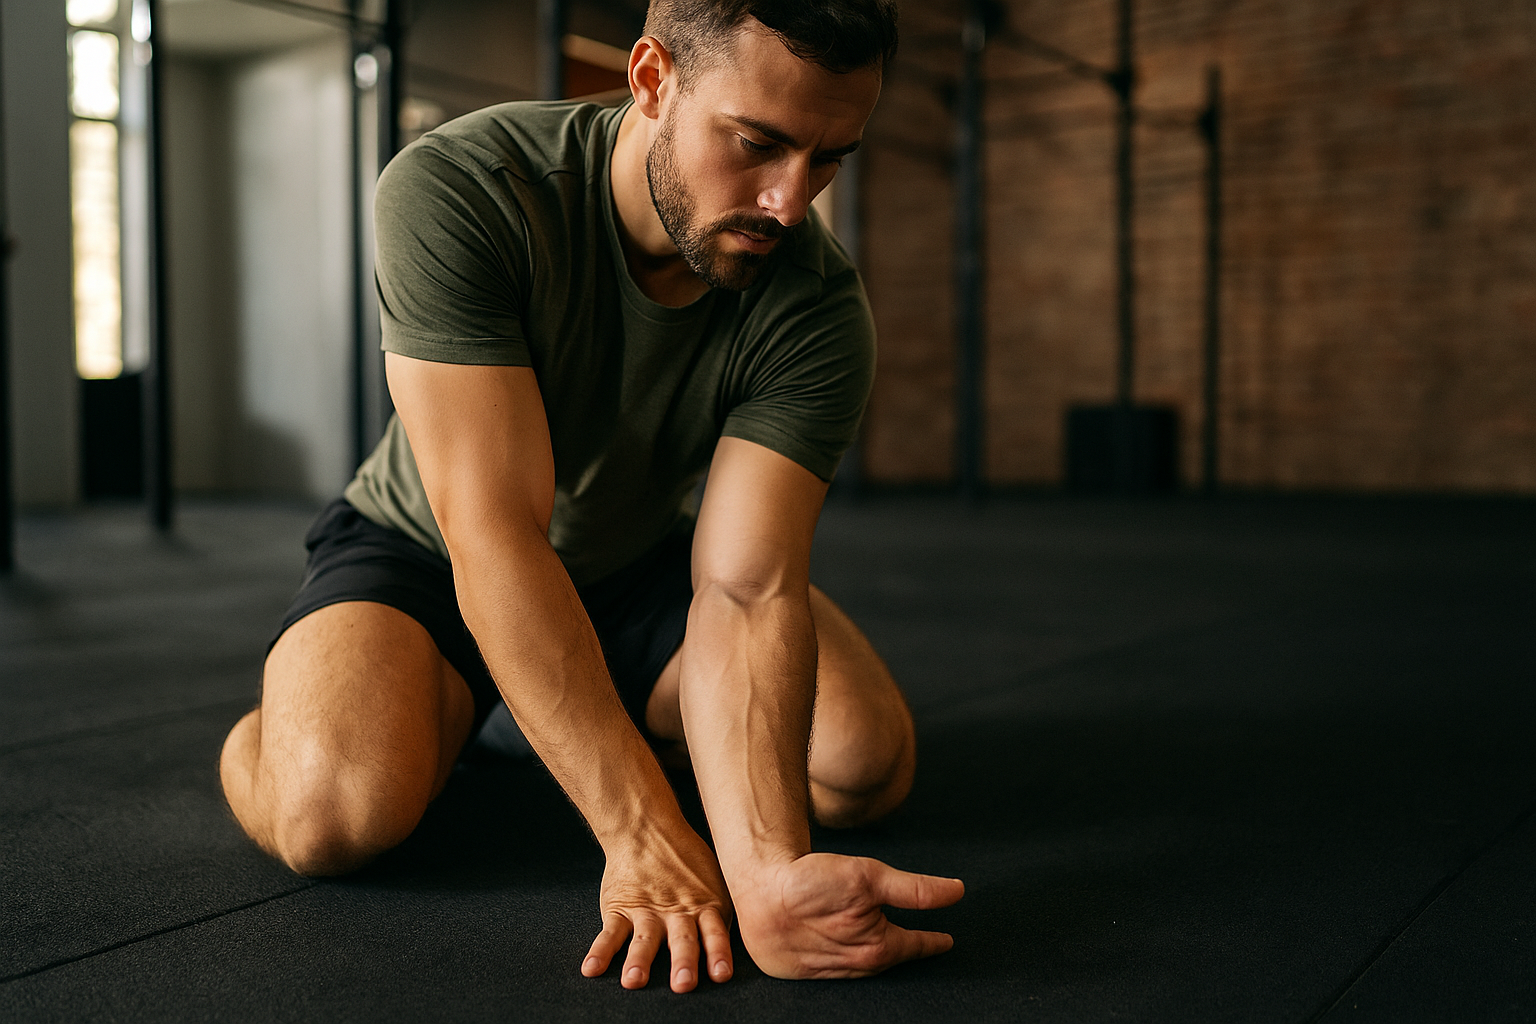
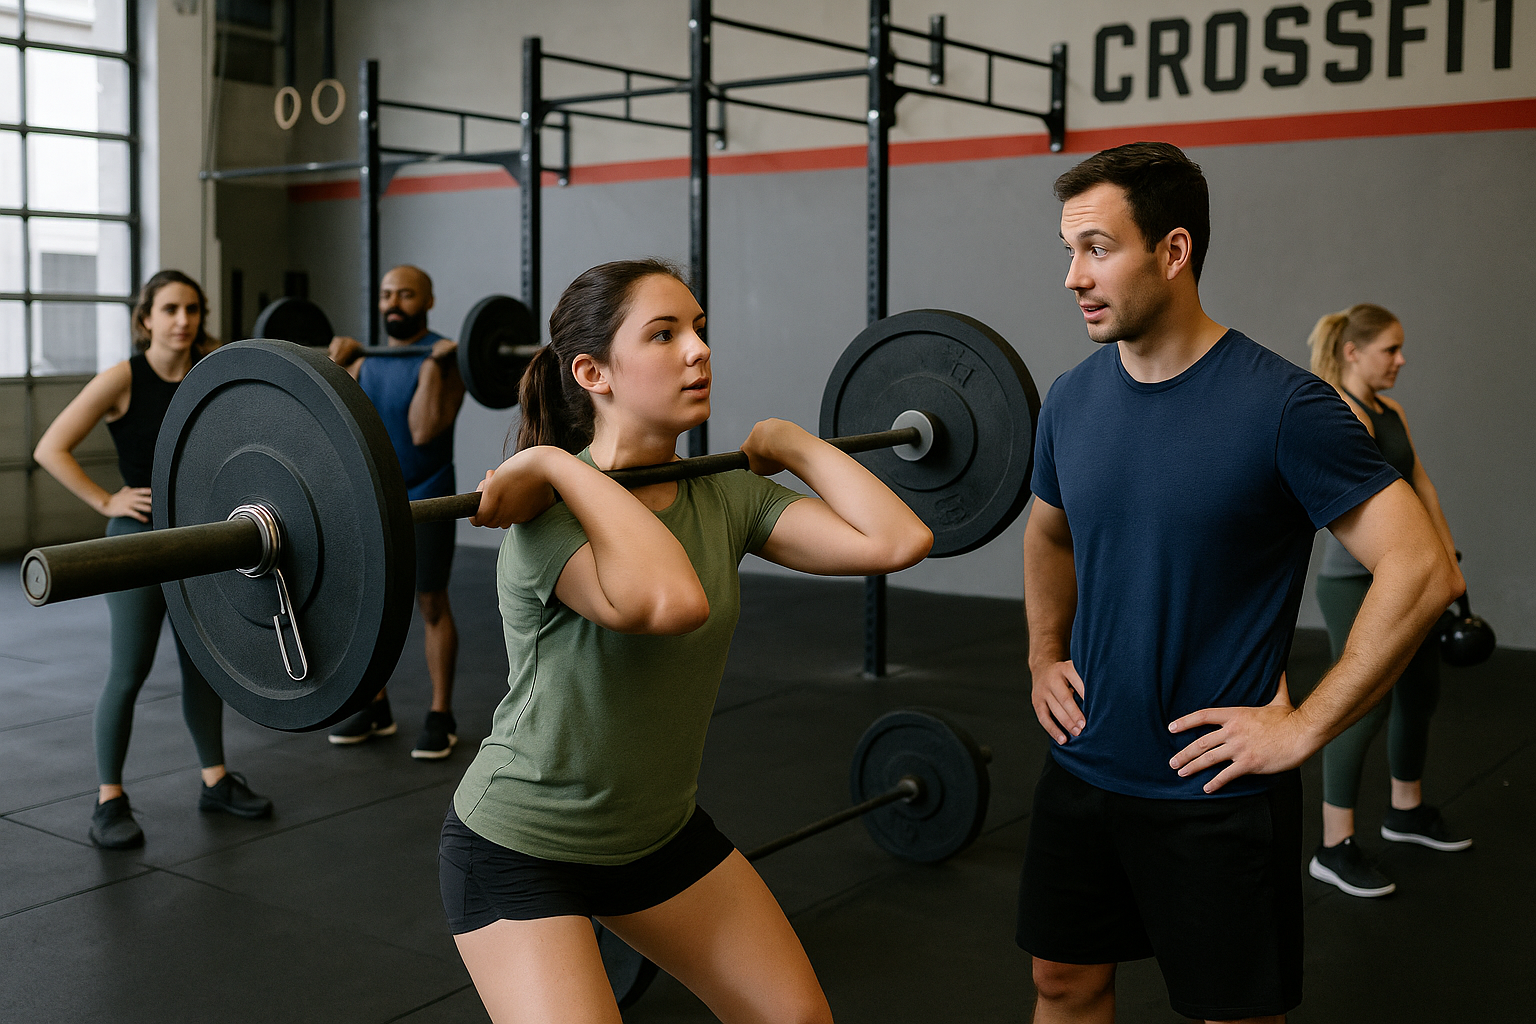
Step 1: Fix Your Alignment
The strongest position for the knee is when it tracks directly over the toes.
When knees collapse inward (“valgus collapse”), stress increases on the joint and tendons.
Focus cues:
- “Press knees out slightly”
- “Balance weight over mid-foot”
- “Push the floor apart”
Practice this on bodyweight squats before adding load.
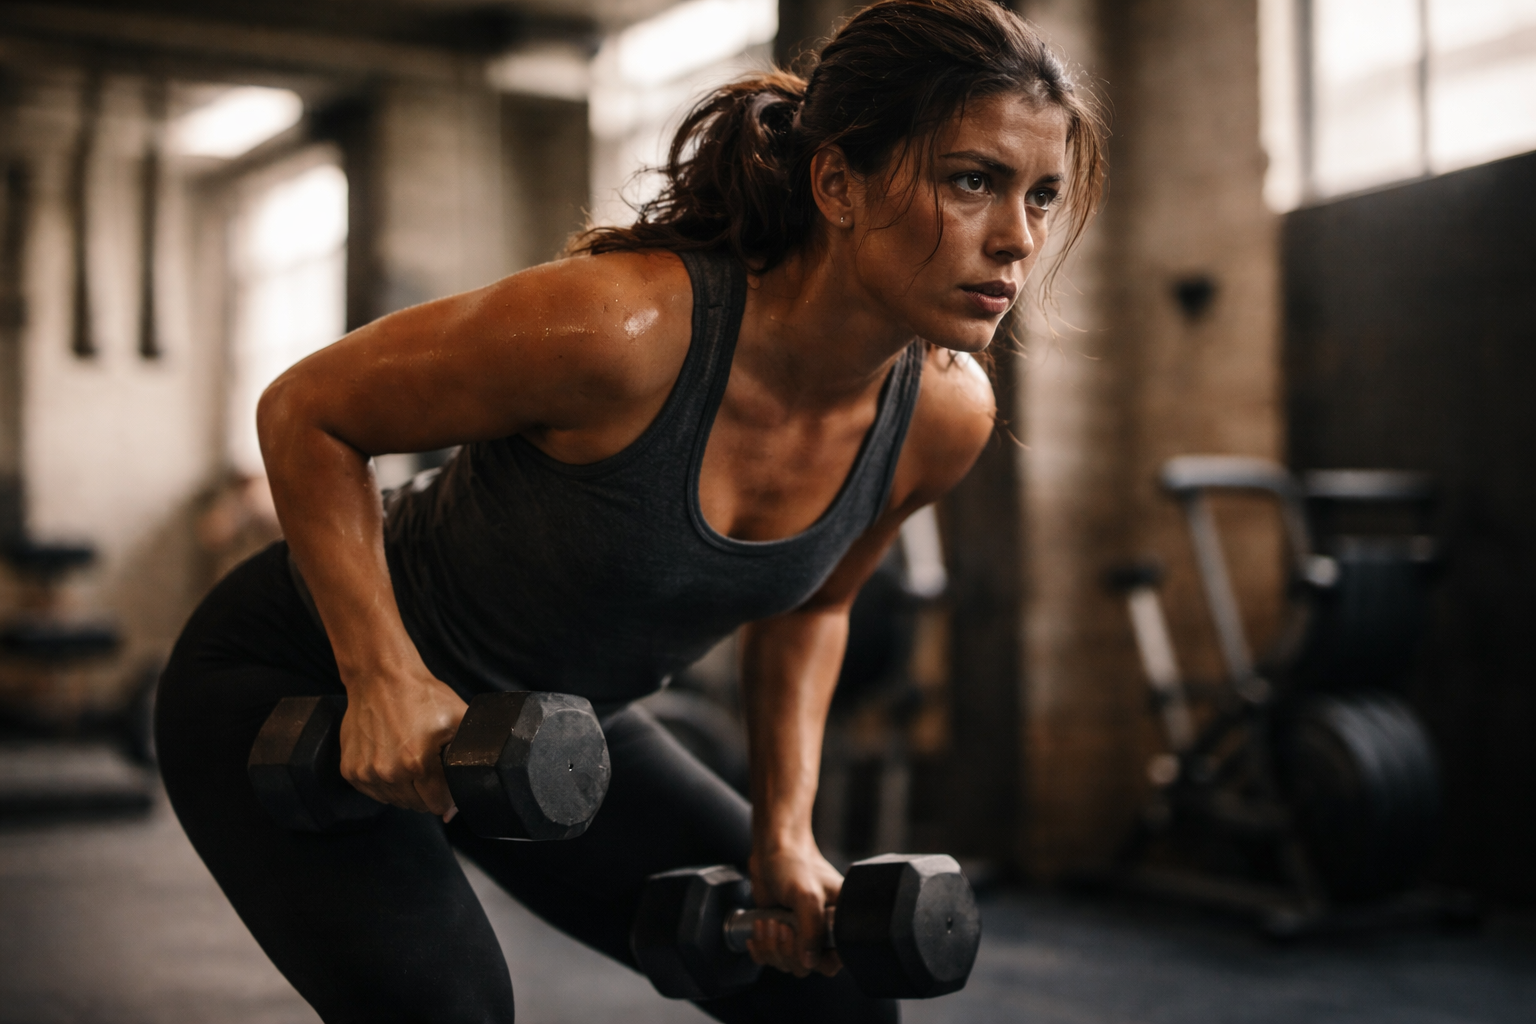
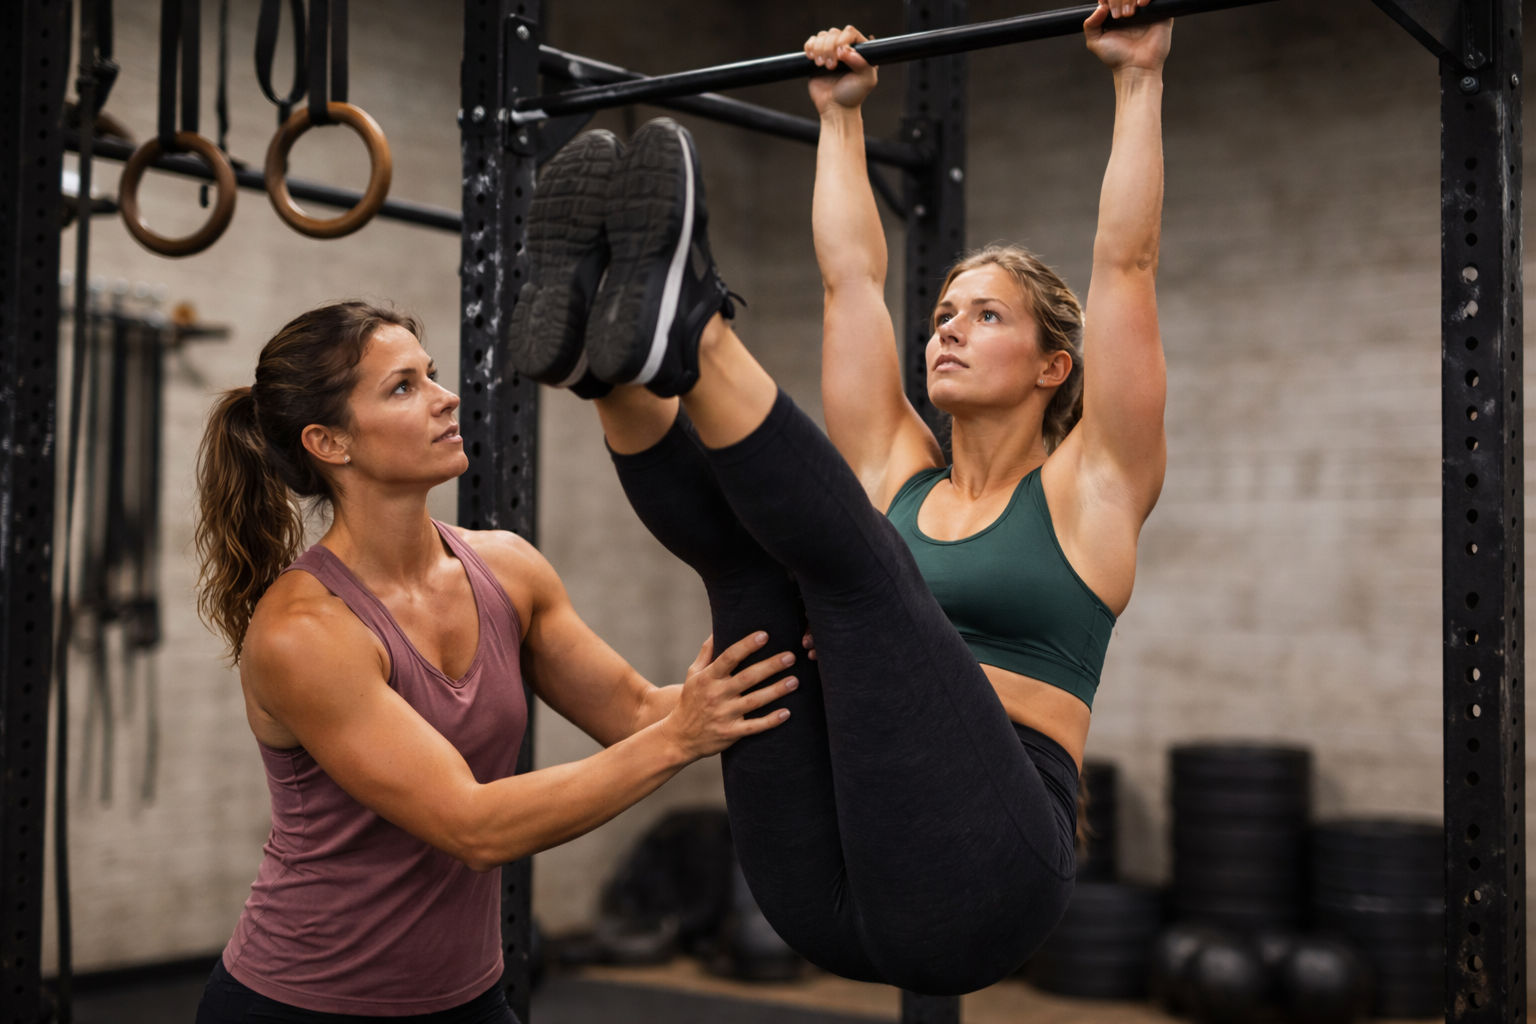
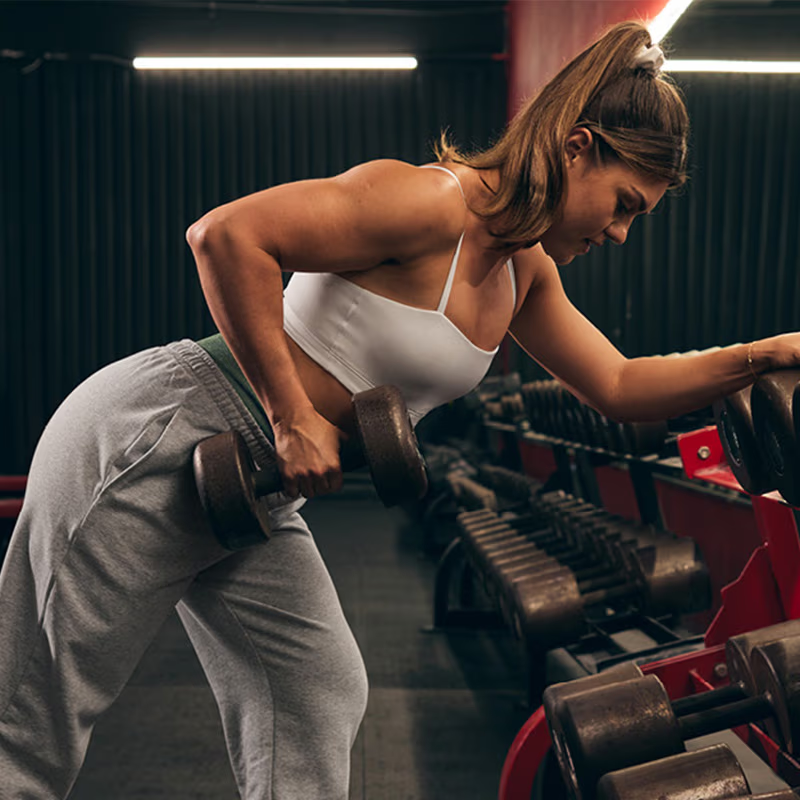
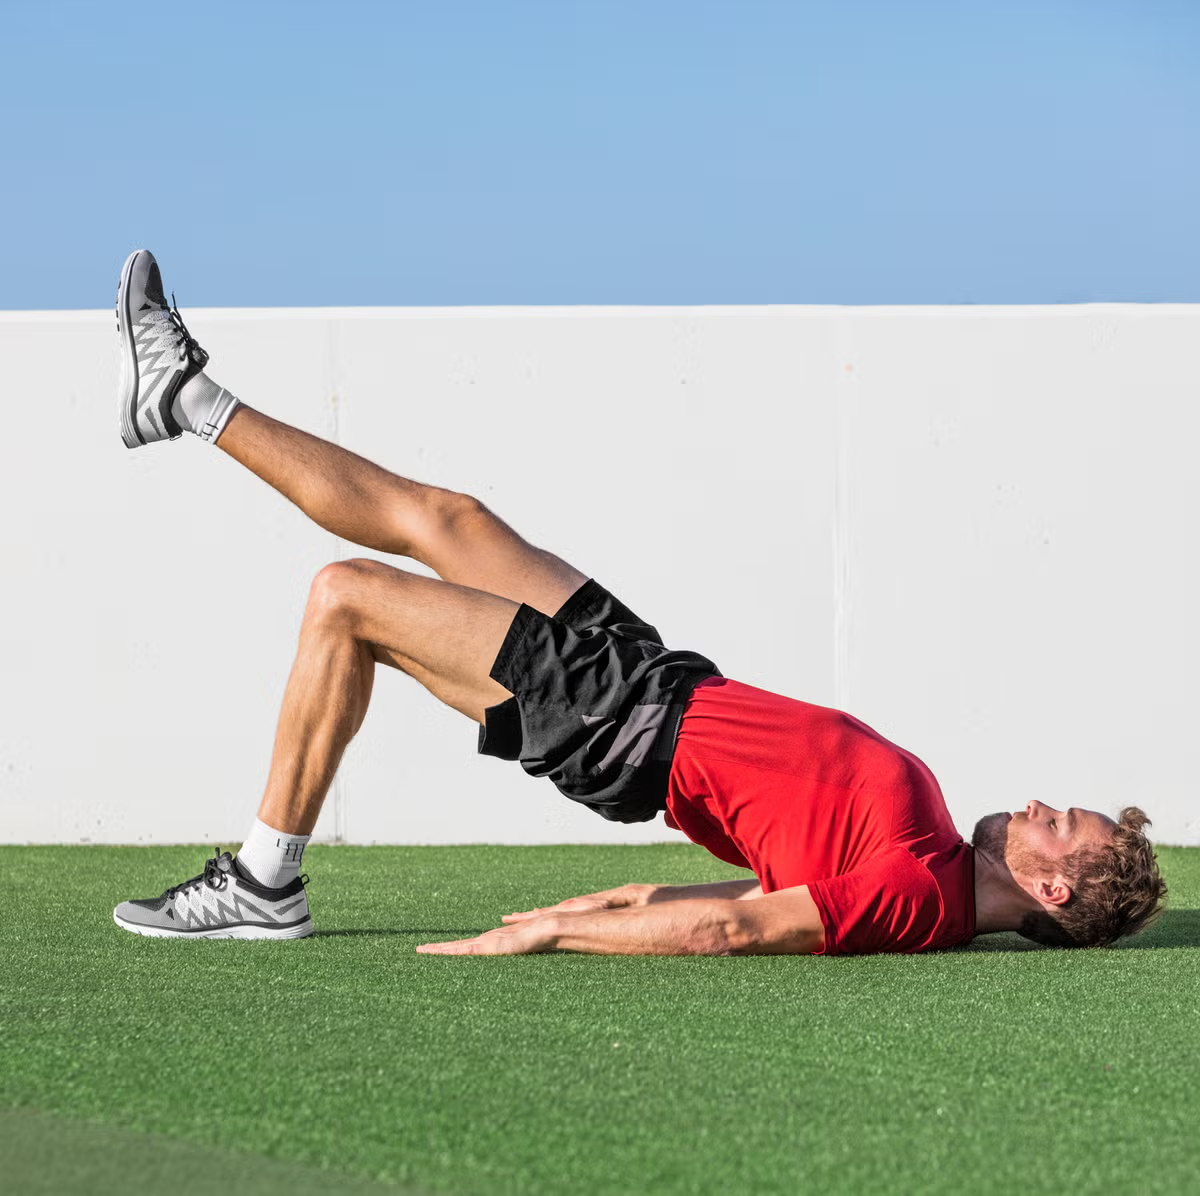
Step 2: Strengthen the Muscles That Protect Your Knees
The glutes, hamstrings, and quads create stability and balance.
If one area lags, the knee pays the price.
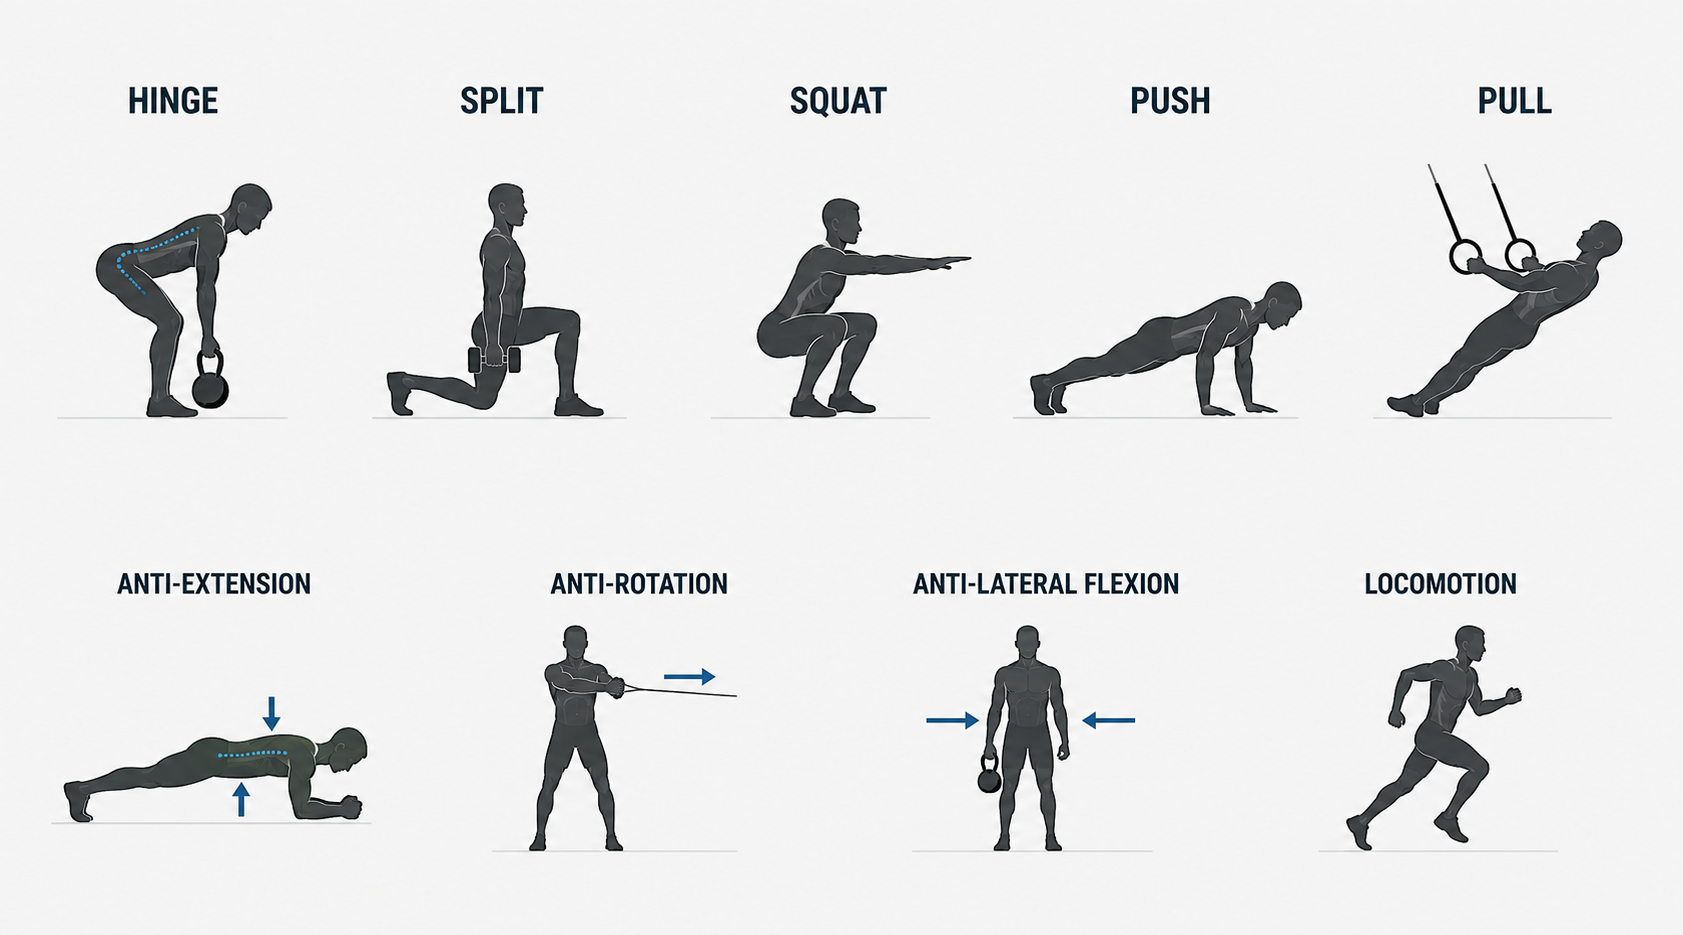
Key strength builders:
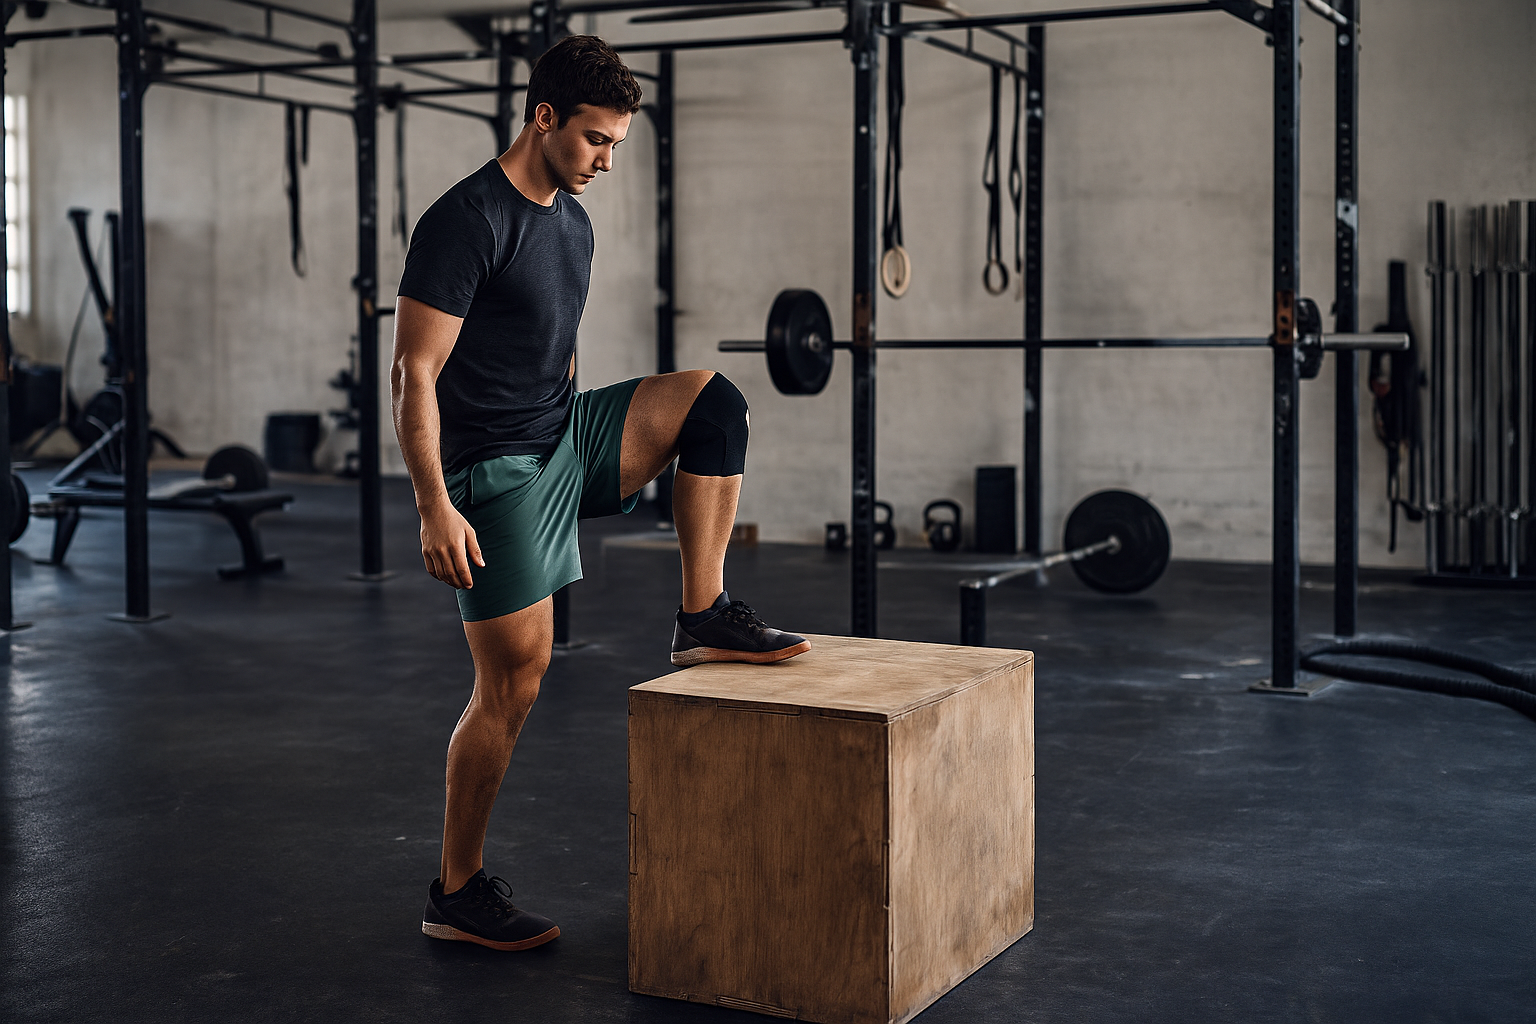
- Split squats (rear-foot elevated if tolerated)
- Single-leg RDLs
- Glute bridges / hip thrusts
- Step-downs (great for patellar tendon pain)
- Terminal knee extensions (TKEs)
Train these 2–3 times per week for 8–12 controlled reps.
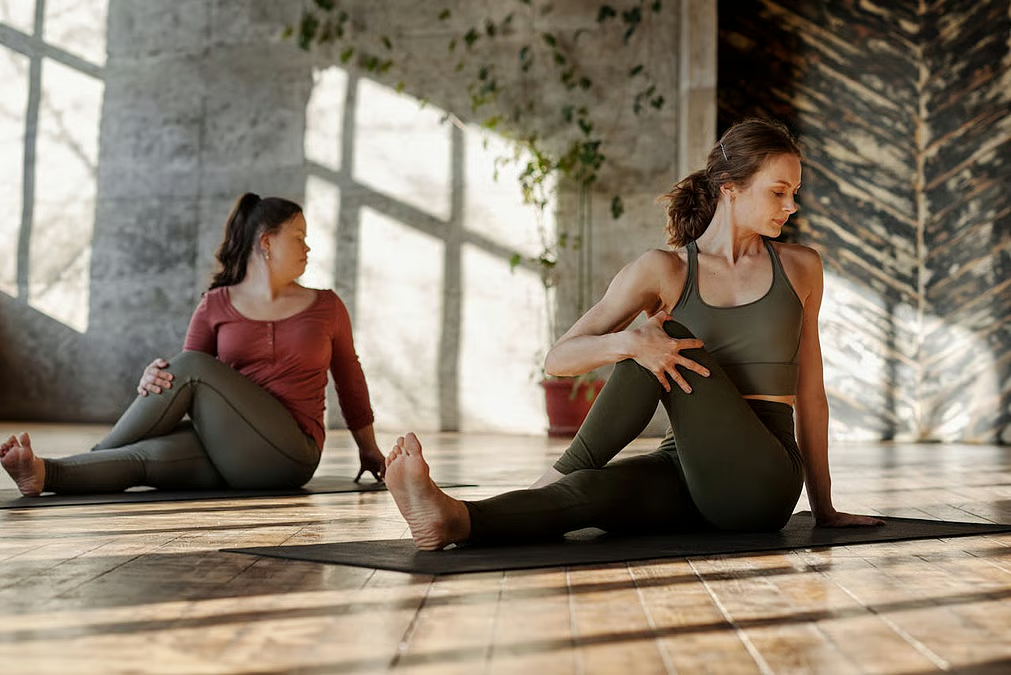
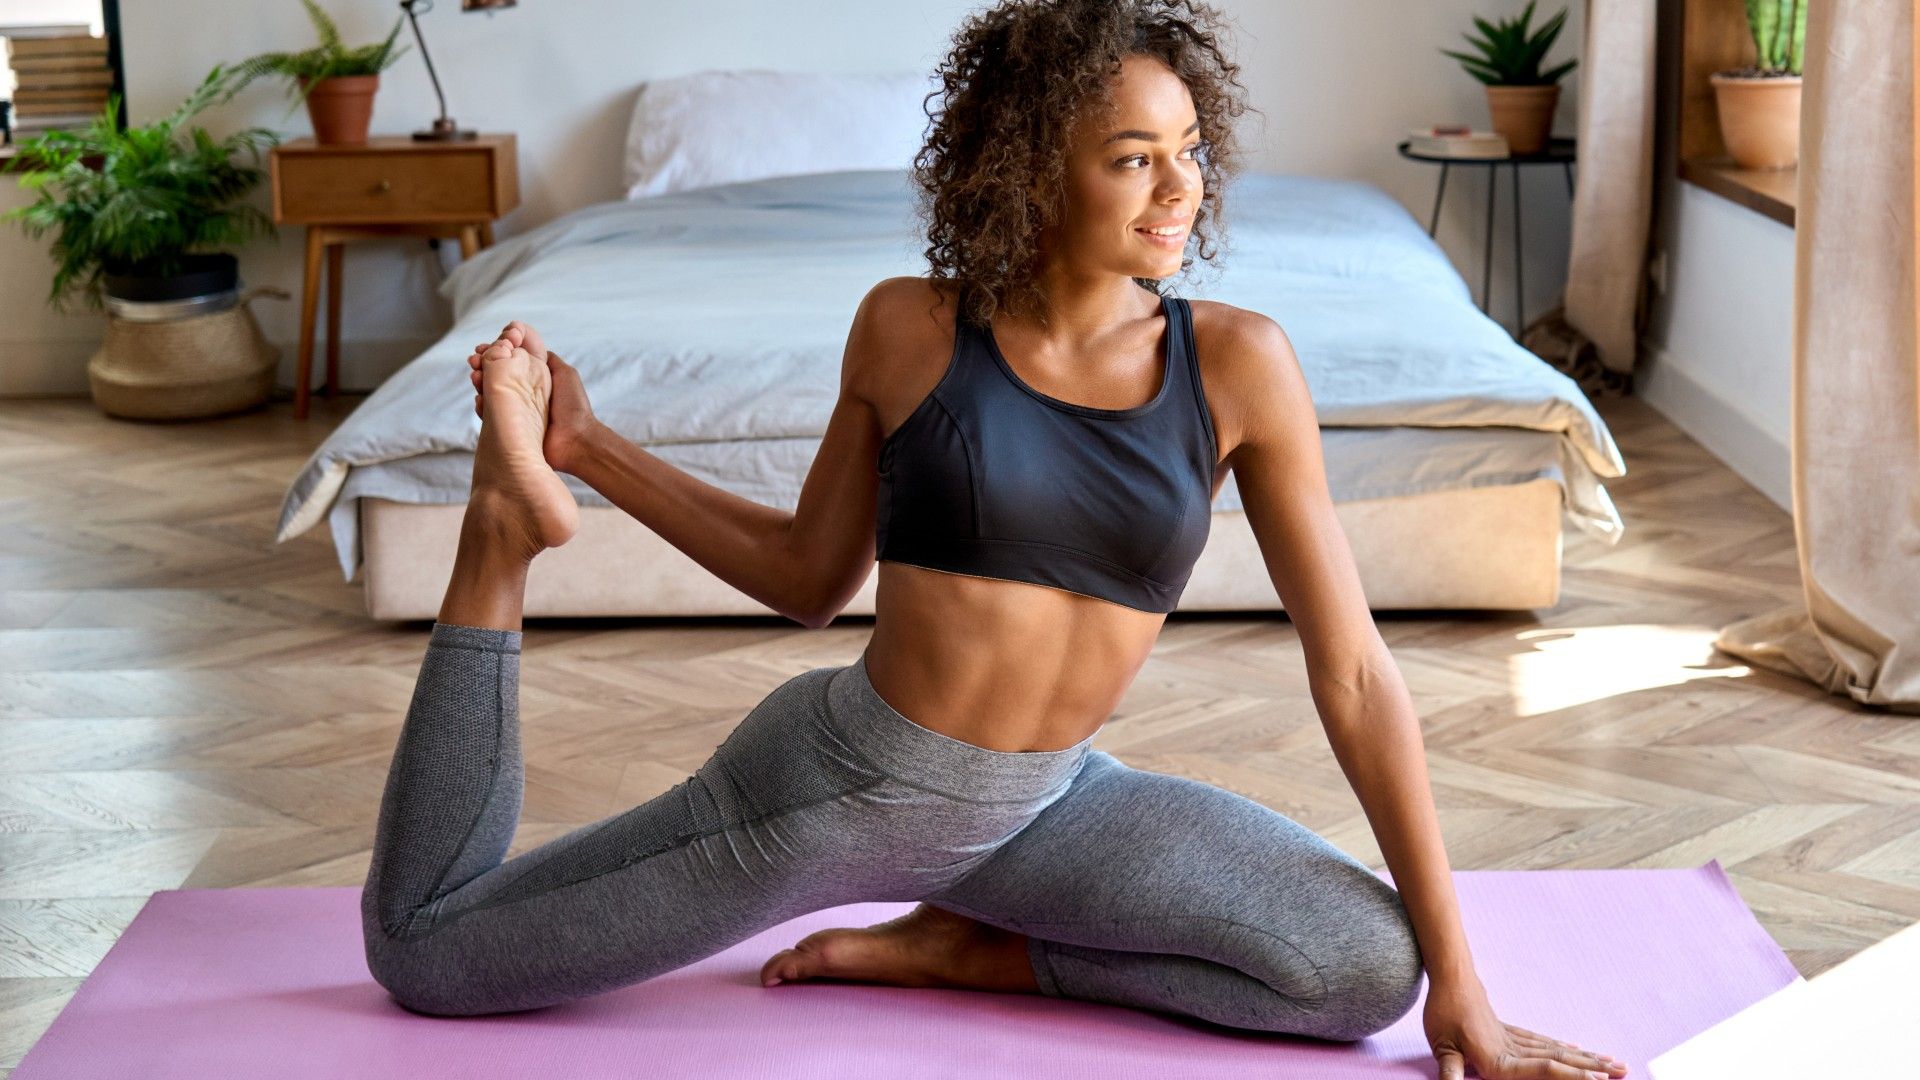
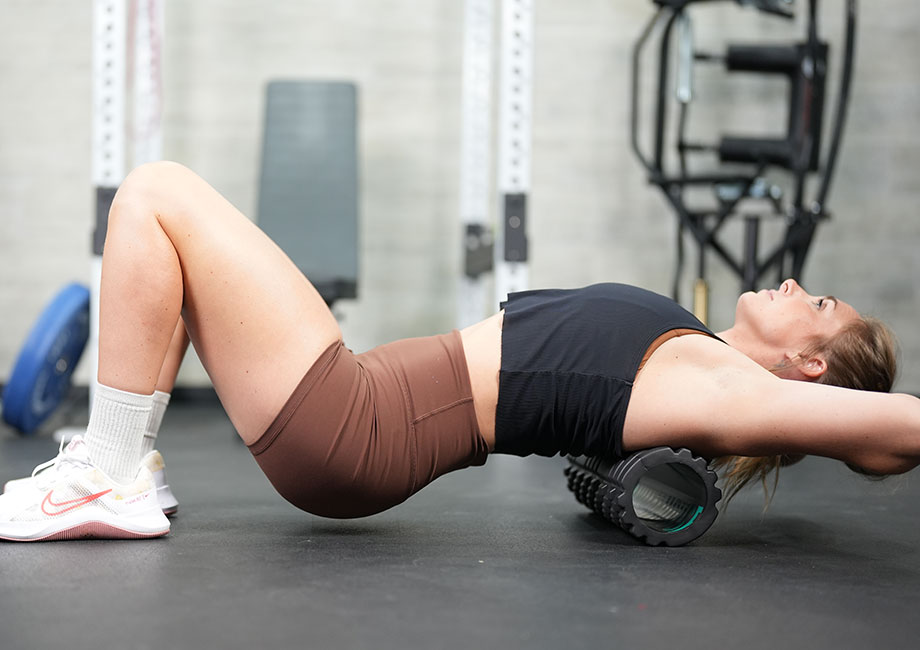
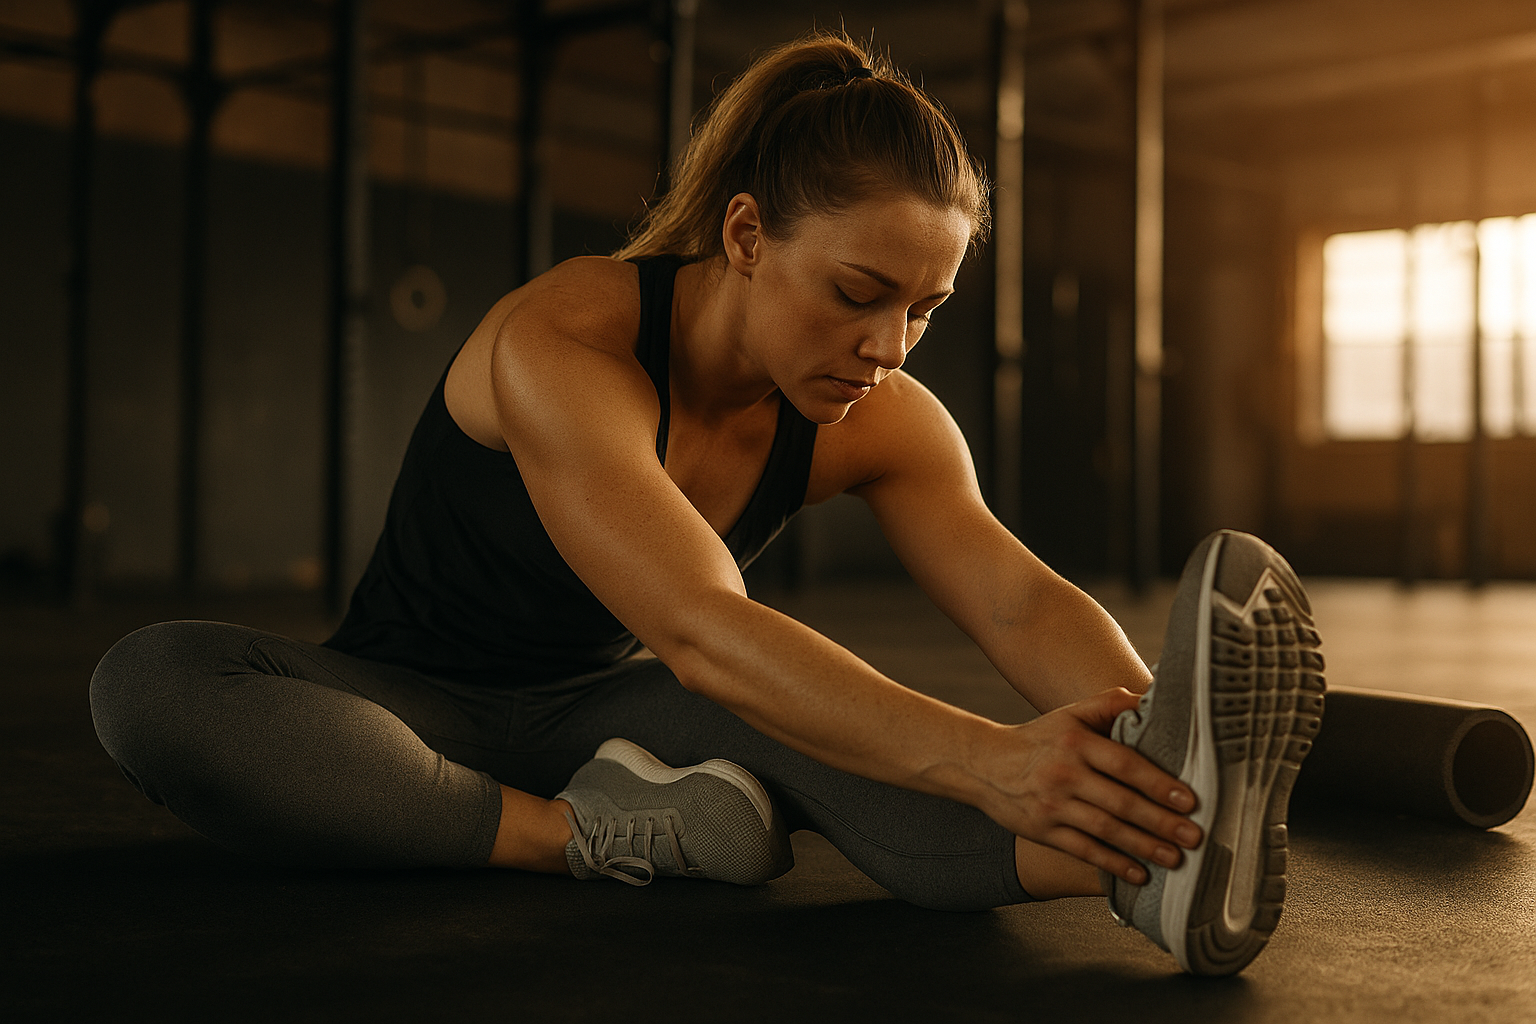
Step 3: Improve Ankle and Hip Mobility
Limited mobility above or below the knee forces compensations.
Ankles:
- Wall dorsiflexion stretch
- Calf foam rolling
Hips:
- 90/90 hip rotations
- Couch stretch
- Deep squat holds
When mobility improves, movement efficiency skyrockets.
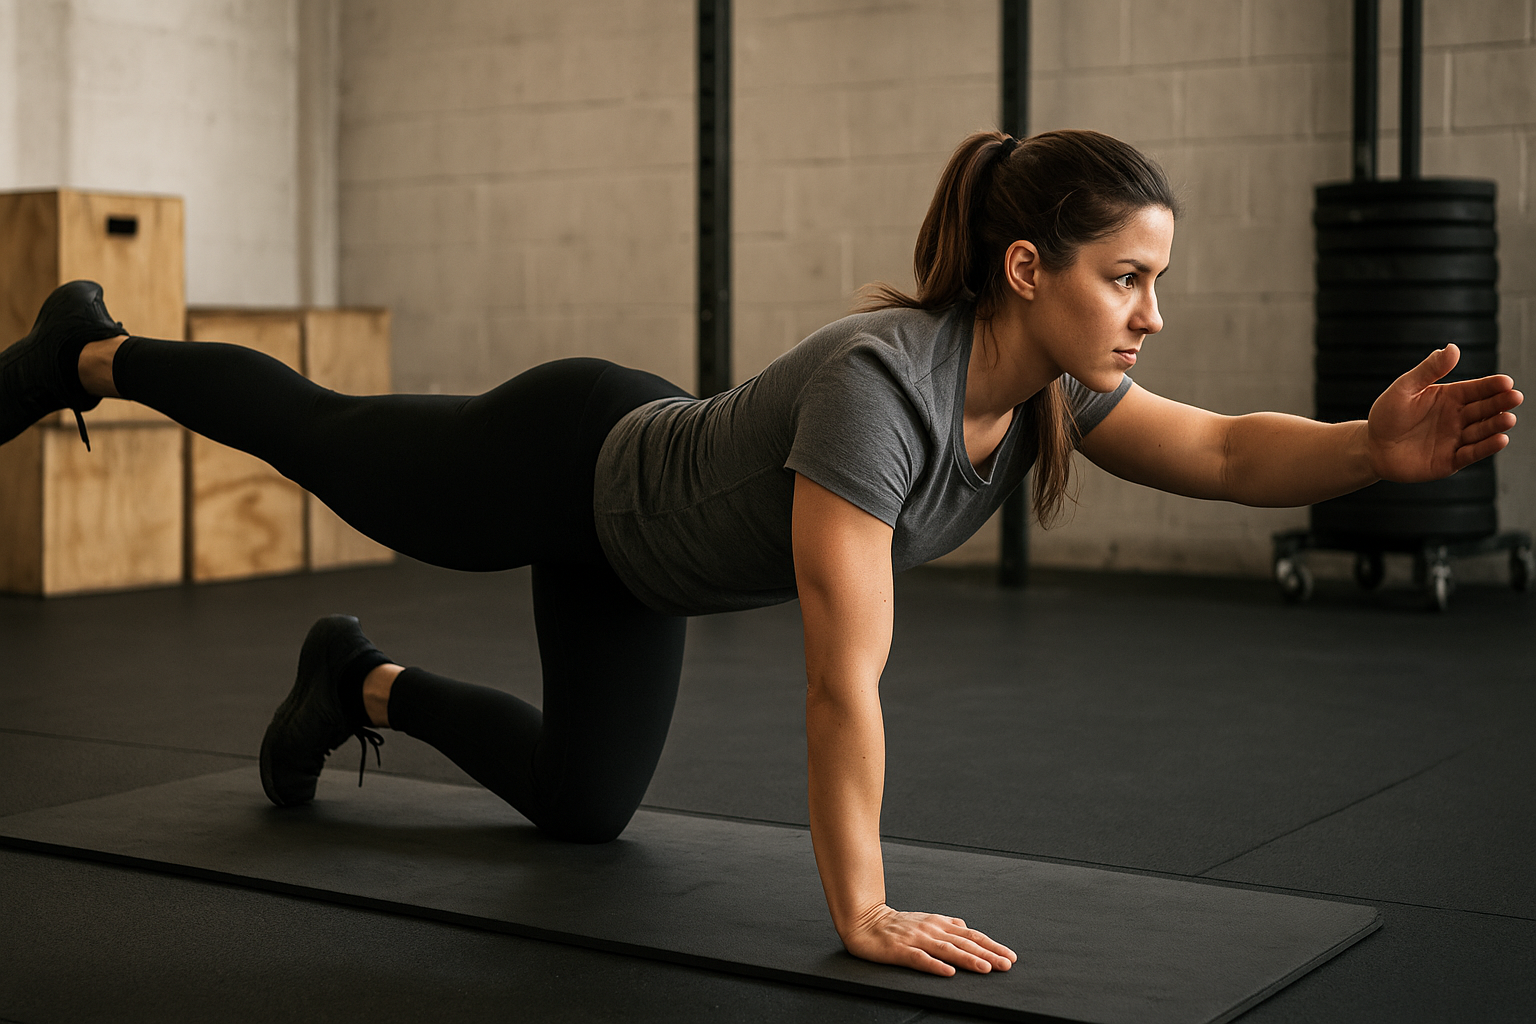
Step 4: Learn to Land and Absorb Force
Jumping isn’t the problem — poor landing is.
Teaching your body to absorb load protects the knees during running, box jumps, and plyometrics.
Landing cues:
- Land softly
- Knees track over toes
- Feet under hips
- Abs tight on impact
Practice small step-downs and controlled hops before high-volume jumping.
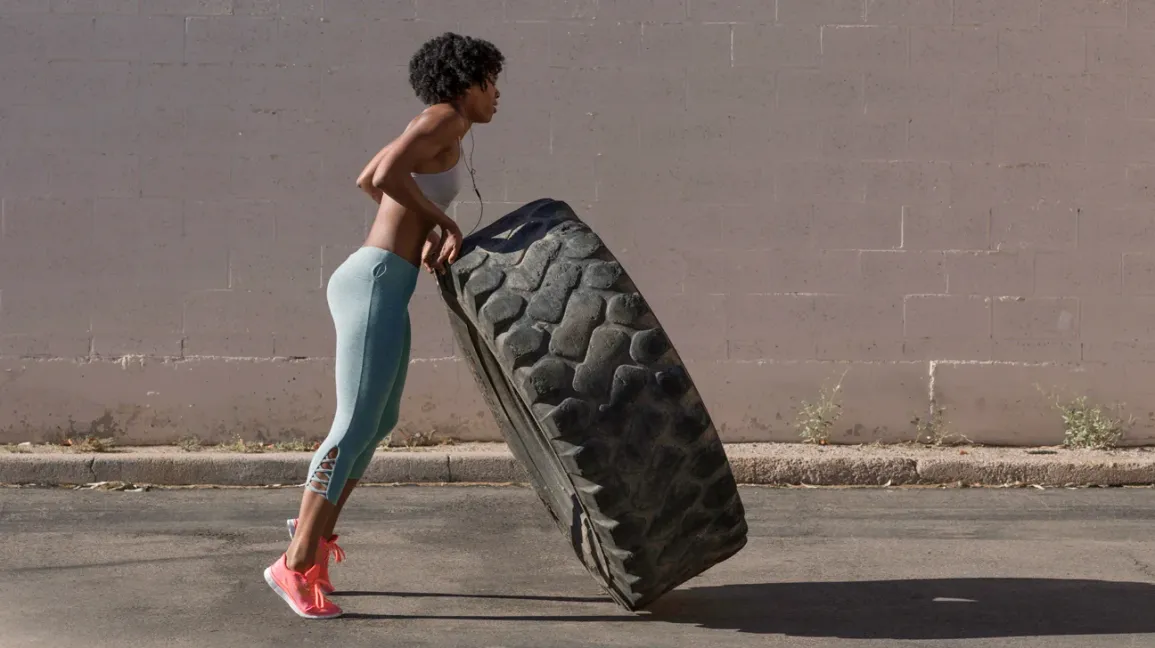
Step 5: Modify Movements Without Losing Progress
You don’t need to stop training—just choose smart substitutions that let you keep moving without irritating the joint. Try:
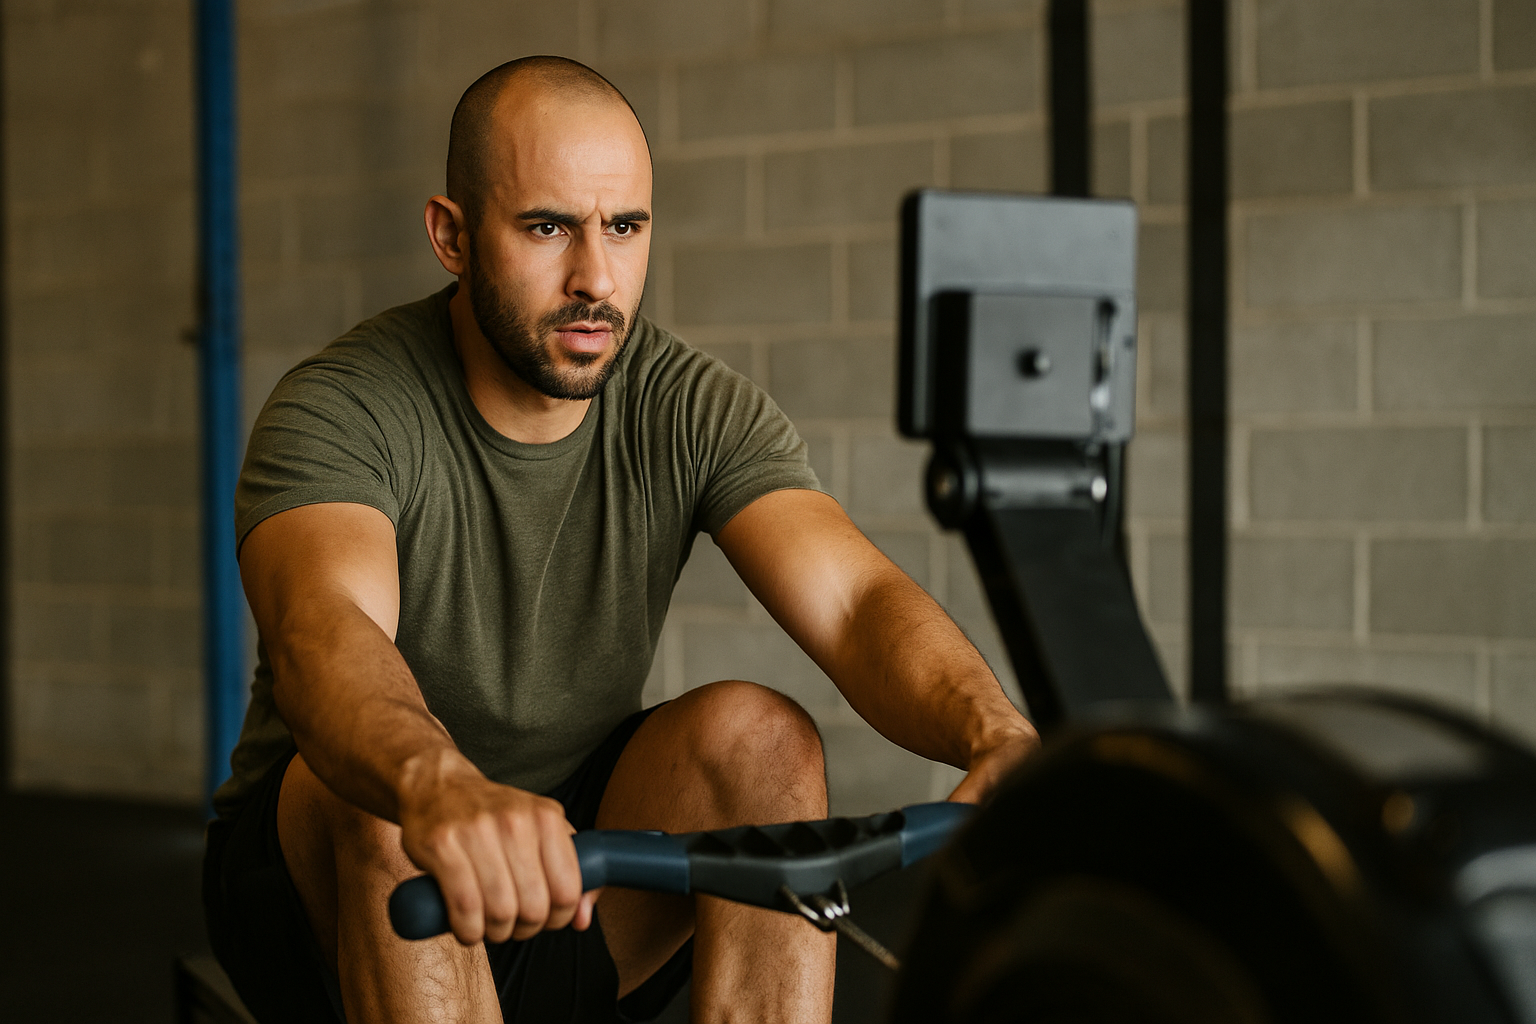
- Rowing or cycling instead of running when impact feels sharp.
- Step-ups or low, controlled hops instead of high-volume box jumps.
- Front squats or goblet squats instead of heavy back squats for a more upright, knee-friendly position.
- Partial-range squats with slow tempo instead of deep flexion when the joint feels sensitive.
These swaps keep you progressing while giving your knees room to settle and rebuild tolerance.
Step 6: Progress Tendon Strength Gradually
If pain is at the front of the knee (patellar tendon), loading needs to be progressive, not avoided.
Best tendon-strengthening drills:
- Slow, controlled goblet squats
- Spanish squats
- Step-downs
- Tempo leg press
These movements increase tendon resilience over several weeks.
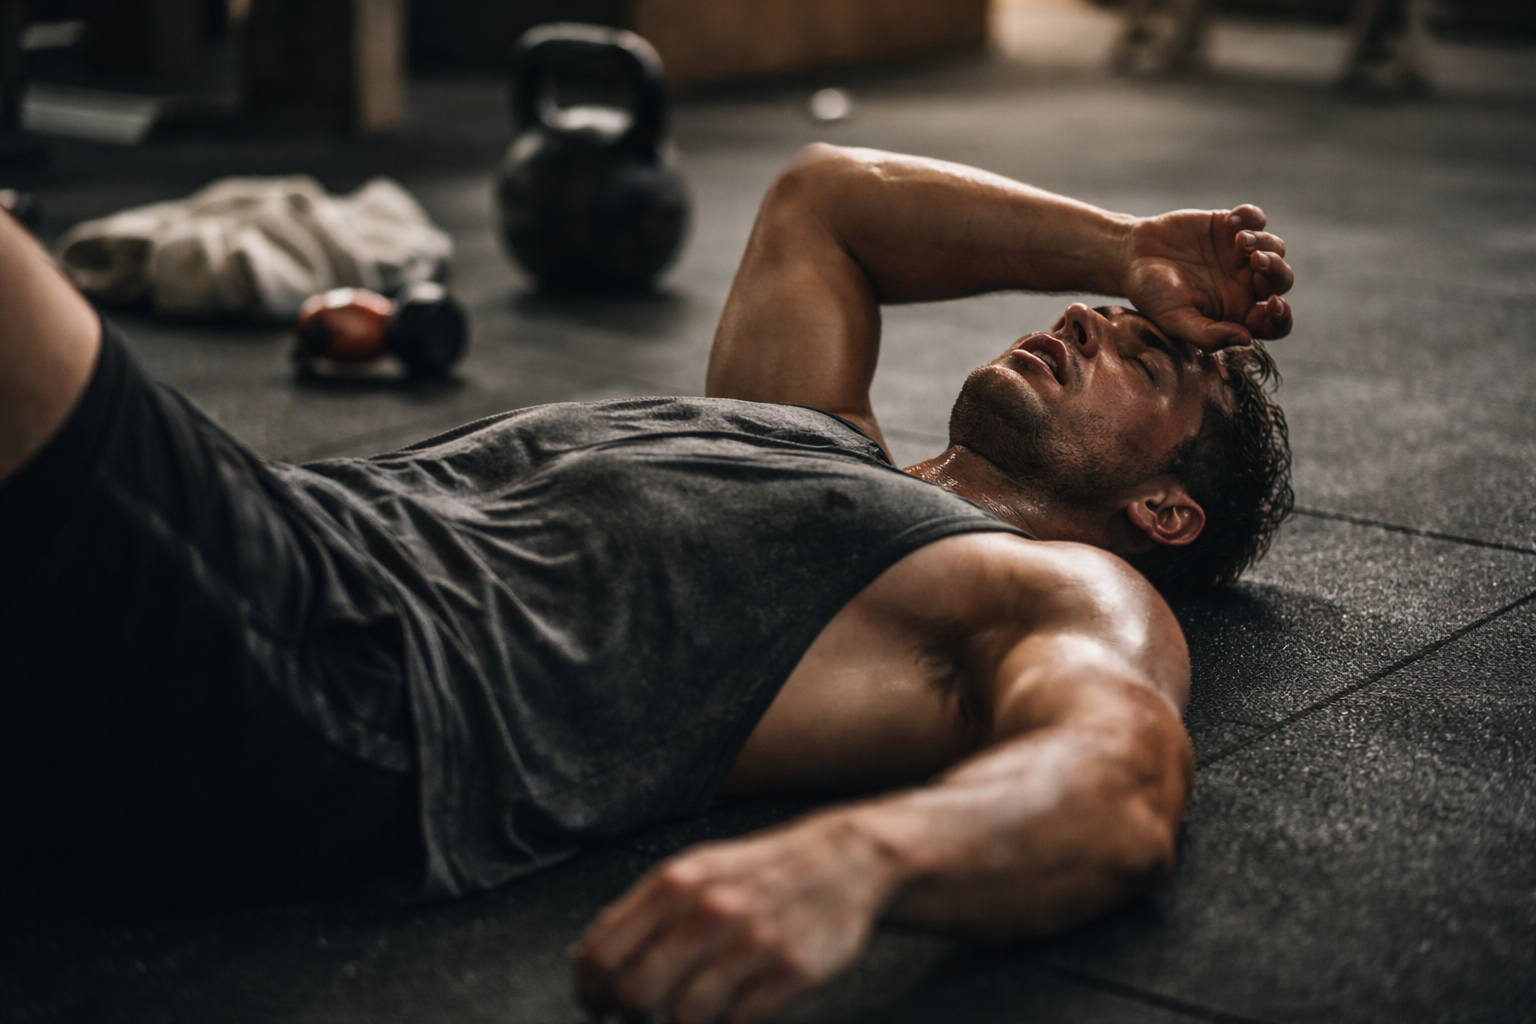
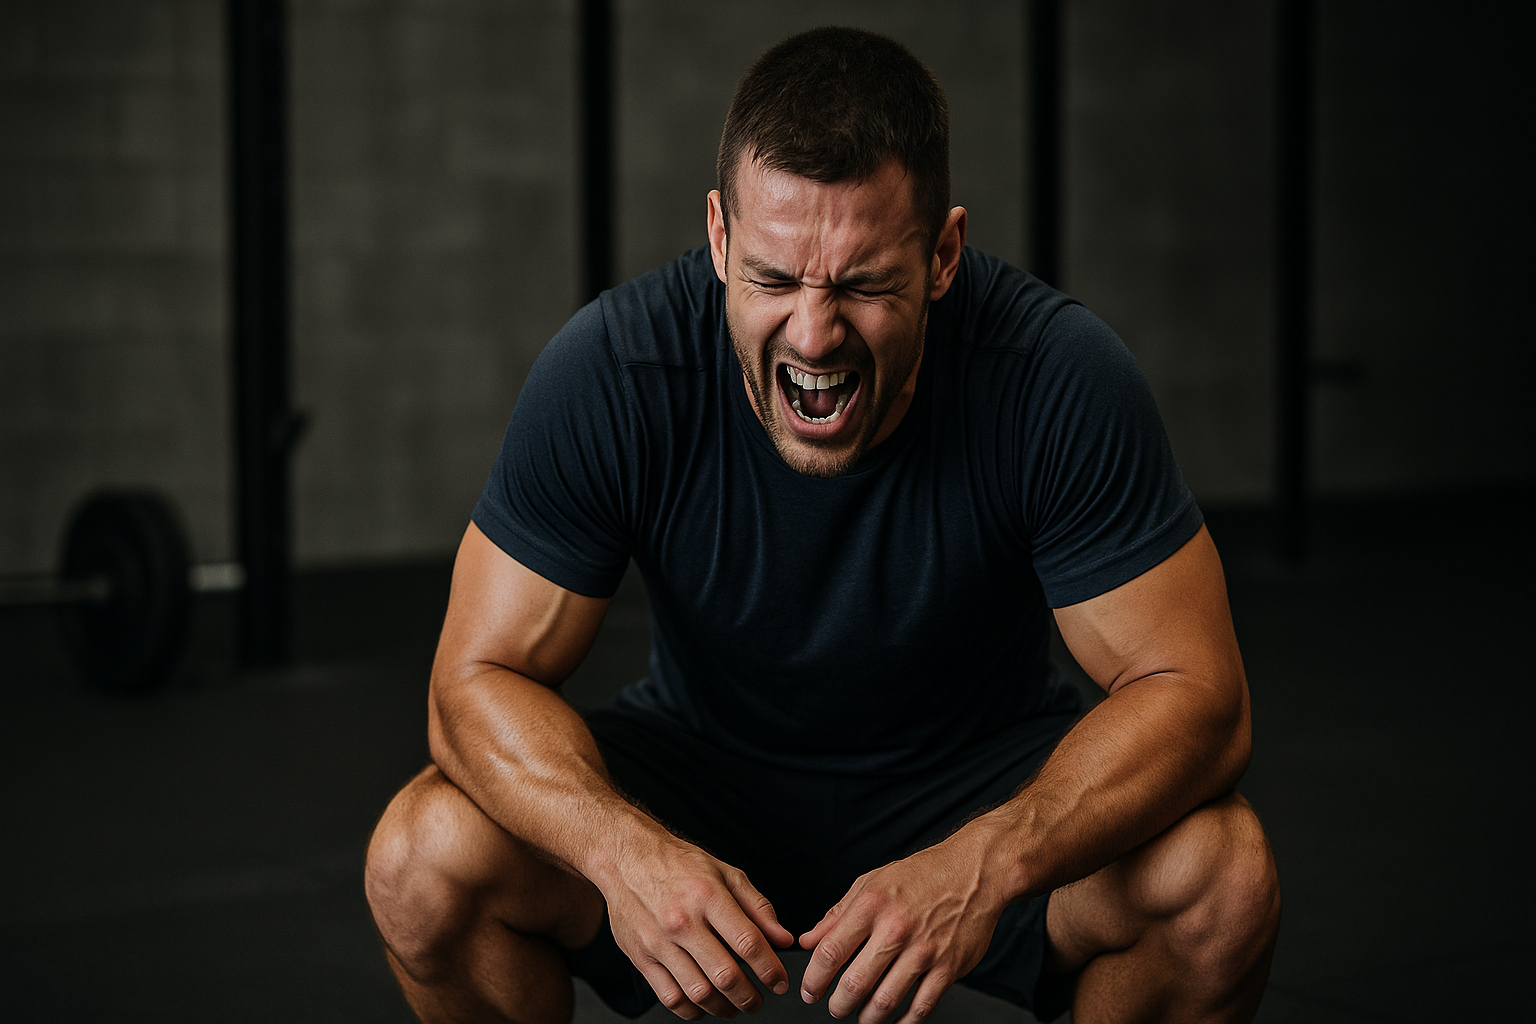
Step 7: Don’t Fear Load — Respect It
Strong knees come from loading—just appropriate loading.
Increase volume only when:
- Pain decreases across sessions
- Mechanics stay clean under fatigue
- You recover well between workouts
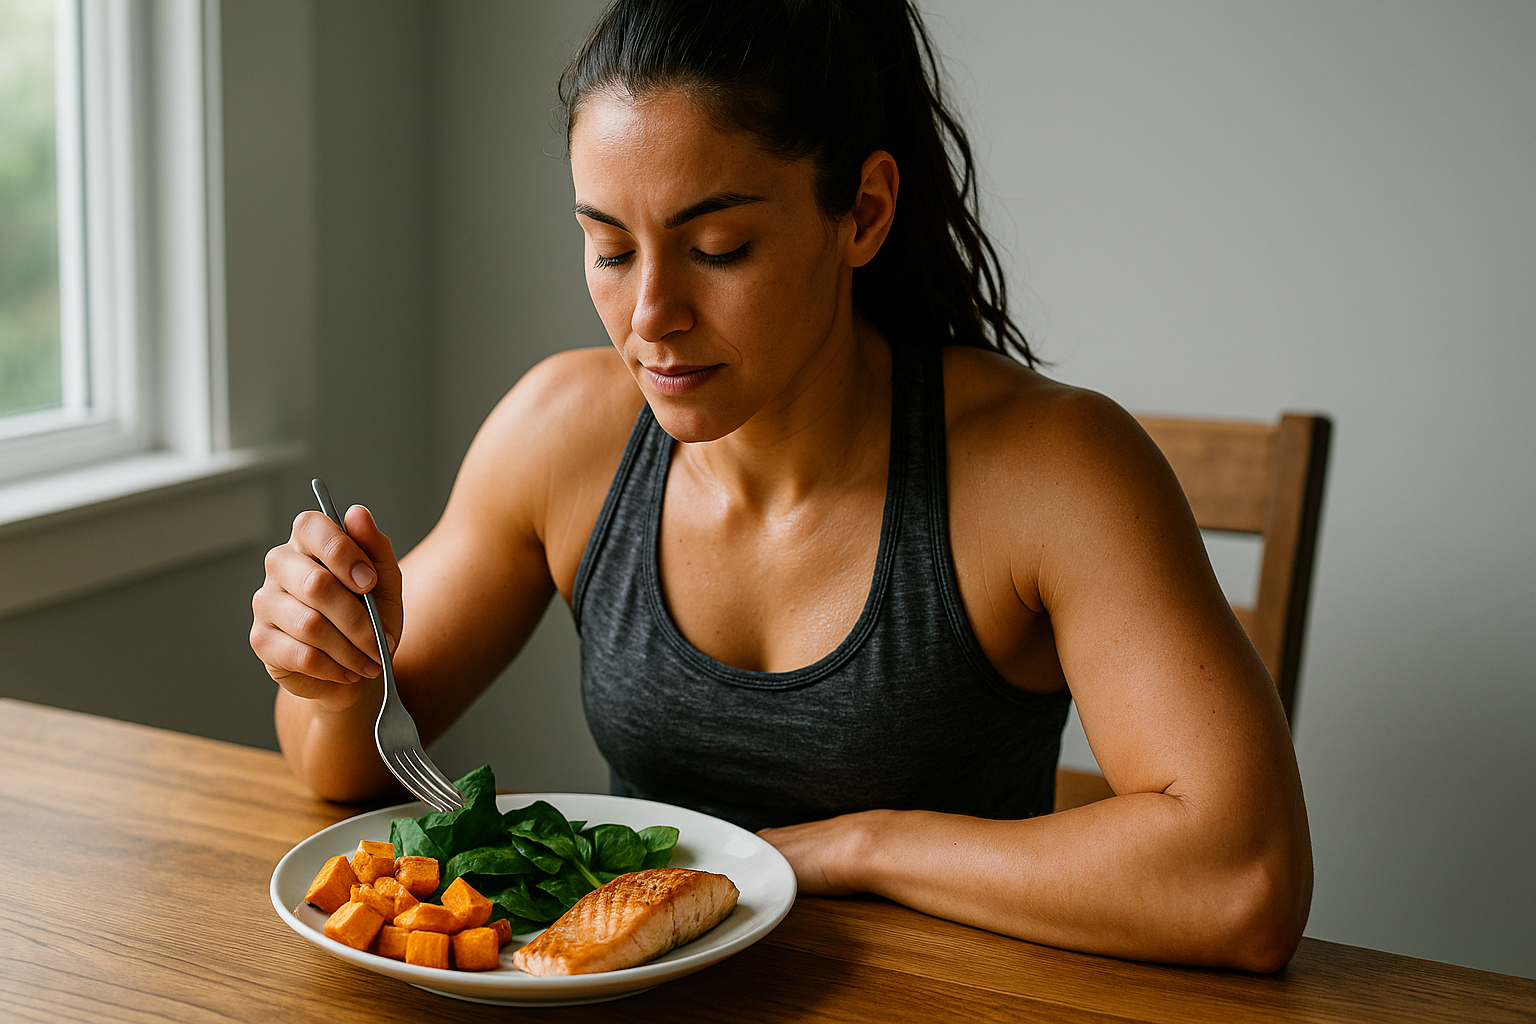
Tissue adapts, but only when given time.
The Bottom Line
Knee pain is not a dead end — it’s a training opportunity.
With better mechanics, stronger supporting muscles, smart modifications, and progressive loading, your knees can become a source of power instead of frustration.
Build the hips, strengthen the quads, move with intent — and your knees will thank you for years.