Understanding Low Back Pain in Functional Fitness

Low back pain doesn’t mean you have to stop training. Learn why it happens, how to prevent it, and how to safely rebuild strength and confidence in your lifts.
By
William Baier, MS, CSCS, USAW, CFL2
November 20, 2025
Understanding Low Back Pain in Functional Fitness

William Baier, MS, CSCS, USAW, CFL2

   •    

November 20, 2025

Understanding Low Back Pain in Functional Fitness

Strong doesn’t mean pain-free—but pain doesn’t have to mean broken.

Low back pain is one of the most common issues athletes face in strength and conditioning. It can strike after a heavy deadlift, long metcon, or even after sitting too long between sessions.

But most back pain in training isn’t structural damage—it’s mechanical overload, poor positioning, or fatigue. With the right approach, you can recover, rebuild, and return stronger than before.

Why Low Back Pain Happens

The lumbar spine is designed for stability, not movement.
When it starts moving too much—usually due to fatigue, poor bracing, or tight hips—it becomes vulnerable.

Common contributors include:

  • Loss of core tension under load
  • Rounding the back in pulls or squats
  • Weak glutes or tight hamstrings
  • Overuse or poor recovery between heavy sessions
  • Poor positioning in cycling barbell or high-rep workouts

When one area doesn’t do its job (core, hips, or thoracic spine), the lower back picks up the slack—and complains loudly.

Step 1: Differentiate Fatigue from Injury

Not all pain is the same.

  • Tightness or stiffness after training = normal muscle fatigue.
  • Sharp, one-sided pain during lifting = likely movement compensation.
  • Pain radiating down the leg or lasting more than 72 hours = see a professional before continuing.

If pain improves with light movement, you’re dealing with a mechanical issue—not damage.

Step 2: Train Around It, Not Through It

You don’t have to stop training—just train smarter.

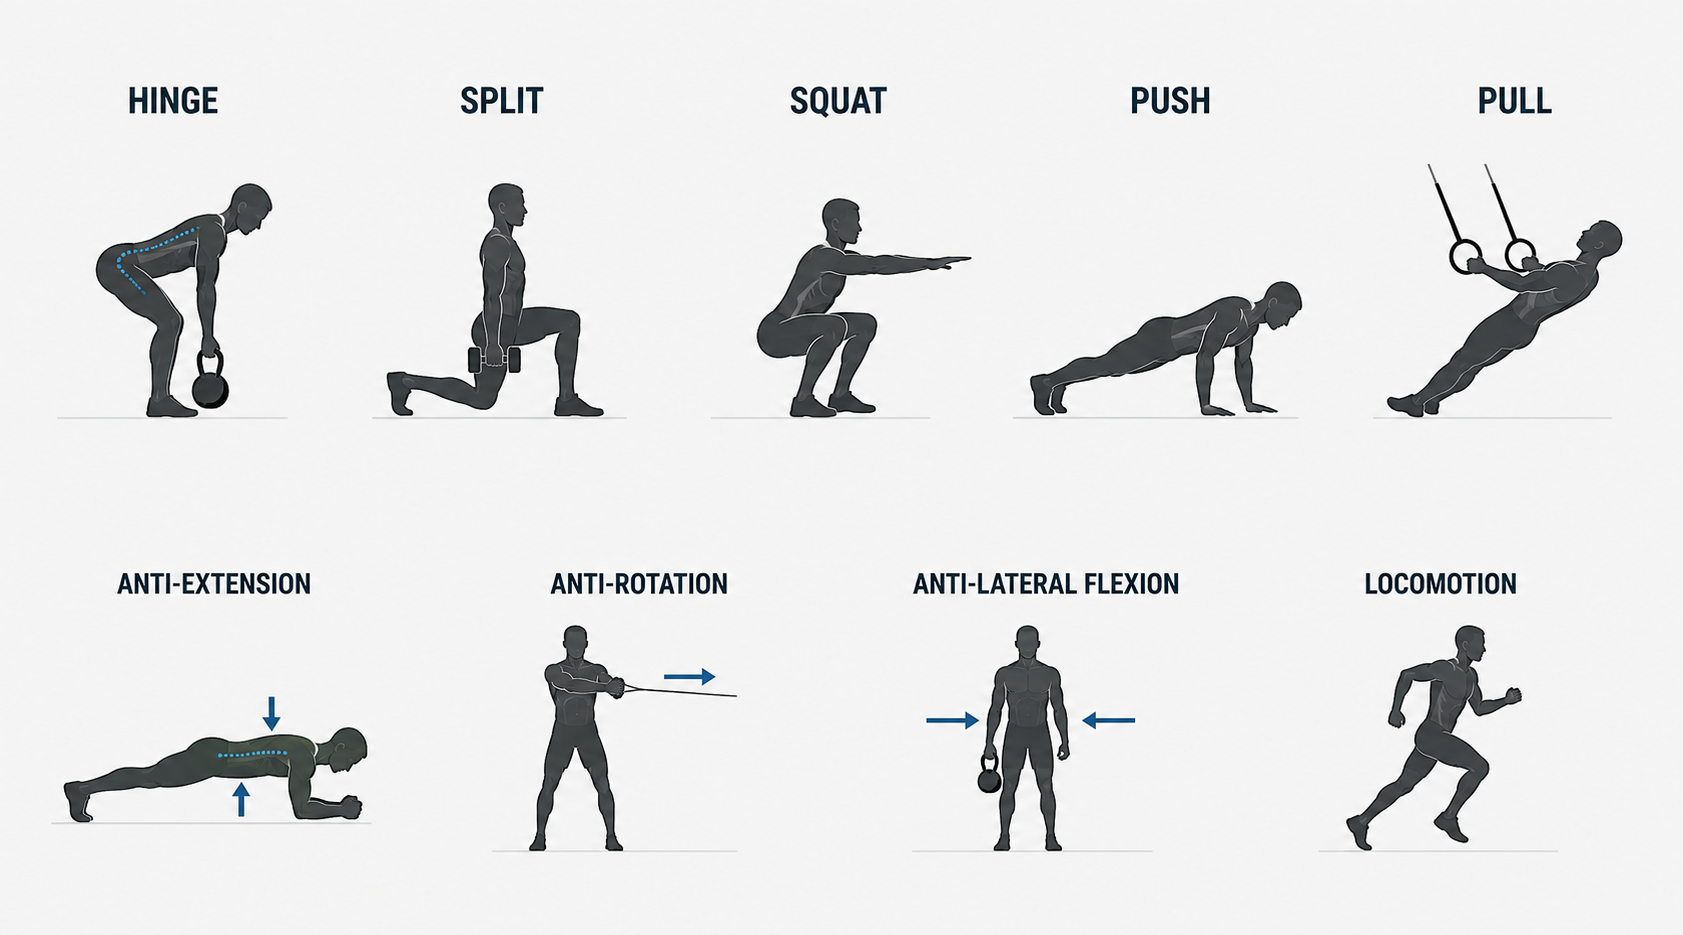
Modify movements to spare the spine while keeping strength up:

Typical MovementSafer SubstitutionHeavy deadliftsTrap-bar or Romanian deadlifts (lighter, slow tempo)GHD sit-upsDead bugs, planks, or bird dogsHigh-volume cleans/snatchesHang variations or power pullsWeighted back squatsFront or goblet squats (upright torso)

Use the deload as a chance to rebuild posture, bracing, and control.

Step 3: Reinforce Core Stability

A strong back starts with a strong trunk.
Your spine needs stiffness under load—not just “core strength,” but coordination between the abs, obliques, glutes, and diaphragm.

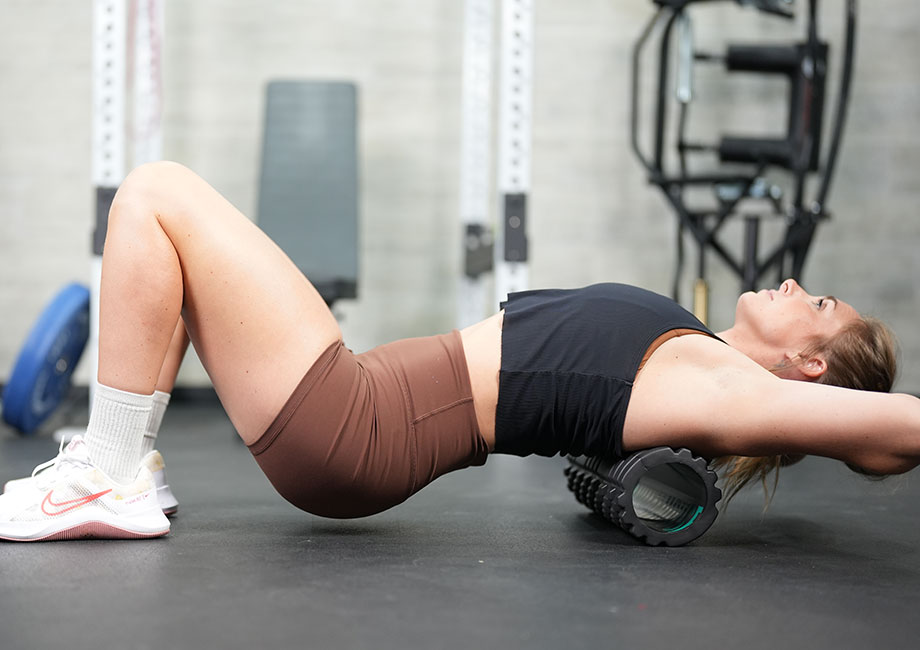
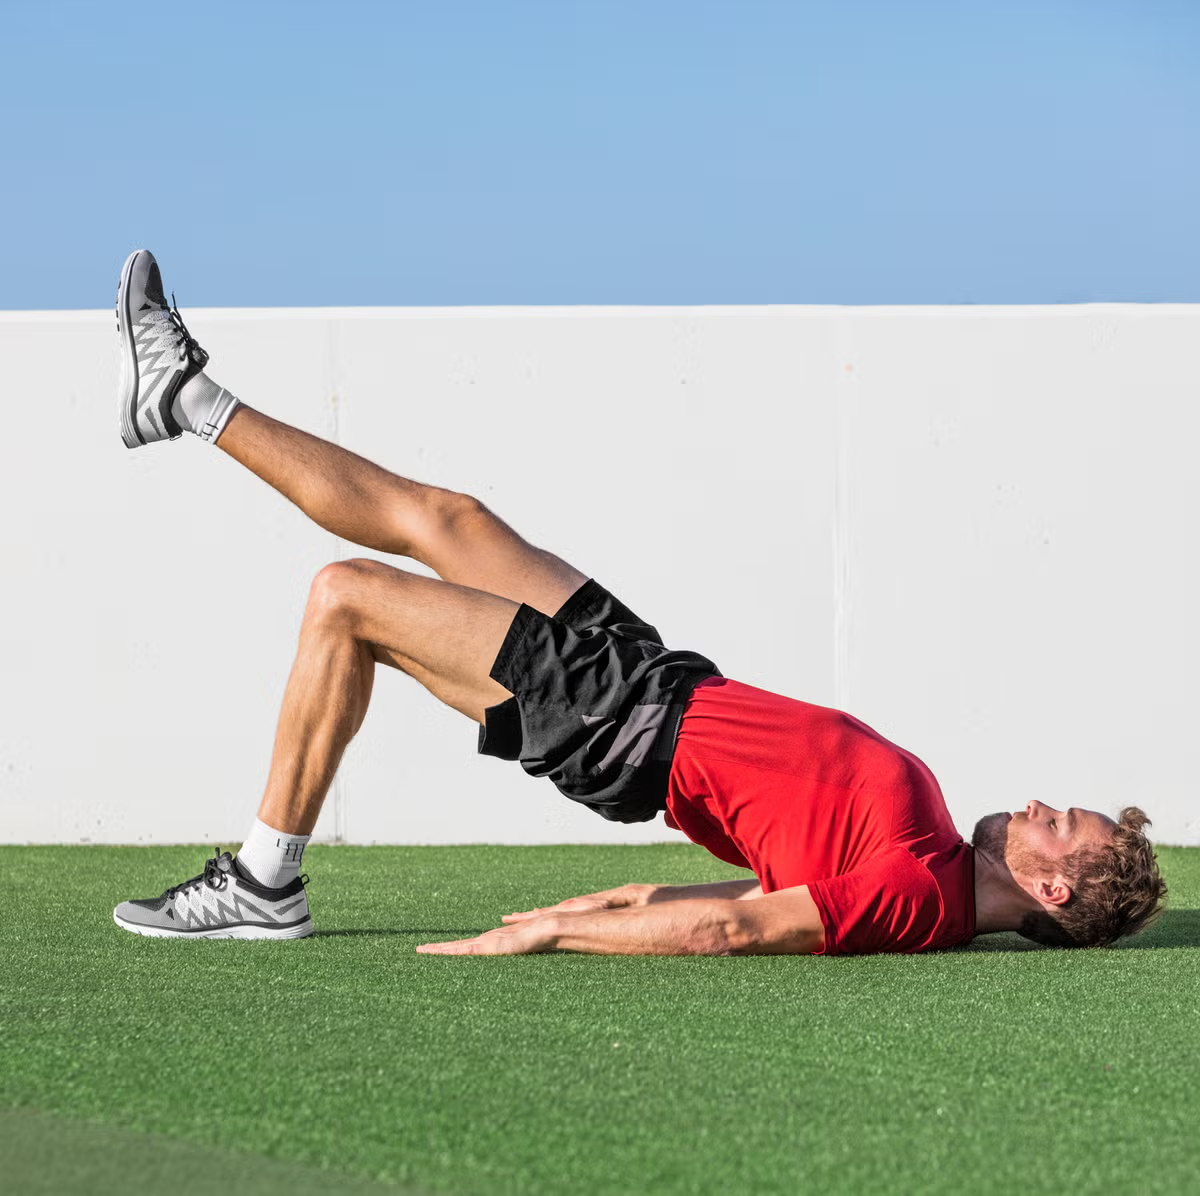
Top accessory movements:

  • Bird dogs (opposite arm/leg extension)
  • Dead bugs
  • Plank variations
  • Carries (farmer’s, suitcase, front rack)
  • Glute bridges or hip thrusts

Train these 3–4 times per week. Focus on control, not fatigue.

Step 4: Address Hip and Thoracic Mobility

When the hips or upper back are stiff, your lower back moves more than it should.

Add these drills daily:

  • 90/90 hip rotations
  • Couch stretch
  • Thoracic extensions over a foam roller
  • Cat-cow or quadruped rotations

Better mobility above and below the lumbar spine keeps the low back stable and pain-free.

Step 5: Reload Gradually

Once pain subsides, resist the urge to max out immediately.
Return to heavy loading slowly:

Week 1: Bodyweight and tempo work
Week 2: Light barbell (40–50%)
Week 3: Controlled load progression (60–70%)
Week 4+: Normal training, monitor volume and fatigue

Long-term, track your heavy hinge and squat frequency—2–3 exposures per week is plenty for most athletes.

Step 6: Maintain the Mindset

Back pain can trigger fear of re-injury.
But movement is medicine. The key is controlled exposure—teaching your body that movement is safe again.

Trust your mechanics, respect your load, and rebuild your confidence one rep at a time.

The Bottom Line

Low back pain isn’t a red light—it’s a caution sign.
With proper bracing, balanced programming, and gradual loading, you can recover fully and train smarter.

The goal isn’t to avoid stress—it’s to manage it.
Train your core, respect your recovery, and your back will stay strong for the long haul.

Continue reading

Outdoor Workouts for Strength and Conditioning

Outdoor Workouts for Strength and Conditioning

Why Train Outdoors? While gyms provide equipment and structure, stepping outside can supercharge your training in ways that go beyond barbells and rowers. Outdoor workouts challenge your body differently, boost mental health, and connect you with your environment—all while building strength and conditioning. Benefits of outdoor training: Varied surfaces and terrain improve stability, balance, and coordination. Environmental exposure (heat, cold, wind) builds resilience and adaptability. Fresh air and sunlight can improve mood, Vitamin D levels, and recovery. Minimal equipment needed—your body weight, a few simple tools, and creativity are enough. Strength Training Outdoors You don’t need a squat rack to build strength. By using natural resistance and bodyweight, you can load your muscles in new ways. Examples: Sandbag carries or sled drags → build raw, functional strength. Weighted backpack squats and lunges → challenge legs and core anywhere. Pull-ups on bars or playground equipment → strengthen upper body and grip. Odd-object lifts (rocks, logs) → develop stability and whole-body tension. Conditioning Work Outdoors Conditioning outside doesn’t just mean running endless miles. Mix sprints, intervals, and carries to build work capacity. Examples: Hill sprints or stair runs → explosive power + cardiovascular endurance. Shuttle runs → change of direction + speed. Farmers carries with kettlebells, dumbbells, or sandbags → grip + aerobic capacity. Circuit training combining running, burpees, and push-ups → whole-body conditioning. Sample Outdoor Strength & Conditioning Workouts Workout 1: Hill Sprint Power Warm-up: 5–10 min jog + dynamic mobility 6×20–30 second hill sprints, walk down to recover Finisher: 3 rounds – 20 push-ups, 20 air squats, 1 min plank Workout 2: Sandbag Strongman 4 rounds: 40m sandbag carry 10 sandbag cleans 10 burpees 400m run Workout 3: Park Circuit 5 rounds for time: 10 pull-ups (playground bar) 20 step-ups (bench or box) 30 sit-ups 200m sprint Tips for Outdoor Training Hydrate well—heat and sun increase fluid needs. Wear stable shoes for uneven ground. Adapt intensity to terrain and conditions. Scale movements just like in the gym—mechanics, then consistency, then intensity. The Bottom Line Outdoor workouts are a powerful way to challenge your fitness, build resilience, and keep training fresh. Whether you’re carrying a sandbag across a field, sprinting hills, or pulling yourself up on a playground bar, you’re building strength and conditioning that transfers directly to life.